WoodenuKnow.com is a participant in the Amazon Services LLC Associates Program, an affiliate advertising program designed to provide a means for sites to earn advertising fees by advertising and linking to Amazon.com and may earn from qualifying purchases.
In terms of completing a woodworking project, staining and sanding are two crucial steps that can effectively make the appearance. A smooth and even appearance is achievable by properly sanding a surface. But one common question that often arises: Can you sand after staining?
The sanding between coats can significantly improve the appearance of the wood grain, and it may also be essential for achieving a successful final result. Many people consider sanding an unavoidable step in preparing a surface for painting or staining.
Although sanding seems like a simple task, it can be a very satisfying process and significantly improve your project’s final appearance. You can find more detailed information about this topic by reading the following.
Can You Sand After Staining : Explained
Yes, you can sand the stained area after staining. Generally, people think it’s best to avoid sanding after staining, as this can lead to an uneven finish. But in reality, sanding between coats will make the wood grain appear more appealing, which can also contribute to a successful finished product.
Sanding helps to remove any excess stain and smooth out any drips or brush strokes. Aside from that, it allows the wood to absorb the stain more evenly. As a result, taking the time to sand after staining can make a big difference in the final appearance of the wood.
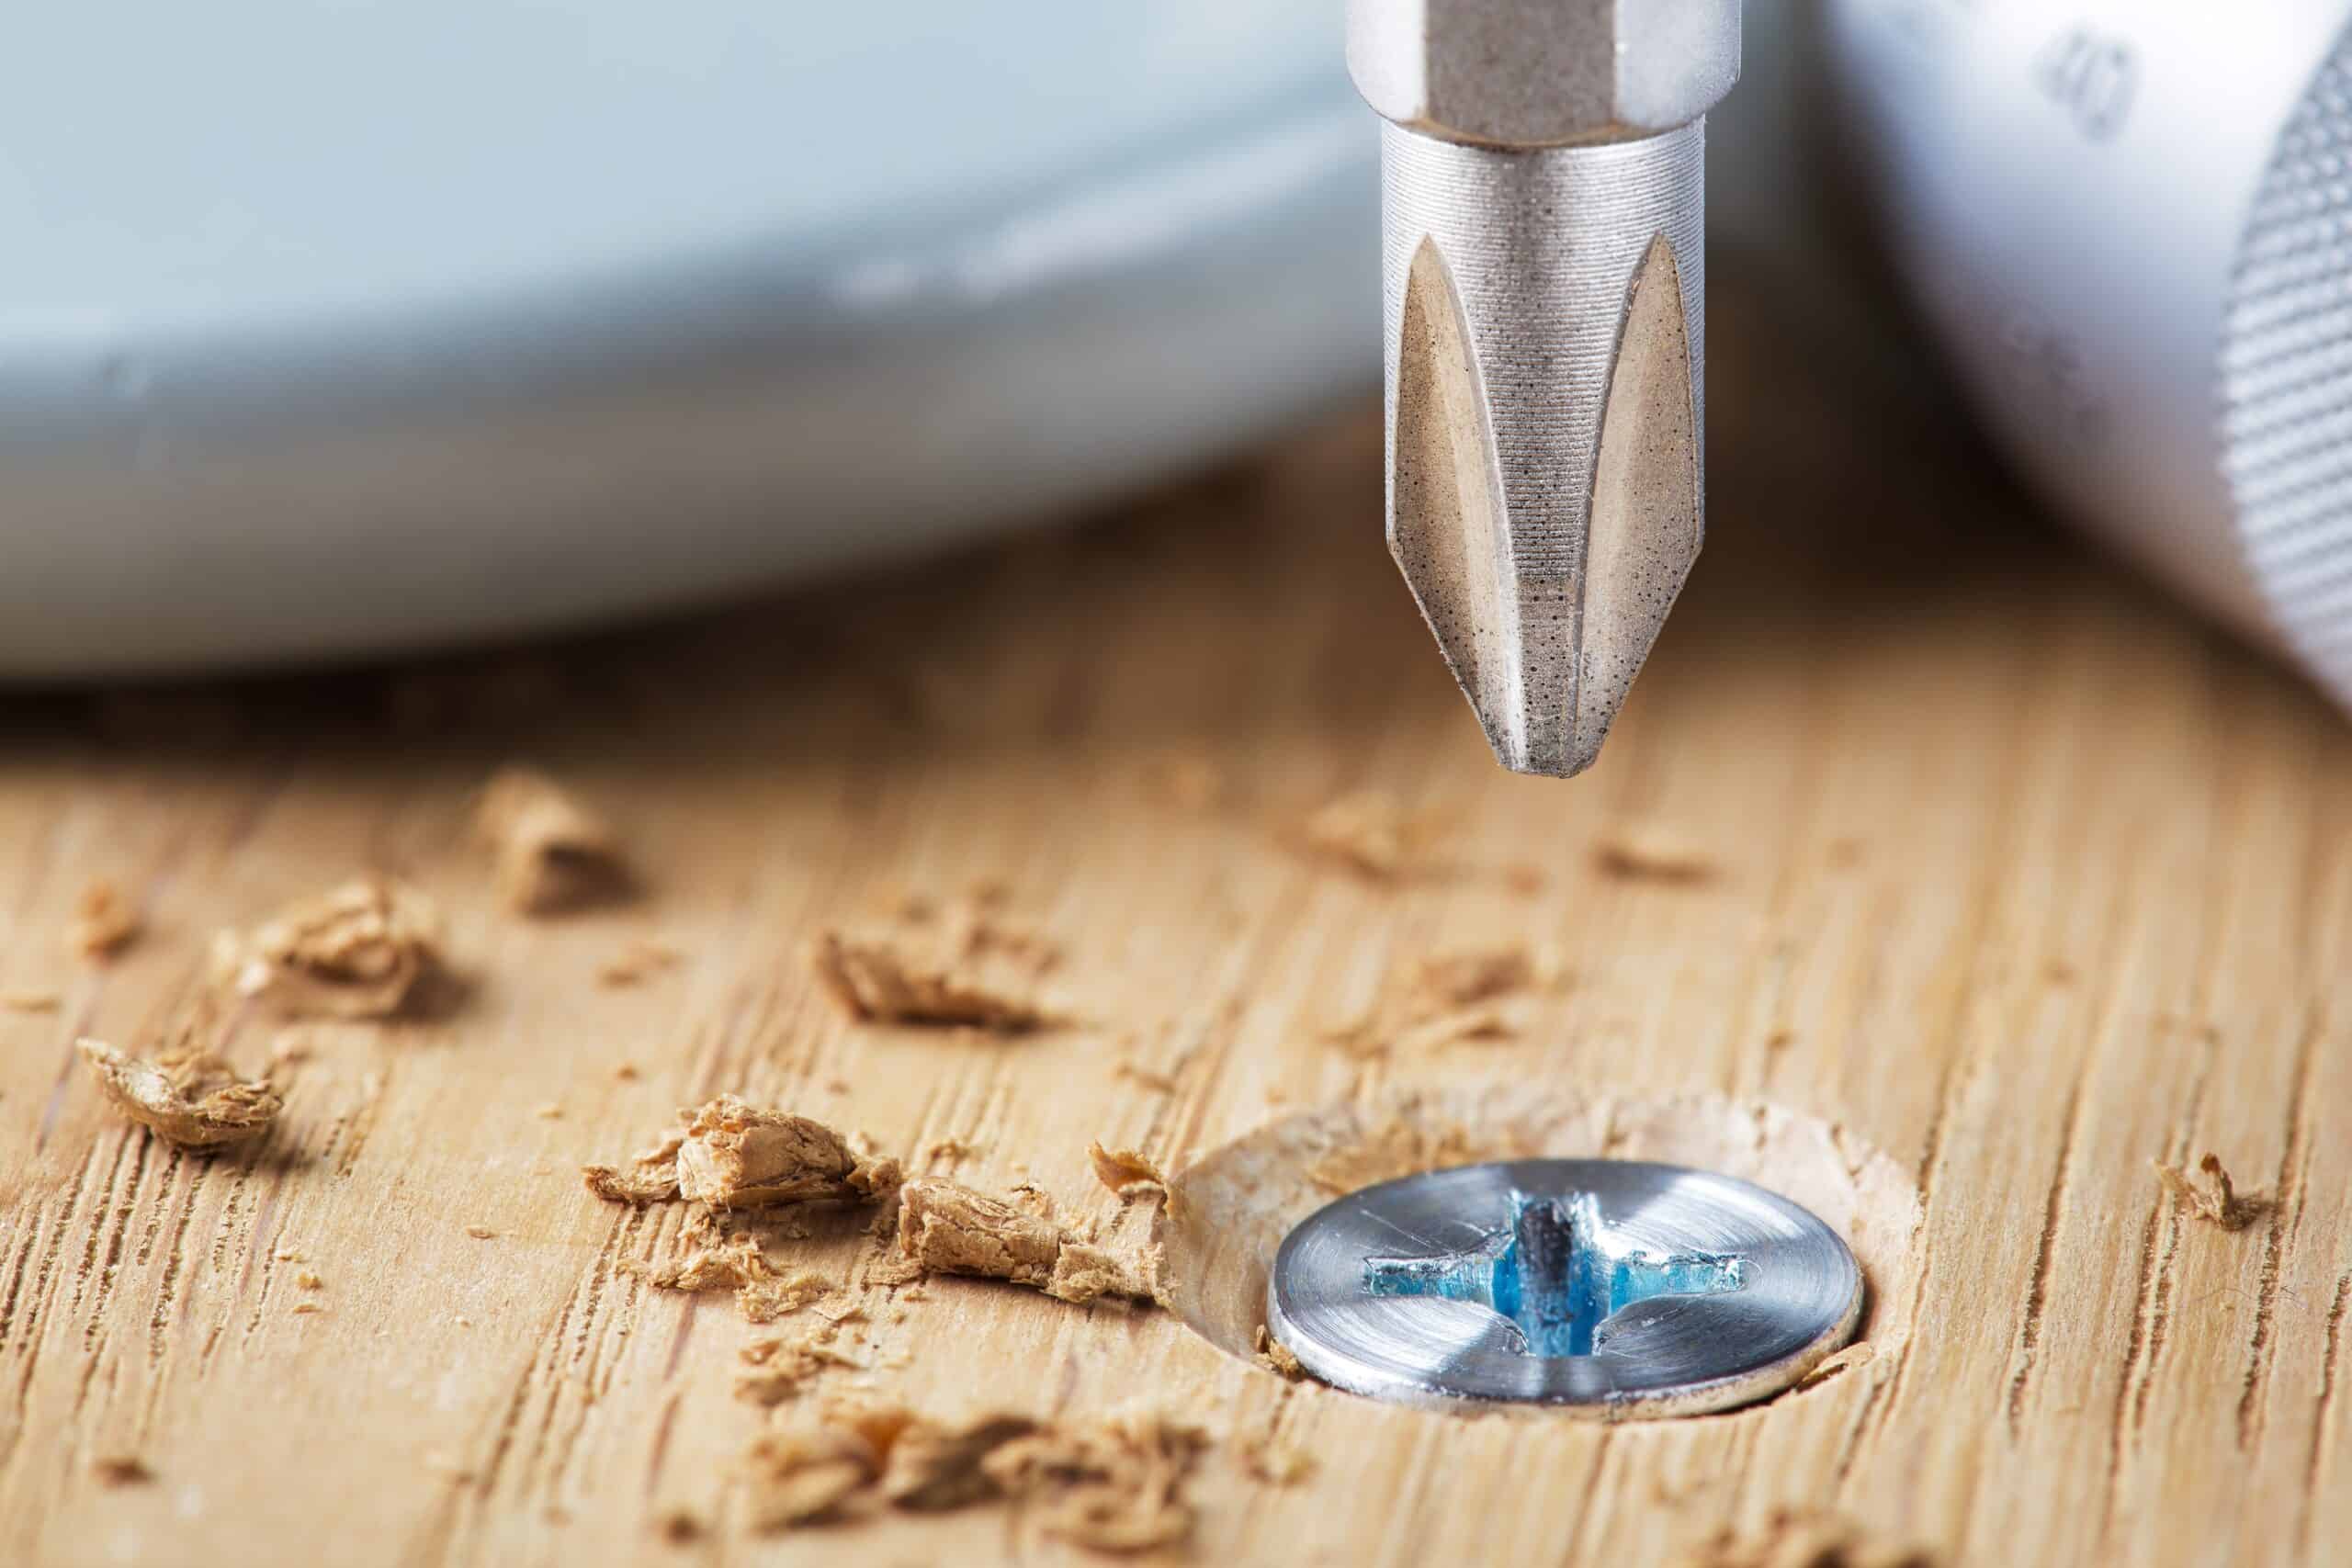
But it’s essential to be very careful when sanding after staining. You don’t want to remove any stains; just smooth them out. Make sure you use super fine-grit sandpaper starting from 220 and sand in the same direction as the grain.
If you don’t take precautions, you might accumulate particles on your floor. After you’re done sanding, vacuum up the residue and reapply the stain. You’ll be able to even out the color and give you a nice, even finish.
Why is Sanding Needed After Staining?
Sanding is a critical step in the wood staining process. After applying a layer of stain, if you wait too long, the stain will start to dry and become difficult to remove. That’s why it’s crucial to sand the wood after applying the stain. This helps to smooth out the surface and removes any dried-on residue.
As a result, your stain will have a more even appearance and will be easier to wipe off when you’re ready to apply the topcoat. Sanding also helps provide a better surface for the topcoat to adhere to, resulting in a longer-lasting finish.
So if you’re planning on staining your woodwork, schedule some time for sanding afterward.
Sanding Procedures Between Coats of Stain
When staining a piece of wood furniture or other woodwork, each coat of stain must be sanded between them to ensure a delicate finish. Otherwise, the stain will adhere unevenly to the surface, resulting in uneven color. This process is called “sandwiching,” and it plays a crucial role in staining wood.
The following steps will show you how to sand between stain coatings:
Step 01. Let the Previous Coat Dry Completely
The previous coat of stain should be allowed to dry completely before sanding. If not, the stain will not adhere correctly and may come in pieces. So wait at least 24 hours for the last coat to dry before beginning to sand.
Otherwise, the wet stain will clog up the sandpaper and make it difficult to achieve a smooth finish. Likewise, it is crucial to follow the directions on the stain can when Sanding before and after coats of stain.
Step 02. Wiping Down the Surface with a Damp Cloth
It’s helpful to wipe a damp cloth over the surface when Sanding during successive coats of stain, as this will help remove any loosened sanding dust that could potentially interfere with the new clear coat of stain.
Dampening the surface will also raise the grain of the wood, making it easier for the new coat of stain to penetrate and adhere. When cleaning the surface, use a lint-free cloth or sponge to avoid leaving any lint or other particles behind.
Step 03. Choose a Piece of Sandpaper
Selecting the correct type of sandpaper is essential when applying a coat of stain to wooden floors. If you use too much coarse paper, you will end up with a rough surface. On the other hand, if you use too fine of a paper, it will take longer to sand between coats, and you may be unable to remove all old stains.
You’ll want to make sure you’re using super fine-grit sandpaper. This will help prevent any damage to the surface you’re working on. You should wear protective gloves while sanding, as stains can penetrate your skin.
Step 04. Sand the Wood Stain
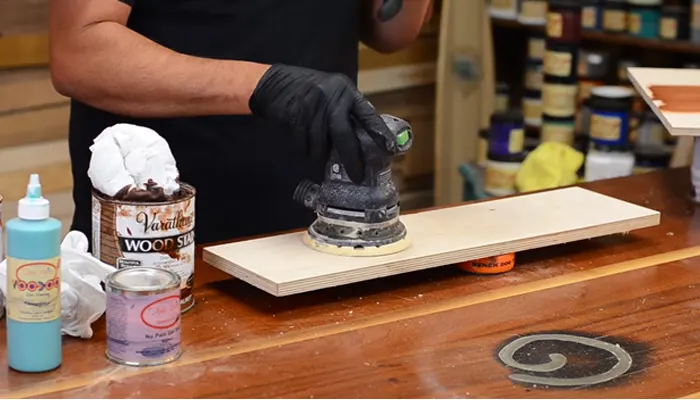
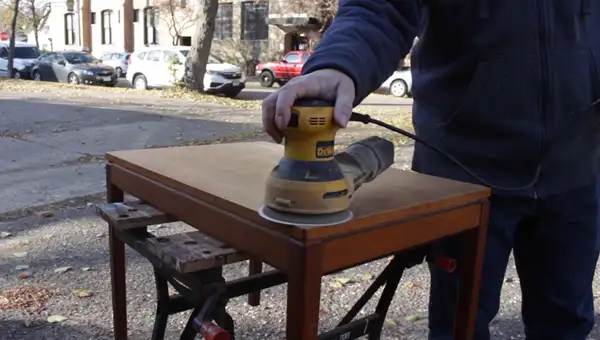
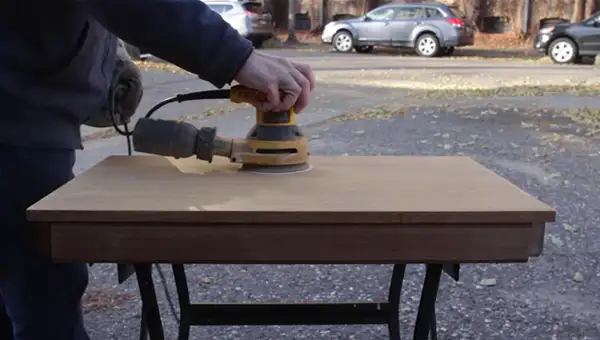
A light sanding is necessary to remove any remaining residue from the previous coat and provide smooth surfaces for the new stain to adhere to. The best way to sand the wood is to use a palm sander. Start by standing in the direction of the wood grain, then switch to sanding perpendicular to the grain.
Be sure to wear a respirator mask while sanding to avoid inhaling particles. Once you have finished sanding, you should clean the surface thoroughly to ensure no sanding dust is left behind.
Step 05. Vacuum the Surface to Remove all Dust
After you have sanded the surface to remove the old stain, it is important to vacuum up all the particles before staining again. Otherwise, these will get trapped under the new stain, causing uneven color and texture.
Using a damp cloth or tack cloth is also a good idea to eliminate any lingering particles. Once you have vacuumed and wiped down the surface, you are ready to apply a new coat of stain.
Step 06. Apply the Second Coat of Stain
There’s not much left to do. The final step in applying a high-quality stain to your hardwood floors is to stain them a second time. By doing so, the floor is evenly stained, and the color is consistent throughout.
Once again, start in the corner of the room and work your way out. Be sure to sand between coats of stain to create a smooth finish. Once the second coat of stain is dry, you’re ready to enjoy your newly refreshed floors.
With these steps in mind, you will easily be able to sand the wood between stain layers without causing damage to the wood. Just remember to take your time and use the appropriate type of sandpaper.
Tips To Make Stain Look Good : Sanding Between Coats
The best way to get a professional-looking finish on your stain project is to sand between coats. This will help smooth out any bumps or imperfections and help the second coat of stain adhere better. When sanding, the following tips will come in handy:
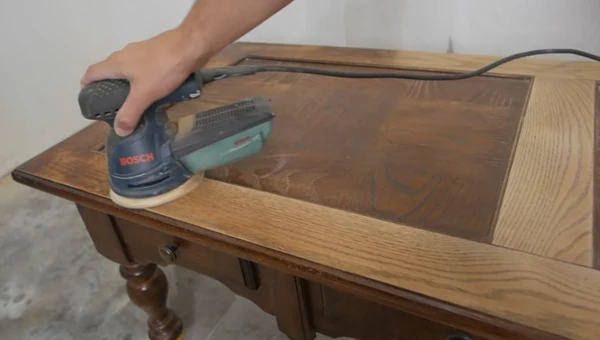
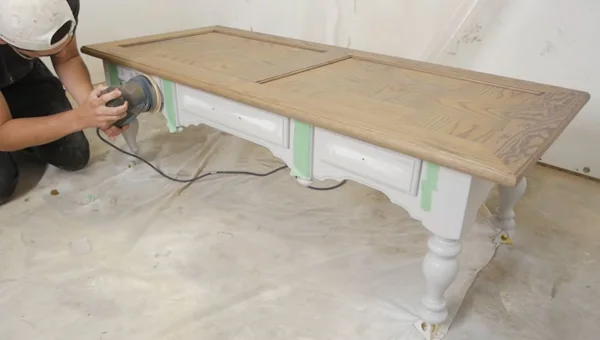
01. Use an Orbit Sanders for a Larger Surface
Don’t be discouraged if your woodworking project doesn’t look good when you first start sanding it. An orbit sander is the best tool for sanding large surfaces quickly and evenly.
The circular motion of the orbit sander’s pad helps prevent gouges and other marks that can ruin the look of your project. Further, the orbit sander’s waste collection system helps clean your work area.
02. Hand Sanding is Great for the Grain
Hand sanding is an excellent way to prep your project for staining. By hand sanding, you can control the amount of pressure you put on the wood, which will help prevent damage to the grain.
Aside from this, hand sanding is a great way to remove any dust on the wood’s surface. This will ensure that the stain goes on evenly and looks its best. Sanding by hand allows you to feel the wood’s grain and identify any imperfections that need to be removed before staining.
03. Sanding With Fine Grit Sandpaper
When sanding any wood surface after stain, it’s essential to use fine-grit sandpaper so that you don’t damage the wood. Professionals often use this method to achieve a flawless finish. Sanding with super-fine grits helps remove any imperfections in the wood, such as minor scratches or nicks.
Most stain manufacturers advise finishing by sanding to no more than 220 grit or a finer grit if a darker shade is desired. Once you’ve finished sanding, gently wipe the surface with a damp cloth to remove particles.
04. Sand Diagonally for Eliminating Visible Scratch
Staining your deck is a simple way to give it a new lease of life, but if you’re not careful, you could end up with visible scratches. One way to eliminate this problem is to sand the surface diagonally.
This will help to eliminate any visible scratches, and it will also help to make the stain look more even. Plus, sanding diagonally will greatly help prolong your deck’s life by preventing the build-up of dirt and debris.
05. Raise the Grain for Water-Based Stain
When applying water based stain to wood, it is advised to rake the grain first. You can do this by lightly sanding the wood or using a chemical grain-raising agent. Raising the grain will help the stain penetrate the wood more evenly, resulting in a more consistent color.
Meanwhile, increasing the grain will prevent the formation of lap marks. An uneven application of stain causes lap marks, which can be difficult to remove once they have been set.
FAQs
Let’s take a look at some frequently asked questions about sanding wood between coats of stain:
Q: How Long After Staining Can You Sand?
You can sand your stained project as soon as the last coat has dried. The goal is to create a smooth surface for the topcoat of paint or varnish. If you’re using a water-based stain, you’ll need to wait about 24 hours before sanding. For oil based stain, give it approximately 48 hours to dry before sanding.
Q: Can You Sand After the First Coat of Stain?
Yes, you can sand after the first coat of stain. Be sure to note that you should only rub lightly. If you sand too aggressively, you may remove some stains. It is advisable to wait until the second coat of stain before rubbing more vigorously.
Q: What is Grit Sandpaper for Stained Wood?
Some experts will tell you that 220 grit is the best sandpaper after staining wood. This particular grit sandpaper will remove any residual stain left behind and provide a smooth, consistent surface ready for varnishing or other finishes.
Q: Do You Sand After Stain Before Applying Polyurethane?
You might sand before poly, regardless of whether you’re staining or not. The main reason for smoothing the surface is to enable the polyurethane finish to adhere well. If you don’t want sand, the poly will have a rough finish and will be more likely to chip and peel.
Even if you’re not planning on staining, sanding the surface before applying poly is still a smart move to get the best possible finish.
Q: Can You Sand the Stained Wood And Restain?
You certainly can sand-stained wood and re-stain it, but it will be a lot of work. If the previous stain is in good condition and is still fresh, you might be able to get away with just sanding down the surface and applying a new coat of stain.
But if the wood is damaged or the stain is old and fading, you’ll need to strip it off and start from scratch.
Conclusion
Sanding the surface is an essential part of the process after staining, as it helps prepare the surface for the stain to adhere to. Also, sanding wood between coats of stain will help achieve a smooth, consistent finish.
However, you should always wait until the previous coat is completely dry before sanding; otherwise, you risk creating a cloudy finish. Once the floor is dry, you can sand it using various fine-grit sandpaper, depending on the type of finish you’re hoping to achieve.
We hope you have enough information by reading this article on “can you sand after staining,” now it is time to get to work. With a little patience and care, you can achieve beautiful stained floors that will last longer.