WoodenuKnow.com is a participant in the Amazon Services LLC Associates Program, an affiliate advertising program designed to provide a means for sites to earn advertising fees by advertising and linking to Amazon.com and may earn from qualifying purchases.
If you complete the nailing process in trim, you will notice that some holes have been left behind. Unless you fill nail holes in the trim, you may encounter a few problems.
The hole may become bigger over time and will be more noticeable. There is nothing more annoying than looking at nail holes in your trim. Furthermore, the paint may start to peel from the nail holes. It may also cause further damage to your trim.
Nail holes can be challenging to fix if you don’t know what you’re doing. So, you should know how to fill nail holes in trim. For your convenience, we have provided some step-by-step instructions for filling nail holes in the trim.
Why Do You Need to Fill Nail Holes in Your Trim?
The biggest reason you need to fill nail holes is to keep the material looking good. It’s easy for tiny holes to get bigger and scrape away the paint. This is even more problematic when it penetrates the wood, causing the stain to crack and peel. As a result, your trim may look dreadful.
Another reason to fill a nail hole is to prevent future damage. If you want your wooden or PVC trim to stay in good condition, a little bit of nail hole filling will go a long way. As long as you keep filling tiny and larger holes, you won’t have to worry about the big splinters and unsightly cracks in your trim.
What Tools and Materials are Required for Filling Nail Holes?
When you need to fill trim nail holes, the most important thing to remember is that the product you use will impact the final outcome.
You will need a few tools and materials around the house to complete this task. If you don’t have them, they can all be purchased at most departmental or home improvement stores. The tools and materials that you will need are:
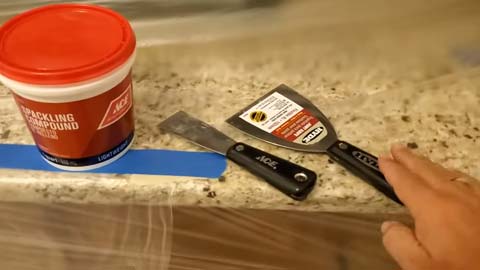
1. Putty Knife
A putty knife is perfect for filling a nail hole. With its wide blade, the putty knife can easily reach into tight spaces. It’s also helpful in making minor cuts and smoothing out surface imperfections.
2. Water-Based Wood Filler or Shrink-Free Spackling
There are two different types of wood fillers, namely solvent based fillers and water-based fillers. The most common kind of wood filler available is water-based. Water-based filler is very versatile. You can use it to fill tiny nicks and cracks in the wood.
Alternatively, you can use shrink-free spackling, which will not shrink or crack once it dries. It is recommended that you select a color-matched filler.
3. 180 or 220 Grit Sandpaper or Sanding Block
Sandpaper or sanding block is used to smooth out the surface after you remove any extra white wood filler and before you paint. You can use either 180 or 220 grit sandpaper, depending on how rough your trim is. Use the coarser 220 grit if your door trim is very rough. If not, 180 grit will do just fine.
4. Clean Cloth
You will need a clean tack cloth to remove the sanding dust and excess white wood filler, so it doesn’t dry on the trim’s surface.
Instructions on How to Fill Nail Holes in Trim in 11 Steps

After you’ve gathered the tools and materials you need, you can then proceed on to filling those pesky nail holes in the trim. Listed below are the steps for filling screw holes properly.
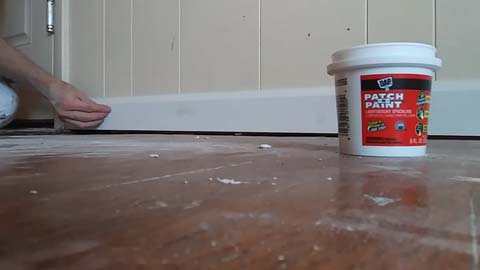
Step 01: Identify the Nail Holes
The first thing you need to do is identify both small and large holes. This will ensure you do not miss anything while filling them out.
Step 02: Smoothing the Nail Holes
After identifying the nail holes, you need to clean up the small holes by removing any excess material that may be leftover from the trim. Using your putty knife, gently scrape away any loose matter and smooth out the sides of each hole.
Step 03: Get Water-Based Wood Filler or Shrink-Free Spackling
Once you have smoothed out the nail holes, you can get started with filling them. You can either use a shrink-free spackling or a water-based filler base. Both work equally well in filling a nail hole. So you can use whatever is most convenient for you.
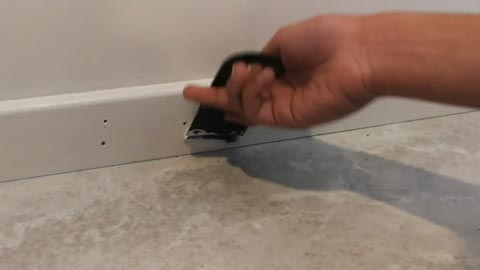
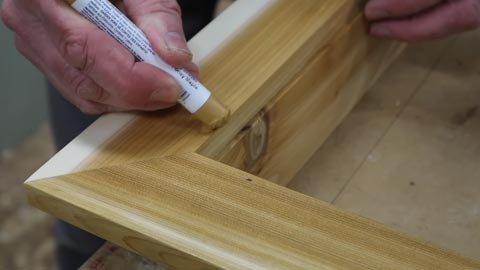
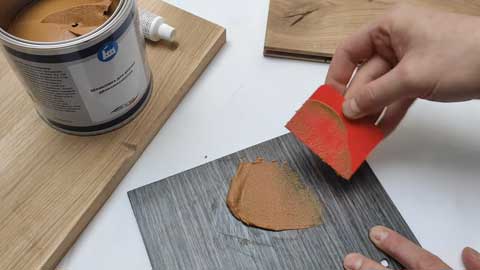
Step 04: Apply the Filler
The next step is to apply the filler or shrink-free spackle for filling nail holes. In the beginning, take a small amount of white filler or spackle on your finger and gently insert it into the hole. Be sure to press firmly with your fingers to ensure that the wood putty fills the hole completely.
Step 05: Flatten the Filler
When you have applied the nail hole filler, you can flatten it out with the putty knife. Press firmly into the hole and then remove excess filler or spackle that may have spilled over in the filled holes.
Step 06: Sand the Area
After you have applied and flattened out the filler, you will need to smooth out any rough areas. To do this, simply sand over the place with your 180 or 220 grit sanding tool. Continue sanding until you’re satisfied with the smoothness of the wood surface. You can also use a sanding block as an alternative.
Step 07: Clean Off the Dust
If you have sanded the surface, you will need to clean away any sawdust or filler particles using a clean tack cloth or damp cloth. Make sure that there is no wood residue on the sanded surface after this step.
Step 08: Let It Dry
When you have cleaned the trim molding, let it dry for a few hours before applying paint. This will ensure that the filler is fully hardened and ready to be coated with new paint.
Step 09: Vacuum and Wipe Down the Trim
As soon as the filler has dried, you should vacuum and wipe down the area. As a result, it will be free of sawdust and other foreign matter, making it possible to prime and paint it.
Step 10: Prime the Area
Once the trim has been cleaned, it is now time to prime it before applying paint over it. As a result, you will be able to prevent spackling spots on your trim and make it more durable. To prime nail holes in the crown molding trim, you can use spot primer. You can apply the primer with a paintbrush or roller. It will ensure a perfect finish.
Step 11: Apply Paint
It is now possible to paint over the area once the primer has dried. Make sure to use your original color choice when you paint. As a result, you will have a more natural-looking trim once the paint has dried.
The Process of Painting Over the Holes in the Trim
Learning how to paint trim is a valuable skill to possess because it will come in handy. In order to paint trim properly, you must understand how it is done. Applying paint to this area is a fairly simple process. All you need to do is follow a few steps. Please see the following instructions:
Step 01: Paint Color Selection
The first step is to select a paint color. You can use white paint on the trim, which looks great. If you wish, you can choose any color you desire from your local home improvement store. Make sure to match the trim with other existing colors in your house too.
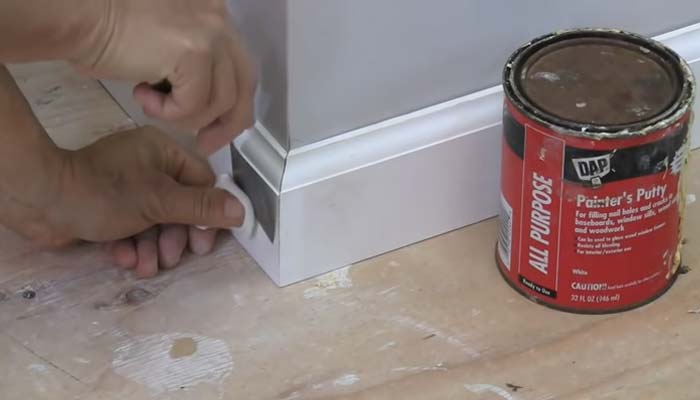
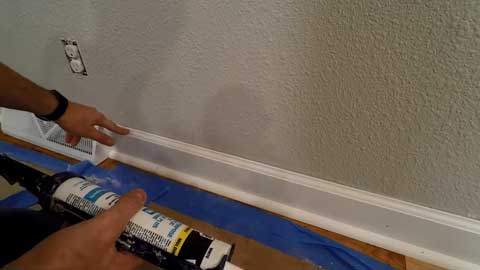
Step 02: Apply Tape Surrounding the Trim
Next, you need to apply painter’s tape around the white trim you intend to paint. This will help stop the paint from spilling over onto other areas.
Step 03: Paint the Trim Area
After taping off, it is finally time to begin painting. You should always start with the edge of the white trim first. You can use a 2-inch angled brush. Apply the paint from top to bottom in your white trim.
Step 04: Finishing up
Once you have applied your paint, let it dry the white painted trim, and then apply a second coat if necessary until you are satisfied with the color. This will yield a soul satisfying result.
Step 05: Remove Tape
The painter’s tape should be removed once you have completed the painting. Peel it off slowly and carefully in order to avoid removing paint.
FAQs
The following are some frequently asked questions you may have regarding filling holes in the white trim. Hopefully, this FAQ is helpful to you.
1. Can Caulk Be Used to Fill Nail Holes in the Trim?
Technically, you can use painter’s caulk to fill nail holes. However, it is not the best solution. Because caulk tends to be messy and shrinks as it dries, it is advised to use wood fillers or shrink-free spackling.
2. Is Wood Filler the Same as Spackling?
Both wood fillers and spackling are effective at covering cracks and holes in wooden surfaces. However, they are not the same. Wood fillers are primarily intended to fill holes and creaks in wood. On the other hand, spackling is used to fill holes and creaks in wood as well as drywall, and plaster.
3. How Long Does It Take for Wood Filler to Dry Out?
Once you have applied the wood filler, it will take 30 to 60 minutes to dry. You can then proceed with painting over the area. The drying time can change depending on the kind of filler you use, so it is best to follow the manufacturer’s instructions.
4. Is Wood Filler Shrinkable?
Generally, wood filler shrinks quite a bit when it dries. However, there are some wood fillers that do not shrink. If you are using the right kind of filler, then your filling should not shrink at all.
Conclusion
By following the instructions outlined in this article on how to fill nail holes in trim, you should be able to fill the nail holes easily.
Additionally, you can paint your wood trim simply and efficiently to achieve a fantastic look for your home’s white trim. By doing it yourself, you can save money compared to hiring a contractor. We hope that this article will assist you greatly. Good luck!