WoodenuKnow.com is a participant in the Amazon Services LLC Associates Program, an affiliate advertising program designed to provide a means for sites to earn advertising fees by advertising and linking to Amazon.com and may earn from qualifying purchases.
Cedar wood is a beautiful, natural material that has been used for centuries. Cedar can be found outdoors and indoors and is often used in furniture or flooring. With its natural color and distinctive smell, cedar wood can bring an elegant touch to any room it’s added to. However, how do you keep your cedar looking like new? This post will give you some helpful tips on how to protect your cedar wood from the day-to-day wear and tear of life!
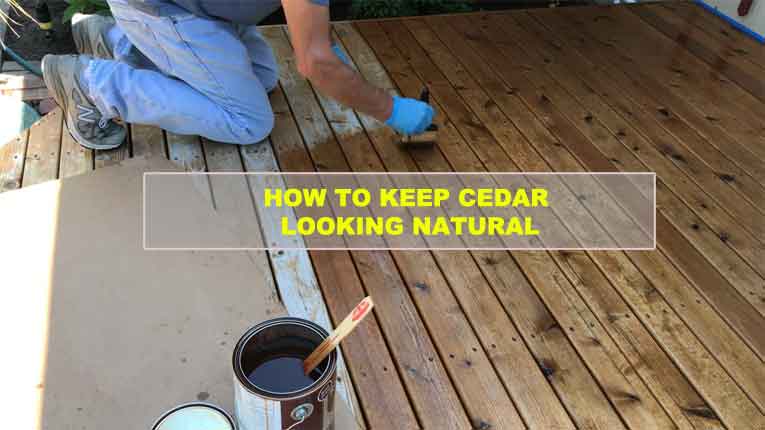
The Unique Process of Keeping Cedar Looking Natural
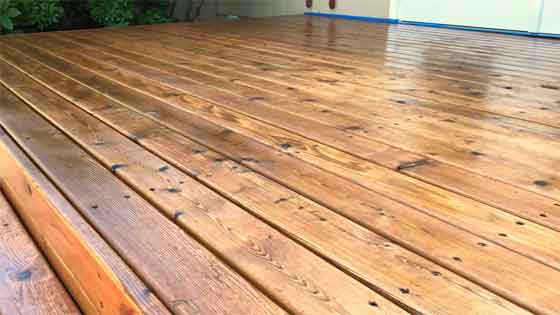
Cedar wood is a fragrant type of wood known for its strength and beauty. However, this material is also prone to deterioration over time due to the fact that it’s not naturally resistant to rot like other types of wood. If you want your cedar outdoor furniture and structures to stay looking new, there are some steps you should take. Read on for tips on how to keep your cedar looking beautiful!
What Tools Need to Paint Cedar Wood?
- A paint brush or rollers if you’re ambitious enough, use two.
- Primer which is applied before painting an exterior cedar shake surface in order not to show through any imperfections on the wood’s surface.
- Weather resistant paint that can withstand UV, water and scrubbing.
- Acrylic sealant for the first coat to make the surface smoother for second coat of weatherproofing finish.
- Wood sealer is a product that protects wood from the elements by forming a protective barrier on the wood surface.
- Oxygen bleach is an eco-friendly, safe alternative to traditional chlorine bleach. With just two ingredients, you can have clean cedar without having to worry about harmful chemicals in your home or on your skin (or those sensitive to fragrances).
Paint Over Cedar Wood
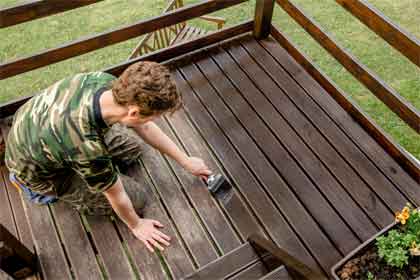
Cedar siding is a natural and beautiful way to add an authentic look to your home. The problem begins when you paint over it with latex or oil based paints, which seal the cedar making it unable to breathe. If you want your cedar wood looking how it was intended, follow these steps:
- Clean the wood surface thoroughly before painting by washing off any dirt on the boards using soap and water. Rinse with clean water after soapy washings; let dry completely before proceeding for best results.
- Paint weatherproof exterior primer onto entire area of exposed wood surfaces (sapwood should be painted). Allow primer to dry overnight.
- If you need to paint over an old coat of latex paint, first scrub the area with soap and water or a mild detergent such as TSP (trisodium phosphate). Apply at least two coats of exterior primer followed by quality house paint that is labeled as being appropriate for pressure-treated wood. Let dry overnight before use.
Cautions:
Do not apply paints without following these steps or they will seal in moisture, which can cause mold and rot, while also making your cedar look unnatural like it’s been painted on rather than naturally aged into its beautiful color variations.
Staining Cedar after Siding Installation
Cedar is a beautiful wood to work with. It has a natural, earthy smell and resists rot well. Cedar stain helps protect the wood from rain, snow, bugs and insects while adding color to your project.
Staining cedar boards is a relatively easy process that requires only minimal preparation. Cedar wood, like all woods, will eventually weather due to the elements and so it must be stained in order to maintain its appearance.
What tools need to stain cedar siding?
Some tools you need to do a good job of staining cedar siding are:
- Paint roller or brush, long-handled brush for high areas.
- Plastic putty knife and old credit card to remove all old caulk before you start applying the new stuff.
- Bucket with a soap solution and soft sponge for wiping down woodwork after it has been stained.
- Ladder (usually two) one for actually getting up on the roof to stain that higher area, another one can be used as an extension at ground level. A third person is helpful too because there will be buckets of wash water going back and forth between the upper parts of the house where work is being done from lower levels.
Types of Staining
Cedar stain is available in oil-based or water-soluble for an easy cleanup after use! These stains are perfect for outdoor furniture like Adirondack chairs and benches where they will be exposed to the elements all year long. Be sure you follow instructions on how often it needs to be reapplied so that it does not wear off too quickly when exposed to direct sunlight or other harsh weather conditions. You can find these cedar stains at your local hardware store. The most popular types are clear and earth tones like brown or grey because they blend in nicely with natural scenery.
- Natural staining is a good choice who wants to keep with the natural look of cedar.
- Transparent stain is a great option for cedar. Cedar does not take well to dark or heavily pigmented stains, but when it is transparent the wood retains its natural coloration and texture. Transparent stains are also good because they do not provide protection from moisture like traditional oil finishes do, so you can still enjoy the natural beauty of your wood while maintaining an easy-to-clean wood surface that doesn’t need to be recoated every year.
- Semi-transparent stain need when we want to make the wood look more like it is made from marble or granite.
- Colored staining, on the other hand, you want to make the wood stand out and create a dramatic effect.
Wash & wait for cedar siding to dry
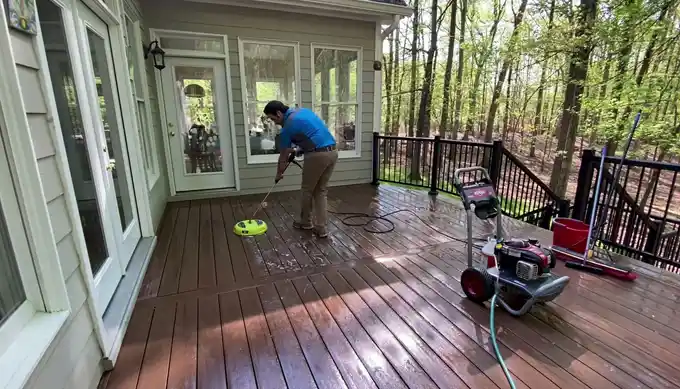
Some homeowners who want to keep their cedar or vinyl siding clean opt for a bi-annual washing. Simply use soap and water, scrub the dirt away with a soft brush or hose down using a power washer. Allow it to dry before applying any treatments (see below). Cedar can be very porous so waiting until after rain is unlikely if you live in an area that gets plenty of precipitation during the year. If your home has already been washed and dried out now’s the time to apply some protection!
Apply a second coat
When Olympic stain dry, apply a second coat of solid stain to your cedar. This can be done with zero-VOC, eco-friendly products that have been tested for safety or commercial-grade stains if you prefer the color options and durability they provide.
How to Keep Cedar from Turning Gray
There are some easy processes to protect cedar from turning gray. These steps are following:
Step 1: Using a brush
With your broom, remove all large debris and loose dirt from the cedar area by sweeping or brushing it thoroughly. One of the key items on how to keep cedar looking new is cleaning with high-quality soap or cleaner that will not leave a residue behind, such as dishwashing liquid without bleach.
For preserving moisture in different climates, there are also some great sealant products available on the market today with UV inhibitors and other benefits like antimicrobial protection against mold and mildew buildup which can occur due to exposure outside year-round (even if it’s only one part).
The most important thing when taking care of your home exterior siding is understanding what type of material you have so that you know how to properly care and maintain it.
Step 2: Mix wood washettable powder with water
According to directions, you have to mix the wood washettable powder and water with a ratio of one to one. You should also mix in the recommended amount of biodegradable soap, which is two tablespoons per gallon. After stirring your mixture well, turn off all power tools and thoroughly wash your hands again so that any dirt or residue is removed from them.
Step 3: Wipe down the entire surface
Pour enough mixed solution onto a cloth to cover an area about half the size of your palm then evenly wipe down the entire surface of each board using long strokes in straight lines across the surface.
Step 4: Dry cedarwood
The final process is to dry the cedar wood. Exposure to air can make it dry and brittle, so you’ll want to keep your newly stained or sealed wood in a cool, dark place for at least one week before moving it into direct sunlight again.
How to take care of cedar wood?
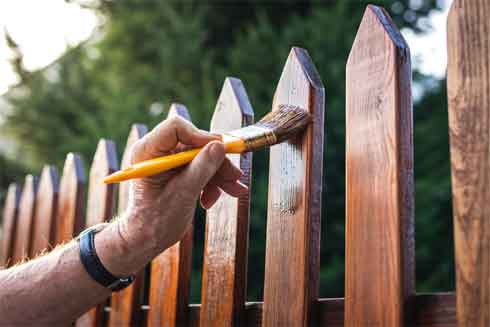
Cedar is one of the most popular wood types because it doesn’t rot, warp or splinter. If you want to keeps your cedar looking like new, follow these steps:
- Avoid heavy soiling on wooden surfaces by using gravel walkways and placing dirt along borders rather than grass or bushes that can collect debris from shoes.
- Clean up any spills quickly by rinsing with fresh water immediately after they occur.
- Use mild soap when necessary in order to prevent excess buildup of bacteria/mold growth.
- Regularly apply a little vegetable oil or mineral spirits to maintain coloration.
FAQ:
What is the Color of Cedar Wood?
Cedar wood is typically a light brown color. However, different species of cedar trees have been known to produce lighter or darker colors in the wood such as yellow, orange and red cedar. Cedar also has natural variations in tone which can create an interesting texture on the exterior of homes that use it for siding.
Does weather impact on Cedar wood?
Cedar is a natural material, which means it will weather over time. Cedar is not waterproof and will absorb water, so it needs to be protected from moisture. Knowing how to keep cedar looking natural includes knowing how to protect your wood from the elements, which in this case means precipitation. Cedar wood that has been sealed with a penetrating stain will resist exposure better than untreated cedar.
Conclusion:
Cedar is a beautiful wood that can be used in many ways. Cedar also has a nice aromatic smell which makes it an excellent choice for outside applications such as decks and siding. It’s best to take care of it so you can enjoy its use for years to come.

