WoodenuKnow.com is a participant in the Amazon Services LLC Associates Program, an affiliate advertising program designed to provide a means for sites to earn advertising fees by advertising and linking to Amazon.com and may earn from qualifying purchases.
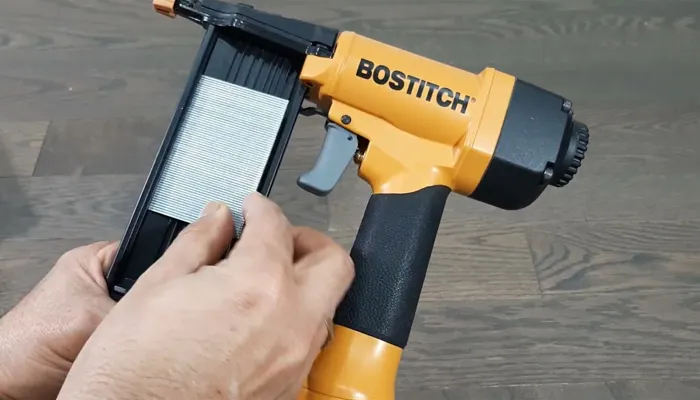
Bostitch nail guns are fast and user-friendly power tools that allow you to build things quickly. Using these tools, nails can be driven into hard surfaces quickly and easily. You may have trouble loading a Bostitch nail gun if you are unfamiliar with how to load a Bostitch nail gun.
A Bostitch nail gun is tough to load if you aren’t familiar with doing so. Without properly loading the gun, you risk jamming the tool and causing damage. It can also cause an accident if the gun is not handled correctly.
Most people’s first instinct is just to cram as many nails into the gun as quickly as possible. This is an inaccurate approach.
It is necessary to place the nails in the magazine in a specific order so they will align when you pull the trigger. Continue reading to learn how to fill a Bostitch nail gun the right way properly.
What is Nail Gun Loading?
Nail gun loading is the process of putting the nail clip into a magazine so it can be driven into a surface with a staple gun. Staples use compressed air to drive nails into surfaces, and the nails must be in the magazine for the gun to work properly.
There are different types of nail guns such as:
But most follow this same principle. Moreover, each gun uses different nails, which come in various lengths and thicknesses.
How to Load a Bostitch Nail Gun in Proper Way?
A Bostitch Nailer is an excellent tool for anyone who wants to do some home repairs. It can be used for building a deck or putting up new shelves. Bostitch nails guns are also used for more industrial purposes such as roofing, framing, and sheathing.
The way you load pneumatic nailers will depend on the specific model. There are some general steps that you can take to make sure that you are loading the gun properly.
Step 01. Disconnect the Nail Gun From its Power Source:
The first step is to disconnect the nail gun from its power source. You don’t want to fire a nail while you are loading the gun accidentally.
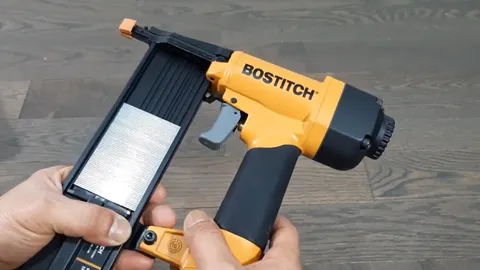
Step 02. Open the Magazine:
Open the magazine to access the chamber where the nails are stored. You can do it by pressing the release button or by manually opening the magazine by holding the slide latch against the nail gun as you pull the slide away from the nail gun.
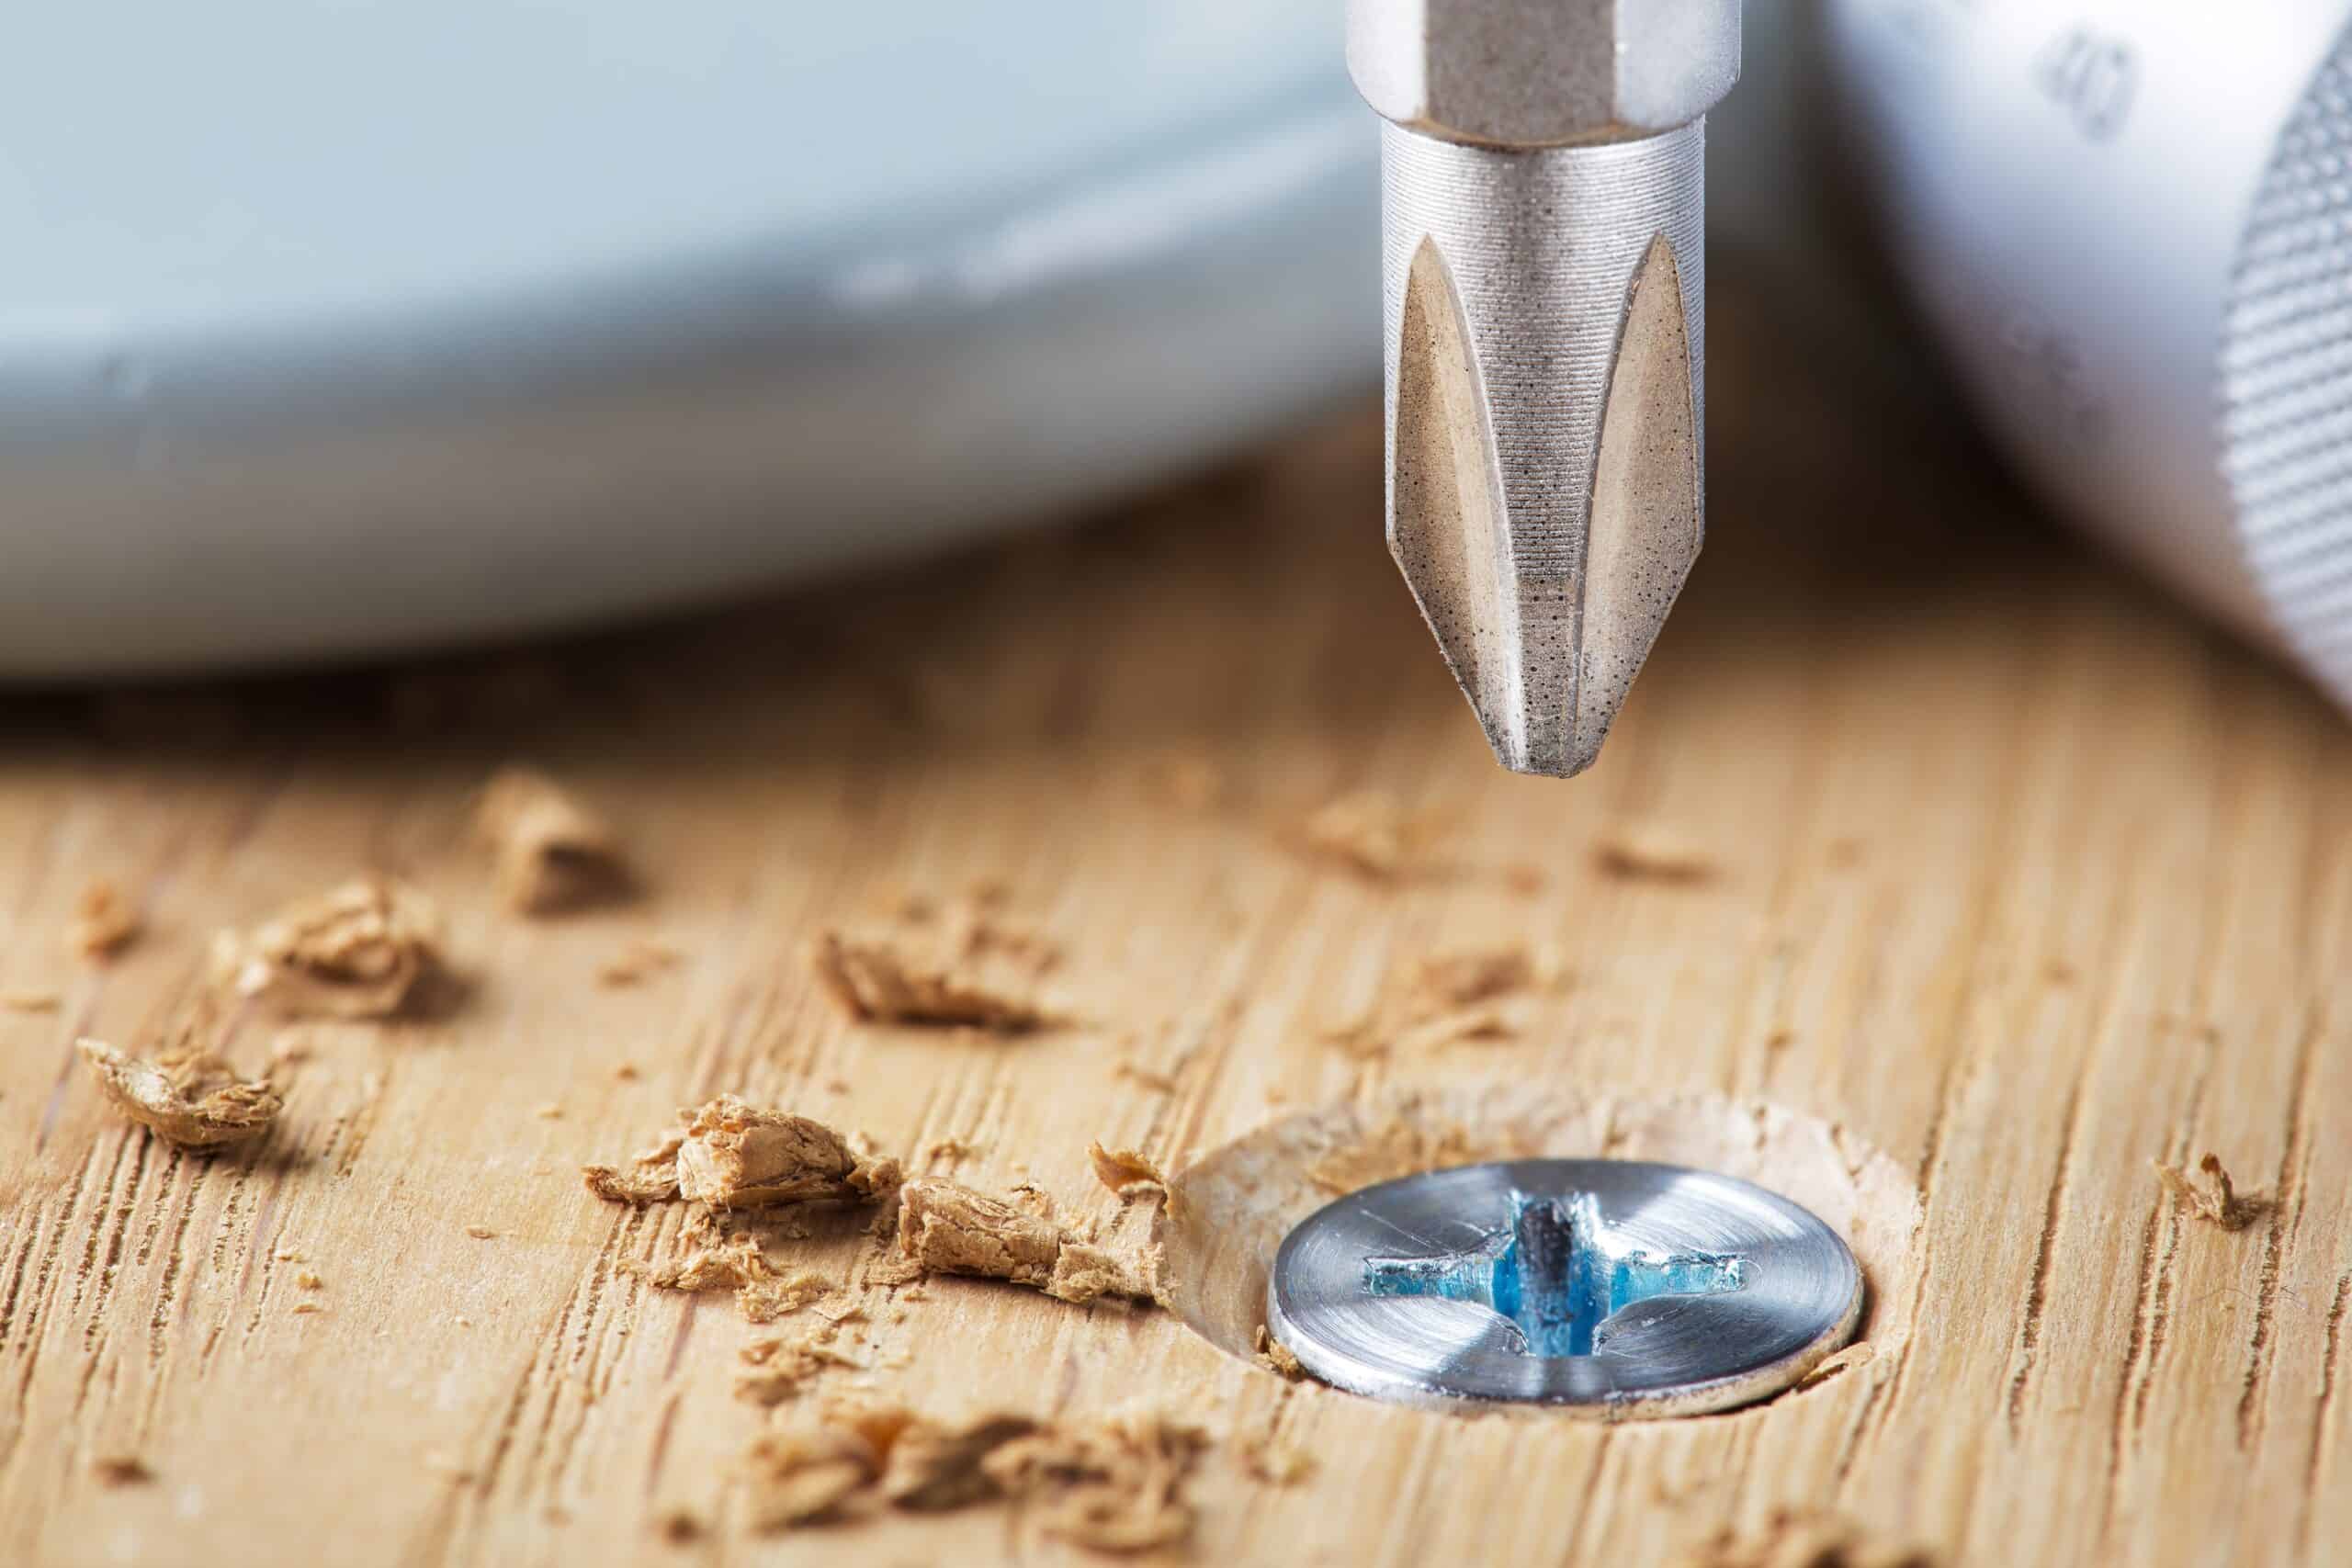
Step 03. Insert the Nails:
Once the magazine is open, you can start inserting the nails. Make sure that you insert them in the correct order and face the right direction. The nails should be inserted into the chamber with the pointy end first.
You can use a soft hammer to help you if the nails are too tight to fit into the chamber. Just make sure that you don’t hit the nail gun itself or damage it.
Step 04. Close the Magazine:
Once all of the nails are in the chamber, close the magazine by pushing it back into place, sliding it back into the nail gun, or simply releasing the slide and pushing it toward the nail gun until the trigger clicks to complete loading.
Step 05. Connect the Nail Gun to its Power Source:
Connect the nail gun to its power source, and you’re ready to go. Ensure that the safety switch is in the off position before you start nailing.
Now that you understand how to properly load a Bostitch nail gun, you can get to work on your project. Remember always to follow safety precautions and keep the gun disconnected from its power source when loading it.
Why it’s Important to Load the Gun Properly?
A common misconception about nail guns is that they are only used for construction. However, there are many other uses for these tools. They can be used in various hobbies like carpentry and woodworking, arts and crafts projects, or even at home to hang pictures on the wall.
No matter what project you’re working on, It’s essential to load the gun properly because if the nails are not inserted correctly, they can misfire and cause serious injury.
Moreover, if the nails are not in the correct order, they can jam the gun and cause it to malfunction. When a gun jams, it can cause nails to be fired into surfaces that you don’t want them to be fired into. This can damage the surface, and it can also cause injuries.
Another reason why it’s essential to load the gun properly is that the nails need to be lined up correctly for the gun to fire them. If they are not lined up correctly, the gun will misfire, and it can cause the nails to go off in different directions. This can also cause injuries.
So, make sure that you take your time when loading the gun and do it correctly. It will be worth it in the end.
Pro Tips for Avoiding Jams in Your Nail Gun
One of the most frustrating things that can happen when you’re using a nail gun is having it jam. Several different things can cause jams, but there are some pro tips that you can follow to avoid them:
01. Use the Correct Nails:
Jams are caused by using the wrong nails. Make sure you are using the correct ones for your gun. Every gun is different, and each uses a specific nail type. Consult the owner’s manual or ask someone at the hardware store for help.
02. Don’t Overload the Magazine:
Another common cause of jams is overloading the magazine. When you put too many nails in the magazine, they can get jammed together and cause the gun to misfire. Make sure that you only load as many nails as the gun can hold.
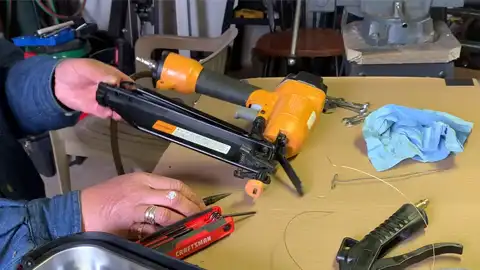
03. Keep the Gun Clean:
Jams can also be caused by dirt and debris build-up in the gun. Make sure that you keep the gun clean and free of any debris.
04. Use the Right Oil:
If your gun is oil-powered, make sure that you are using the right oil. Different oils have different viscosities, and this can cause the gun to jam. Use the oil that is specified in the owner’s manual.
05. Don’t Force the Gun:
If the gun is not firing, don’t force it. This can also cause jams. Try loosening the adjustment screws or changing the power settings. If that doesn’t work, you may need to take the gun to a professional to have it serviced.
By following these pro tips, you can help avoid jams and keep your nail gun running smoothly.
FAQs
Let’s take a look at some of the most common questions that people have about loading a Bostitch nail gun:
01. Can a Finish Nailer Use Brad Nails?

No, finish nailers cannot use brad nails. The two types of nails are not compatible. If you try to use a brad nail in a finish nailer, it will jam the gun.
02. How Do I Know if I’m Using the Correct Nails for My Gun?
Consult the owner’s manual or ask someone at the hardware store. Every gun is different, and each uses a specific nail type.
03. What Type of Nails Can I Use in a Bostitch Finish Nailer?
You can use a variety of different nails in a Bostitch finish nailer. Some of the most common types include brad nails, finish nails, and pin nails.
04. What Type of Nails Should I Use for Hardwood Floors?
For hardwood floors, you should use a finish nail. Finish nails are specifically designed for use with hardwood floors. They have a thin shank and a small head, making them less likely to split the wood.
Final Words
Nail guns are valuable tools to have around the house. A lot of projects are completed faster with them. You can save money by hiring fewer contractors to do things.
Make sure you read the owner’s manual carefully if you are unfamiliar with using a nail gun. It is essential to understand how the gun works and how to load a Bostitch nail gun properly to prevent jamming.
So, make sure you load your gun correctly and that you take your time. In the long run, you will save both time and money. Follow these steps and tips to avoid jams and maintain the smooth operation of your nail gun.