WoodenuKnow.com is a participant in the Amazon Services LLC Associates Program, an affiliate advertising program designed to provide a means for sites to earn advertising fees by advertising and linking to Amazon.com and may earn from qualifying purchases.
A chainsaw is a dangerous tool and must be used with care. Chainsaws come with two types: ripping and crosscutting. Rip chains have a narrower tooth design that allows you to cut quickly through wood in one direction. Crosscut chains have wider teeth making it easier to work. A ripping chain is the only way to properly cut through a log or tree trunk, making it an essential part of any chainsaw.
The ripping chain is a special chain with a specialized saw blade that turns at high speeds to cut through material with its teeth. The cutting action of the teeth and speed give it the power to rip through wood or metal making them ideal for construction sites, sawmill, factories, mines, or any other place where you need access between two objects which can’t be removed easily without damaging one side.
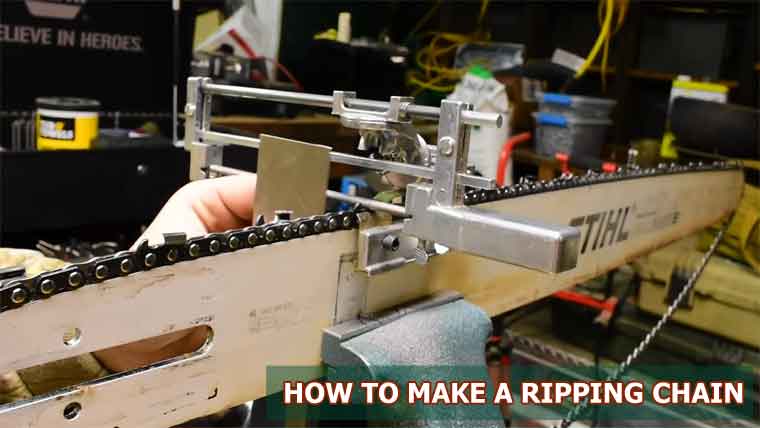
Making a Ripping Chain: Step-By-Step Guide
Making a ripping chain from a regular chain for your chainsaw can be tricky. Here is a step-by-step guide to making the perfect rip cutting chain.
Fix Tooth Size
The tooth size is often determined by what type of wood you’re going to cut and how much power you have in your saw, but always check with an expert before deciding about this. It’s all about finding out which teeth will work best for the material that you’ll need to cut through.
Set Teeth per Inch
A rule of thumb for figuring out how many teeth per inch you should use is four or five on softwood like pine and two or three on hardwoods such as oak (and never more than six). This might not sound right at first, but try it and you’ll see how making the chain stronger will make it more difficult to cut.
Fix Angle per Inch
A good rule of thumb is five or six degrees per inch. Some people like eight degrees per inch (which would be four teeth per inch), while others think that’s too steep.
Set Chain Thickness
Chain gauge doesn’t matter, as long as it’s appropriate for your saw blade. If in doubt, go with a.050 chain or one made from 41 series alloy steel (which has higher strength properties). This should also work well on most other blades used on chainsaws.
Set Width of the Flat Side
The width of the flat side can vary depending on what kind of effect you want to make them wider at the bottom creates more drag and slows down progress. Making them narrower at this point focuses power more efficiently but might not let you use all the power of the saw.
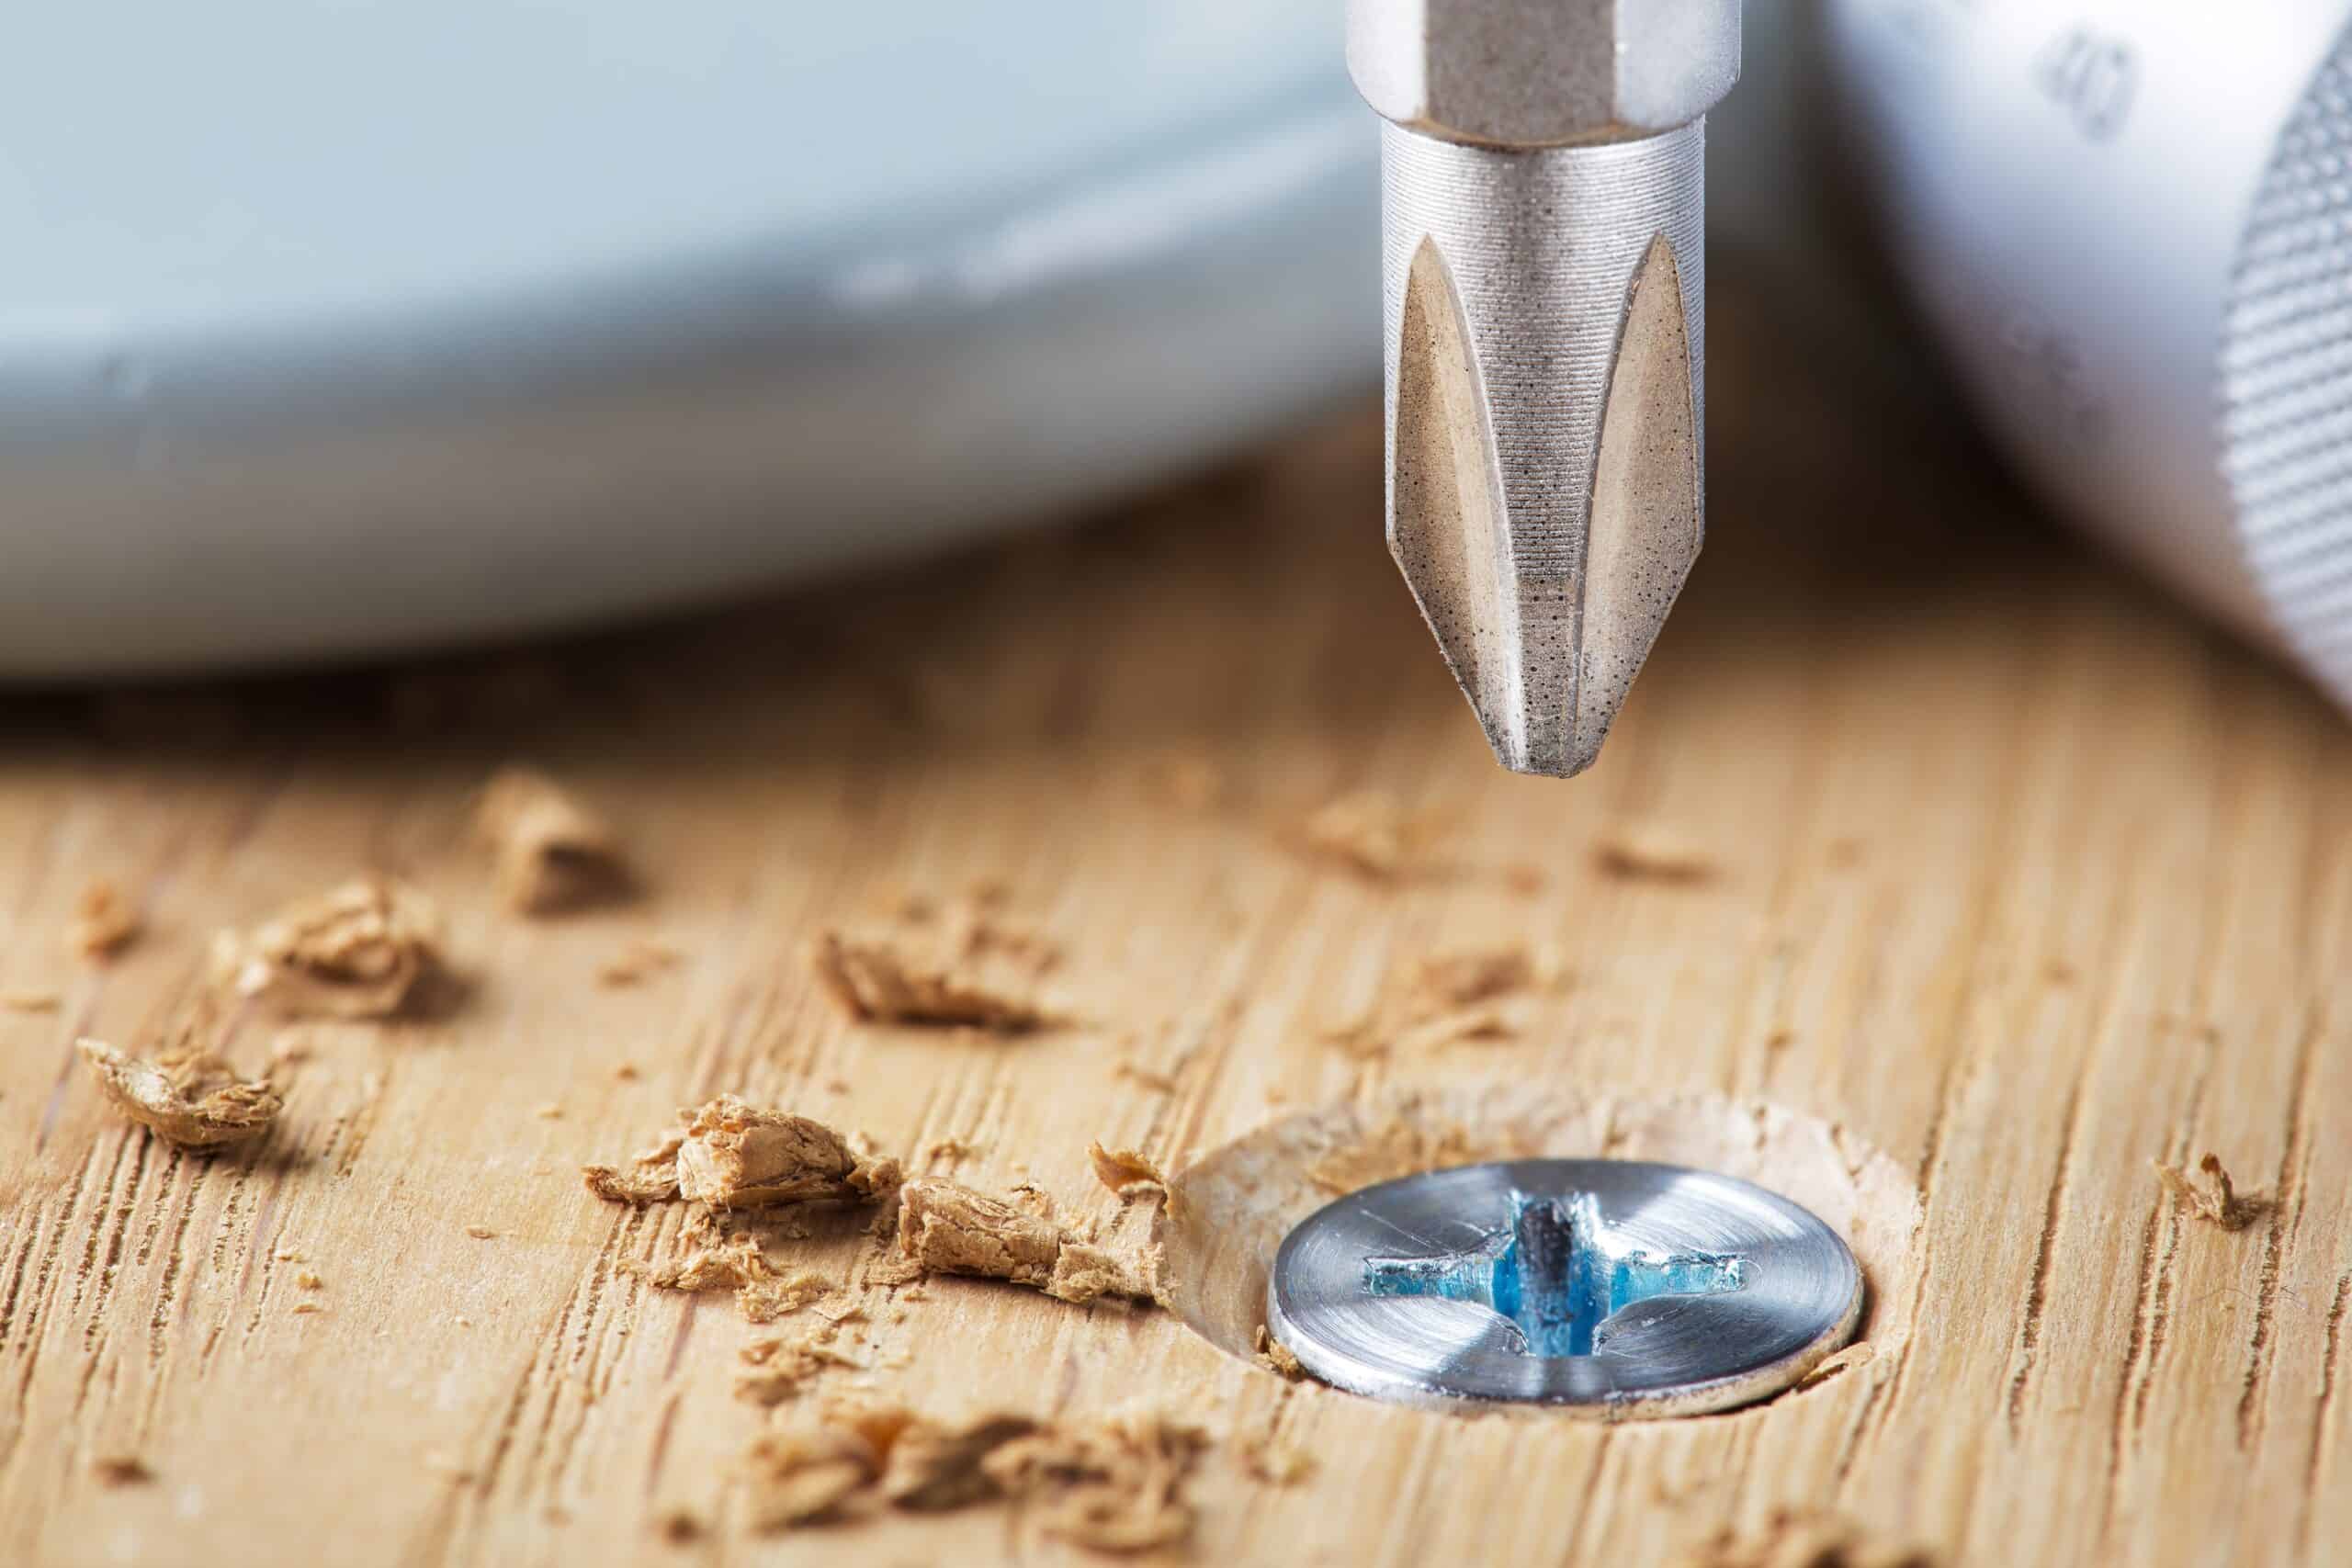
Fix Chain Blade’s Depth
The depth at which you cut into your blade will also influence how well it cuts through material, especially if making slots in boards or crosscuts for small pieces. A deep enough slot can be just as effective but with less wear than a tooth that is cutting all the way to the bottom. This is especially important if making a lot of cuts in one day.
Fix Cut Angles
The angle at which you cut will also influence how well the blade can slice through material, which is why it’s important to make sure that your angles are set correctly before making any cuts.
Fix Chain Size
Consider how long you want the chain. You can’t just use any length since it will change the way the tool is used and make for a hard time making adjustments or changing directions in tight spaces like corners.
Set Chainsaw’s Base Plate Height
Begin by making sure that your chainsaw’s base plate height is set at 90 degrees, then making a line that is the length you need. Use this as your guide and keep it at 90 degrees so that the base plate height will stay constant throughout making adjustments.
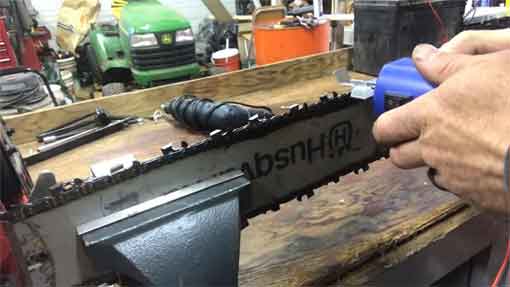
Use a Round File
It’s best to use a round file for making teeth, so that they’re not all straight across but at an angle instead. This is because when sawing through wood, a tooth in one direction can catch on the kerf and stop cutting while another tooth in the other direction keeps going without interruption. The two surfaces of contact between your blade and your material are being alternated with each stroke of your chain saw and this makes smoother cuts and less wear on the blade as well as increased safety.
Set Teeth at the Right Place
Position the teeth as desired for optimal cutting angle and put your foot on the rear of the saw which will cause it to start moving in a downward motion. Push forward with pressure from both hands while making sure that you are pressing down hard enough through wood items being cut! You should be able to make rough cuts by using this technique but if you want an even better result then invest time into learning how to sharpen chainsaw blades properly or purchase one already sharpened (more expensive).
You Might Be Interested: 7 Steps For Removing Mold From Rough Cut Wood
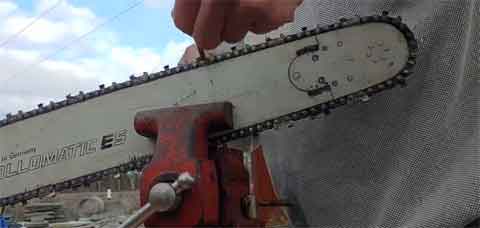
Adjusting Chain
Loosen or tightens as needed by turning sprocket clockwise until loose enough for cutting, then turning counterclockwise loosens up more tooth room if needed. The tighter you make this setting, the heavier pressure is applied to each individual blade making them cut better but also requiring more effort from the user to power through wood resulting in slower speed cuts making less efficient use of time spent using saw!
Wrapping chain
After cutting your chain to size, measure back and add an extra half inch so that it will be easier to wrap around the base plate of the saw blade making no adjustments. Wrap your chain a few times around tightly with pliers or by hand until all ends are secured.
FAQs:
What is the difference between Ripping Chain and Standard Chain?
The ripping chain is a type of chainsaw chain designed to cut through tough, woody materials. The making process for these chains can differ greatly from making a standard chain. One of the main differences between them is that they are specially ground, which produces more force and makes it easier for the blade to penetrate deep into dense material like logs or trees without throwing debris in all directions as much as standard blades do.
What is the difference between full chisel and semi chisel chain?
A full chisel is a type of semi-chisel used in making shallow angle cutters. These chains are different to other options available because they have the highest cutting angles, and also come with more teeth than any other option on the market at present. This special chain can be used for milling as well, meaning it’s not limited only to specific projects that require smoother wood surfaces though this will depend largely on what you’re working with!
When you see a chain that has round-cornered teeth is mostly known as semi-chisel chain. This special chain can only be used for milling projects which means that they are limited by what you are working with.
What size chainsaw do I use for milling?
A ripping chain is one of two types of chains for milling, making it an important consideration when choosing your milling chain. You will need a chainsaw with around 50cc and a larger engine for milling purposes. The gearing should be low and the engine should have a long cutting bar.
Conclusion:
The chainsaw chain is an invaluable tool for the serious outdoor enthusiast. It’s durable, lightweight and will never rust or corrode. It’s important to know how your chain works and have the right tool on hand when you need it. Chainsaws are risky, so make sure you’re prepared!