WoodenuKnow.com is a participant in the Amazon Services LLC Associates Program, an affiliate advertising program designed to provide a means for sites to earn advertising fees by advertising and linking to Amazon.com and may earn from qualifying purchases.
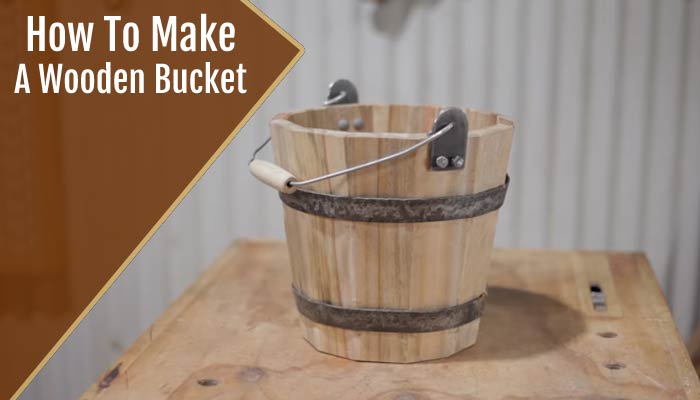
Many people dream of having a wooden bucket, but few know how to make one. There are many uses for buckets.
This article will show you how to create your own wooden buckets so that you don’t have to spend money on a new one.
How to Make a Wooden Bucket on Your Own?
If you want to assemble your own buckets, this article will show you how. There are a few steps involved in making it but they’re not difficult to understand.
Step 01: Cut the Slats and Make the Templates
First, you’ll need to cut several slats for your buckets. You can use a circular saw to cut them or have them cut by someone else. It’s better to round the corners but it’s not necessary if you don’t want to take the time to do it.
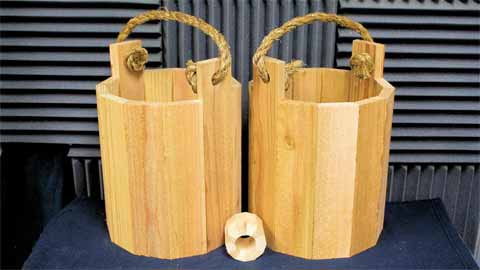
You should also think about cutting out templates for the figure of the buckets. Some people prefer only one handle on their bucket, while others prefer two handles.
Label each template so that you know which one is which after finishing with them.
Step 02: Assemble Your Templates
Once you’ve cut all of your slats and made your templates, attach one template onto each slat, marking where it needs to be with a pencil dot before moving onto the next one.
Step 03: Cut the Details
Once you have all of your templates together, you should cut out the details in the slats. This is where a table saw comes in handy because it will enable it easier to slice through each slat.
Be sure to take your time when doing this step because if you construct any mistakes, you won’t be able to go back without ruining what you’ve already done.
Step 04: Attach All of Your Slats Together
Now that all of your slats are free from their templates, move on to attaching them all using screws. If you’re using two-handled buckets, simply attach a single handle on each side at this point. Otherwise, place them close to each other so they can be attached later in the next step.
Step 05: Making Your Pockets for the Handle
Next, you’ll need to create pockets for your handle inside each marked location. Drill holes in these locations so that your handle will fit snugly inside of them once it’s attached later on.
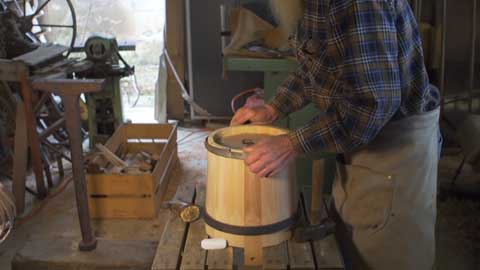
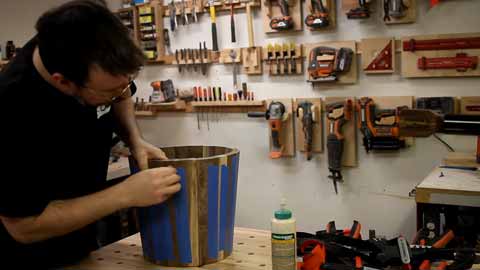
Step 06: Assemble All Pieces
Now, bring all the pieces and join them all into a single bucket figure using nails or glue. It’s recommended that you apply woodworking glue because it’s sturdier than just using nails alone but either way is fine as long as you use something to hold your items close tightly.
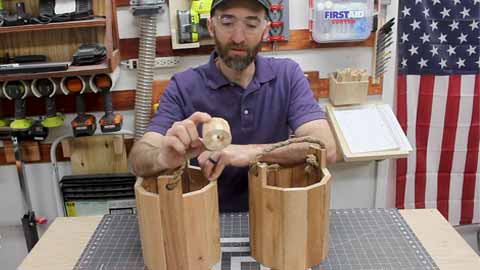
Step 07: Putting the Bucket’s Base in Place
Now it’s time to put your bucket’s base in the bottom place. Utilize a saw or some sort of tool to cut through the bottom slat so that water can easily drain out of the bucketful.
Keep in mind that the more you cut out, the less durable your buckets will be but if you’re using woodworking glue, this shouldn’t matter much.
Now it’s time to finish your bucket’s base by adding on a thin layer of wood. This is where it will be used clamps or weights to hold everything in place tightly so that no glue seeps through your slats after attaching this piece onto the bottom.
Step 08: Final Touches
To finish off this project, sand down the sides of your finished buckets with a sander to smooth out any rough spots or edges.
Then, apply a paint brush to coat the bucketful in primer and then paint or stain it however you want. After that, this will be used as a water sealant on your finished long-lasting project!
Other Things You Need for a Wooden Bucket
01. Detailed information about the wood
The wood for your bucketful will depend on the desired frame for it. If you want a circle figure, then you’ll want to apply plywood.
If you want an oval figure, then this will be used oak with some braces for stability. You can also apply oak if you want a square or rectangle shape, but it may be difficult to find the proper size because most home improvement stores only carry panels in standard sizes.
02. Copper Strap Information
When you prepare a bucketful, you have to have a thin copper strap that will hold the lid set up. The copper strap should be about five inches from the top of the slats and placed correctly in between two slats.
03. Calculating the Gap between the Rims of Your Bucket
Start making your bucket’s rim. You’ll need to calculate how wide it needs to be and where the rims of each template need to be put on the slats.
All you’ll need is a pencil and small chunks of wood which you can apply as spacers.
04. Waterproofing Option
Water should never get into the woods of your buckets, especially if you’re using it to carry drinks or any other liquids that should be kept out!
You can apply a sealant that is waterproof over your finished product and then paint or stain the exterior however you want for extra protection.
05. Troubleshooting Wood Bucket Issues
When you mark bucketfuls, you’ll want to be sure that they will be able to handle weight. If you overload the wood with too much rain or other liquids, it might warp and crack if the wood wasn’t treated properly.
06. Option to Add a Metal Ring
If you’re making a wooden bucket for farming purposes, you have the option of adding a metal ring near the top of your buckets.
The purpose of this metal ring is to lift and carry the buckets without touching any part of it.
What is a Wooden Bucket?
According to Wikipedia, a wooden bucket is a bucket made from wood. It is usually made by carving a piece of wood. Wooden buckets are commonly used in making paint, for cleaning purposes, or to create wood.
Some people prefer them because they are less expensive than metal buckets, but they will do well if you are looking for something more inexpensive.
Materials Needed to Make the Bucket
These are the few number of tools that are needed for this project:
- A circular saw
- A table saw
- Wood, cut into rectangular pieces about an inch thick
- Rubber gloves or waterproof gloves
- Drill with small drill bit
- Paint brush
- Paint or stain
- Water sealant
Uses for Wooden Buckets
There are plenty of uses for these types of buckets. Here are some helpful ideas to get you started:
- Carry any liquids
- Store at home or outdoors
- Use as an ice bucket for parties
- Mix ingredients for projects like cement, paint, etc.
- Hang plants from the rim of your bucketful with fishing wire to get them off the ground for easier care
- Use as salt or sand buckets outside for your porch steps
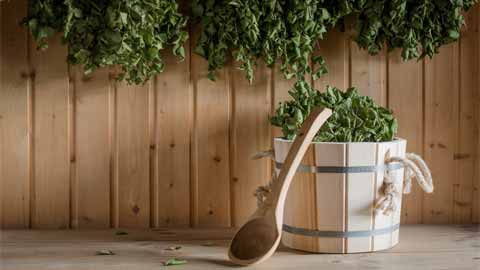
- Use as a plant pot
- A helpful tool in any emergency situation
How to Choose the Right Size and Shape of Bucket?
If you’re looking for helpful tips to determine the size and figure mark of your bucketful, then check out this helpful guide to get you started:
i) The best dimensions are about five inches thick and eight inches wide. This will allow it to handle liquid weight without causing damage or warping.
ii) Use a larger size if you want something that’s easy to carry around.
iii) Use a smaller size if you want to be sure the overall circle shape mark of your buckets is appropriate for storage or organization in any way.
iv) If you want something that is square or rectangular, then choose a thin piece of wood and add braces for strength.
v) If you want something with an arched lid, determine how high the arch should be before shaping your bucketful for this type of lid.
Frequently Asked Questions
01. How Thick Should The Wood Pieces Be?
Ideally, your wood should be around three-quarters of an inch in thickness. This will give you the most durability while still being affordable and easy to work with.
You could also use thicker slices of wood or thinner ones if you want; it doesn’t matter too much!
02. What Size of Bucket is Best?
The best size is around eight inches wide and five inches thick. If you reduce it too small, then it won’t be able to handle weight properly and won’t hold enough liquid, and if it’s too big, then you’ll get the opposite problem.
Make sure to use your best judgment when sizing yours!
03. Could I Use Plastic or Metal Instead of Wood for My Project?
Both plastic and metal containers work well. Each single has its benefits and drawbacks for this project, so you’ll have to decide which is the best option for your needs.
Plastic buckets:
Pros – Cheaper than wood; Doesn’t rot
Cons – Can crack if it’s not thick enough; Is a lighter color
Metal buckets:
Pros – Durable; Doesn’t rot
Cons – Expensive; More difficult to work with if you are inexperienced in metalworking.
04. How Can Buckets Help in Emergency Situations?
Yes, of course. Having plenty of clean water in an emergency is very important! You can use your bucketful to store fresh rainwater or melted snow, then you can purify it when you’re in need.
To increase the amount of liquid in your buckets, all you have to do is punch a hole at the bottom and stick another singular underneath that so they connect. This will let you fill up your bucketful to the brim!
Last Words
In summary, wooden buckets are a fun project for anyone with the time and patience to build something unique. All it takes is some basic woodworking skills, the correct materials, and an affordable jigsaw that can cut through your chosen type of board.
When making your own wooden buckets at home, keep safety in mind by wearing protective gear such as goggles and gloves.