WoodenuKnow.com is a participant in the Amazon Services LLC Associates Program, an affiliate advertising program designed to provide a means for sites to earn advertising fees by advertising and linking to Amazon.com and may earn from qualifying purchases.
Pocket hole jigs are a great tool for making strong joints in woodworking.
The most common type of pocket hole jig system is self tapping, which means that it will drill its own pilot hole through your work piece and then tap threads into the surface to make a tight fit with a screw.
Unfortunately, these tools can be quite expensive upwards of $100 or more.
Fortunately, there are other options available for doing this same task without having to buy any equipment! All you need is yourself and some time to invest in learning how they’re done.
How to Make Pocket Holes Without a Jig : Effective Methods

Before we get into the various ways you can make a pocket hole jig without a Kreg jig, let’s take a moment to discuss what exactly these things are and why they’re so useful in woodworking.
What is a Pocket Hole?
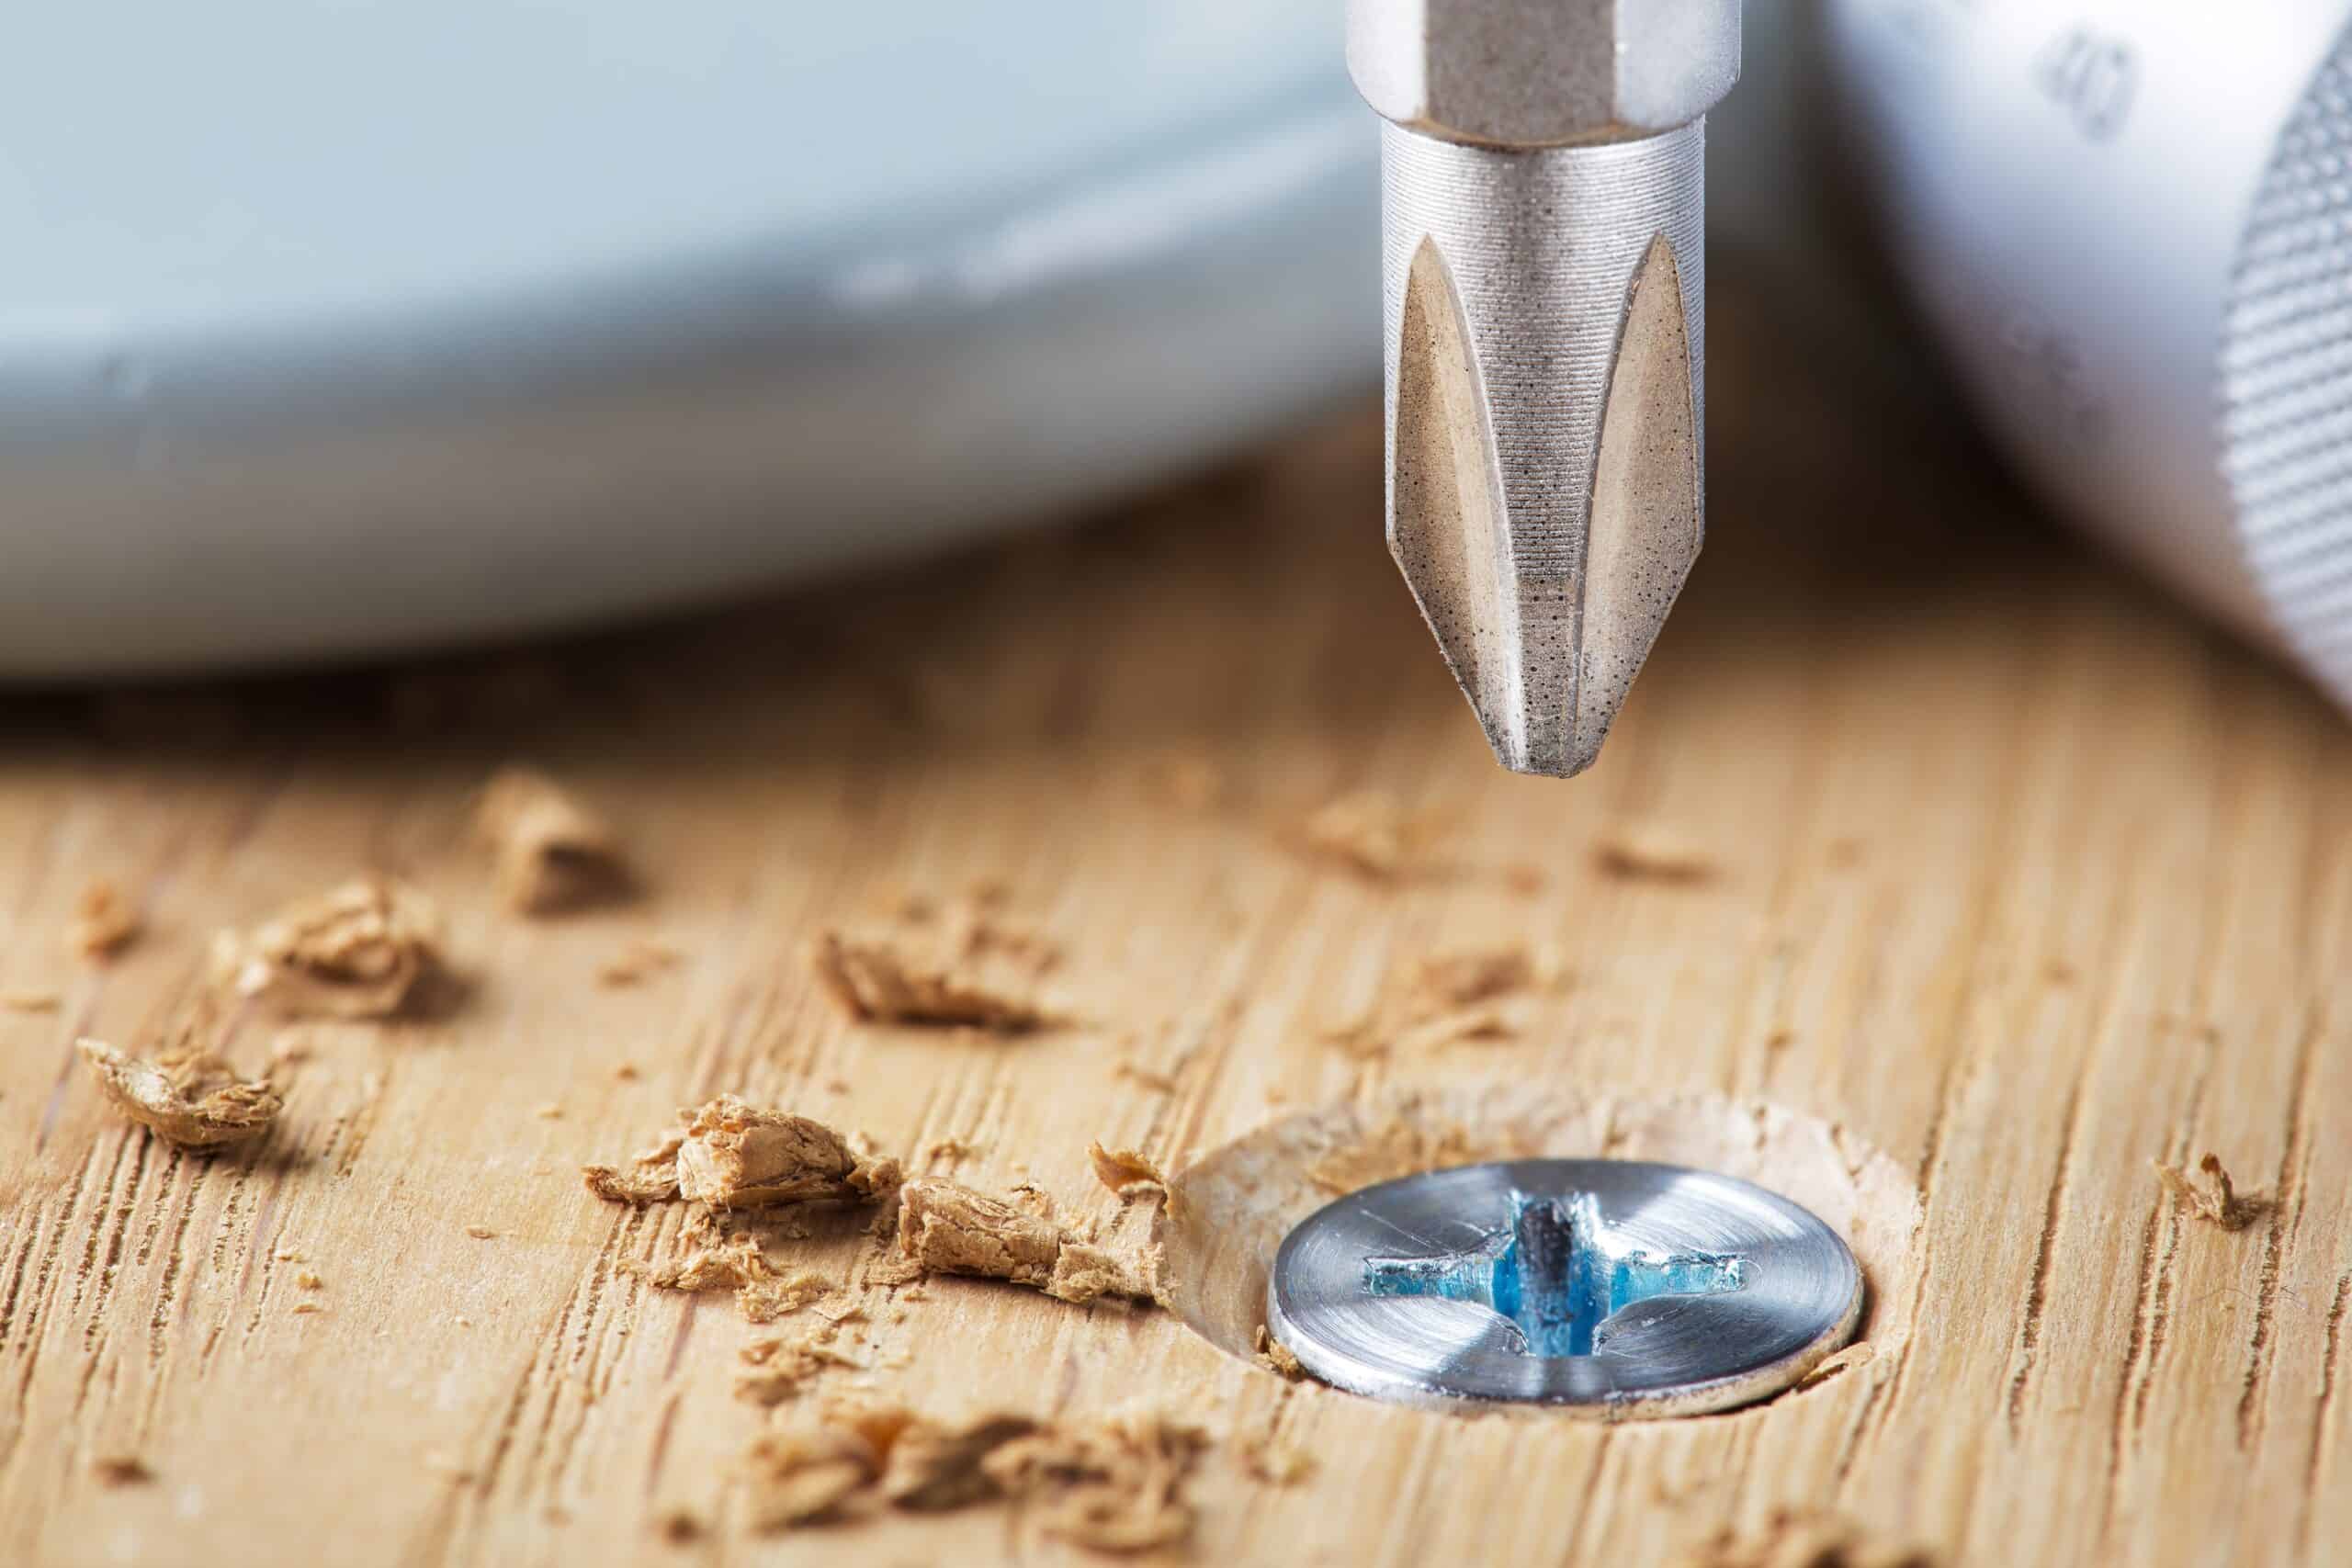
Pocket holes are simple joints that are made by drilling a hole in the edge of a piece of wood. In conjunction with some sort of clamping (like a Kreg jig clamp), you can then Kreg screw this piece directly into another similar piece, forming a near perfectly aligned pocket hole joint that is extremely strong and durable thanks to the screws holding everything together.
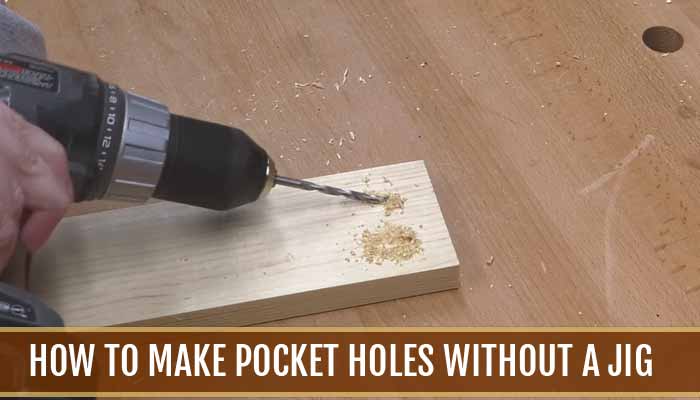
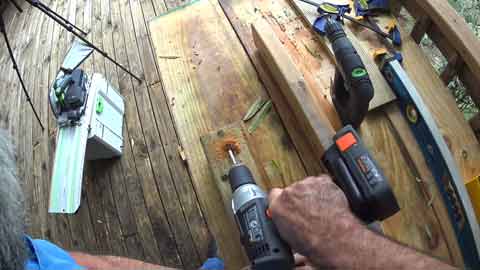
Method 01: Locate drill spot
Start by locating the desired spot to make your hole. You can either use a ruler or even something like string if you want, but an easier way is to just mark it on the wood using a sharpie marker in the area you need to drill. Be sure that the center of this marking is actually where you’re going to drill the hole.
Method 02: Use drill bit
Once you have your mark on there, it’s time to drill! Simply use a standard pocket hole jig drill bit and keep the speed low when inserting it in your hand held electric or cordless drill. If the surface of the wood is smooth, it doesn’t matter how high you go with revolutions per minute (RPMs) just be sure that you don’t go too fast and splinter the wood away.
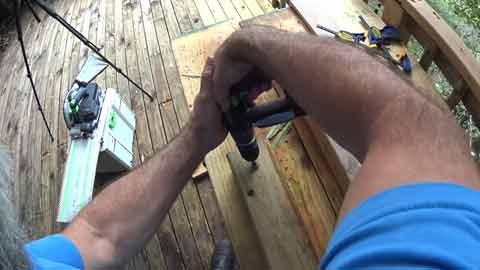
Method 03: Use a hammer
Now, it’s time to hammer! Take your ¼ inch drill bit and place it in the chuck of your drill. Then, take a 7/16 inch square punch and tap this into the same spot on the wood. You can also use a hammer and nail if you’d like. The goal is to drive this bit into the hole that you have drilled so far.
You Can Also Read: 2 Easy Methods For Removing Finishing Nails
Method 04: Use drill press
It’s now time for a drill press! With this tool, it’s easy to take your ¼ inch drill bit and start making circular motions while the bit is inside the hole you’ve already created. This will make fast work of drilling a larger hole in the wood where your drill will sit nicely after you’re done with it!
Now that you have a ½ inch or bigger hole there, take some time to adjust your drill press and get it into position so that it will hit the mark you made when you were marking your wood.
It’s a good idea to check if the drill bit is actually hitting where it should be touching at this point, instead of further down on the wood. You can do this by simply checking to see if the ¼ inch hole that was already drilled has been filled in.
Method 05: Keep the focus on the hole
With your drill set up, put on some eye protection and just use the drill press to make circular motions in the middle of the new ½ inch hole. You should be able to see the drill bit sink into the wood a little bit on each pass you make. Just keep going until it has gone down at least ¼ inch or more!
Now, take out your 7/16 inch square punch and tap it into the hole that is already there. Keep tapping until you have a perfect little divot in the middle of your hole.
Method 06: Use countersink
It’s time to countersink! Using a standard square countersinking tool, you can take this handy gadget and squeeze it into that divot so that it creates a new “pocket” there as well. This is where you’ll be putting in the pocket screw when all is said and done.
Method 07: Put in screw
Now, it’s time to put in your pocket screw! Just take a standard ¼ inch screw and push it into the new little pocket that you created in the previous step. In most cases, the glue from your wood will help keep this secure on its own. If not, just use some wood glue to put on a good coating of that.
Method 08: Check out the hole
Now, it’s time to finish off the project! Test out your new hole by simply seating it over some wood and trying to make the pocket hole screw hold there without being pressed down manually at all. Ideally, you should have created enough of a pocket for this purpose! Repeat steps 1 to 8 if not.
Congratulations
You have just created your own pocket jig hole without a Kreg jig! If this worked for you, then it can work for anyone and that’s why we’re here! We want to show the world how easy it is to create these holes by hand.
The Advantages of Making Pocket Holes Without a Jig Are:
No. 01: You don’t have to worry about the hole being too big or small this is done for you already and consistently every time, since it’s really just a matter of setting your drill press up to a certain depth by using guides that are provided.
No. 02: It’s just a lot faster to do it this way! There’s no need to adjust anything or spend any time at all measuring out where your pocket screw will have the best grip on the wood so that it doesn’t come loose in the end. This also makes a huge difference when you’re working with hardwood such as maple, oak, or mahogany.
No. 03: There’s no real risk of slipping up and ending up with a pocket hole divot that is the wrong size either since this is all done for you beforehand. It’s really just a matter of pushing it into place!
This makes sense when you think about how they would have to be manufactured if you were going to do it on your own as well. It’s a lot faster and easier to just make them one size and then use that template over and over with no real risk of slippage or slipping up in any way.
Frequently Asked Questions
There are a variety of searchable questions and answers regarding these popular techniques that may be beneficial for your future or current woodworking project.
01. Why choose this technique over a drill press?
i). You can adjust the depth at which your screw goes in based on the thickness of the wood.
ii). This technique is perfect for completely customizing the size and shape of your pocket hole joinery divot from one round hole to many hexagonal shapes.
iii). This method is quick and gives you total control over how the entire project will turn out.
02. Is this more efficient than a drill press and clamp?
Yes, of course. With this method, you can complete the project without ever having to measure or mark at all you are completely in control of how your pocket holes will turn out and where they will be placed on your material from start to finish.
This is 100% free so there’s no need to worry about any costs (unless you already own the drill and 1/4″ screw bit, of course).
03. Should I worry if one half of a hole is larger than the other?
Unfortunately, pocket hole joinery divots are not always symmetrical. This is a problem that many people in our community have encountered multiple times, especially when using corded drills. The vast majority of the time, this issue can be avoided by using a drill press.
04. How do you fix a hole with one side bigger than another?
i). Simply flip the board over and drill it again until you get a pocket hole joinery that is perfect from all sides.
ii). Once your pocket holes are drilled, measure them with a ruler by marking one side at each end of the “divot” in order to determine which side is bigger than the other making your corrections as necessary before marking the other side of your divot with a pencil.
iii). If you don’t have a ruler, just make sure it’s facing upwards when you draw your markings!
05. What kind of wood works best for these kinds of pocket holes?
This is really just going to depend on every factor imaginable such as the type of drilling method you’re using, how dry or wet your wood is, where you got your wood from in general, and so much more!
Summery
Pocket holes are great for a variety of projects, but they can be difficult to make without the right tools. Luckily there’s an easy way that doesn’t require any power tool or clamping. Now you can create the hole yourself instead of relying on a tool and that you can adjust the depth at which your screw goes in based on the thickness of the wood. Hopefully, these pocket hole techniques will help you out in your next project!