WoodenuKnow.com is a participant in the Amazon Services LLC Associates Program, an affiliate advertising program designed to provide a means for sites to earn advertising fees by advertising and linking to Amazon.com and may earn from qualifying purchases.
Unlike ordinary decks made of wood, glulam beams are made of several layers of lumber glued together. This makes them incredibly strong and durable, but also more susceptible to water damage.
Since they’re often used outdoors, like decks and pergolas, they’re particularly vulnerable. Yet what can you do about it? Staining is a good approach because it penetrates the wood and helps protect it from moisture.
With the right product, you can also add a bit of color to your douglas fir glulam beam while you’re at it. But how to stain glulam beams for preserving and coloring them? Nothing to worry about. You can follow the steps in this article. Let’s begin.
How to Stain Glulam Beams in 5 Steps?
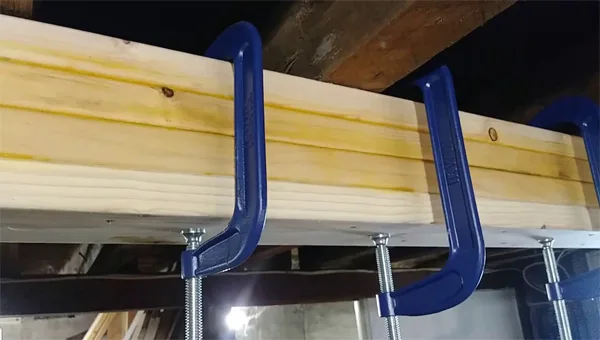
Glulam beams are a type of engineered wood that is made by bonding together multiple pieces of lumber. Applying a stain to glulam laminated timber beams is a great way to protect them from the elements and extend their lifespan.
In order to ensure that the stain is applied evenly and correctly, there are a few steps that should be followed.
1. Choose the Right Type of Stain
There are two main types of stains that can be used on glulam beams: water-based and oil-based.
Water stains are typically more user-friendly and easier to apply, but they may not provide as much coverage or protection as oil-based stains.
Oil-based stains penetrate deeper into the wood and provide better protection against the elements, but they can be more difficult to apply evenly.
When choosing a stain, it is important to consider the intended purpose of the stain. An oil-based stain would be better if you want long-term protection against the elements.
But if you’re looking for a stain that will just enhance the color of the wood, a water-based stain is the way to go.
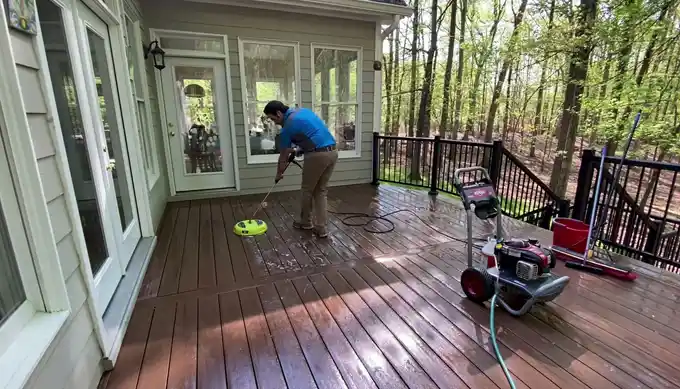
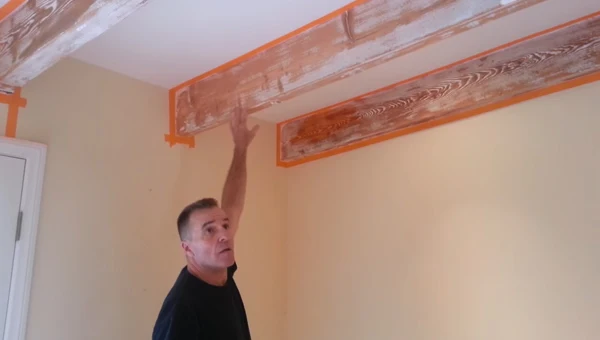
2. Prepare the Surface of the Wood
In order to ensure an even finish and avoid streaks when staining douglas fir glulam beams, it is important to properly prep the glue line wood.
The first step is to sand the beams with fine-grit sandpaper in order to create a smooth surface. Next, any dust that has accumulated on the beams should be removed with a damp cloth.
Finally, a pre-stain conditioner should be applied to the wood in order to help the stain evenly penetrate the surface.
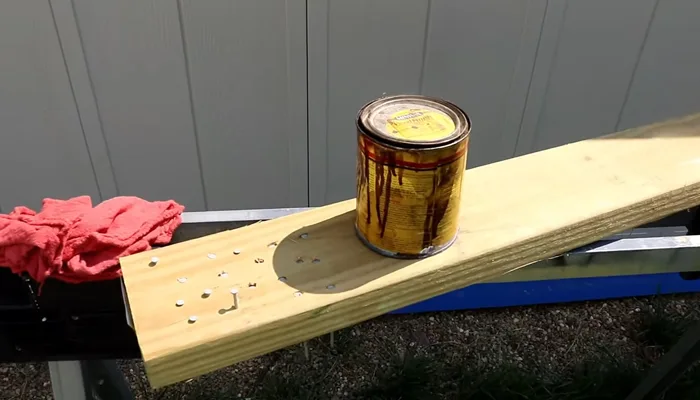
3. Apply the Stain Evenly with a Brush or Roller
If you are working with a very large glulam timber beam building material, it is best to use a brush or roller to apply the stain evenly.
First, pour some stain into a paint tray. Then, dip the brush or roller into the stain and apply it to the beam.
Be sure to work in small sections and brush or roll in the same direction in order to avoid streaks. Finally, you should start at one end of the beam and work your way toward the other end.
4. Let the Beam Dry Completely Before Using It
Depending on the type of stain that you used, this could take anywhere from 24 hours to 48 hours. You can speed up the drying process by using a fan or by placing the beam in a sunny location.
But it is always good to err on the side of caution and give the beam plenty of time to completely dry before using it.
5. Apply a Second Coat of Stain (Optional)
If you want to add an extra layer of protection or enhance the color of the douglas fir glulam beam, you can stain it again. Just be sure to let the first coat dry completely before applying the second coat.
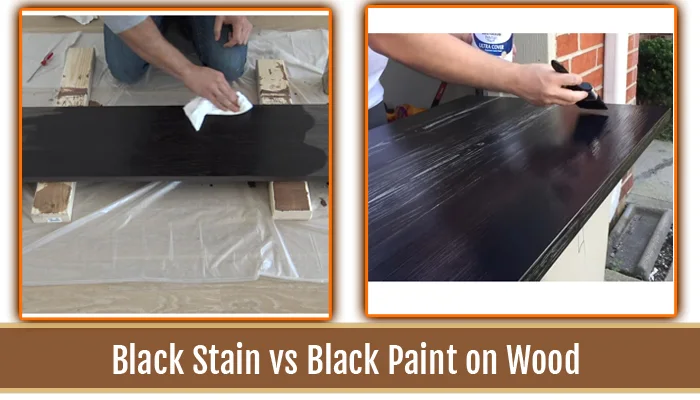
And you can follow similar steps for staining glulam columns. Alternatively, you can also paint your beams after staining them if you prefer a more uniform look.
Added paint over staining will protect the beams from the elements and make them consistent in color.
When Should You Stain Glulam Beams?
As strong and sturdy as glulam beams are, they are not immune to the effects of time and weather. Over time, the sun can bleach the wood, while moisture can cause it to warp and rot.
For this reason, it is important to regularly stain and seal glulam beams in order to prevent the elements from damaging them.
The best time to do this is in late spring or early summer before the hottest days of summer arrive.
This will give the wood stain and sealer ample time to dry and cure before the beams are exposed to high temperatures and direct sunlight. By taking care of your glulam beams, you can ensure that they will last for a long time.
How Do You Protect Your Glulam Exterior Beams?
As any builder knows, glulam beams are an essential part of the construction. Not only are they strong and stable, but they also have a beautiful natural grain that can add a touch of elegance to any project.
Glulam beams are also susceptible to damage from the elements, so it is important to take steps to protect them. One of the best ways to protect your glulam beams is to keep them covered.
This will prevent direct sunlight and rain from damaging them, which can cause cracks and splits. In hot, dry climates, it is especially important to take this step, as the heat can cause the wood to warp.
Another way of protecting glulam beams is to avoid direct ground contact or contact with moisture or wet surfaces. This includes fresh concrete or any other wet surface.
If the beams do come into contact with moisture, it can cause them to rot and break down over time. Finally, you can help keep your glulam beams safe by providing ventilation.
This can be done by elevating the beams and columns on dry lumber blocking. This will allow air to circulate around the beams and helps prevent moisture build-up, which can lead.
How Do You Treat Glulam?

There are two main ways to treat glulam: treating the individual laminations prior to gluing or treating the finished member after gluing. Creosote or pentachlorophenol (Penta) in oil stains is typically used only for finished items.
When treating the laminations before gluing, it is very important to make sure that all surfaces that will be in contact with the adhesive are clean and free of any loose debris. The laminations should also be dry, as wet wood will not bond well with the adhesive.
Once the laminations are prepared, they can be treated with a variety of chemicals depending on the desired outcome. Some common treatments include fire retardants, rot inhibitors, and insecticides. After the laminations have been treated, they can then be glued together to form the finished glulam beam.
Frequently Asked Questions
People often have questions about staining rough sawn douglas fir glulam beams, so we’ve compiled a list of the most common questions and answered them below.
1. How Often Should You Stain Glulam Beams?
It is generally recommended that you stain and seal your western red cedar glulam beams every two to three years. This can vary depending on the location of the beams and the amount of exposure to the elements that they receive.
If the beams are in a protected area or if they don’t receive a lot of direct sunlight, you may be able to extend the time between staining.
2. Can You Stain Glulam Beams a Different Color?
Yes, you can. Just keep in mind that the darker the stain, the more likely it is to show any imperfections in the wood. Other types of stain colors include clear, honey, amber, cedar, walnut, and more.
3. Why Do Glulam Beams Need to Be Stained?
Glulam beams are often used in structural applications where they will be subjected to heavy loads or severe weather conditions.
To protect the beams from rot, insect damage, and ultraviolet light, they must be treated with a stain or sealant. Staining also enhances the beams’ natural beauty, making them a popular choice for use in decorative applications.
Conclusion
Now you have all the information you need to stain your glulam beams. Just remember to follow all of the steps carefully and allow plenty of time for the stain to dry before using the beams.
And for best results, be sure to schedule the staining for a time when the weather is warm and dry.
We hope that this guide has been helpful. So why not get started on your next staining project today? You’ll be glad you did. Thanks for reading.