WoodenuKnow.com is a participant in the Amazon Services LLC Associates Program, an affiliate advertising program designed to provide a means for sites to earn advertising fees by advertising and linking to Amazon.com and may earn from qualifying purchases.
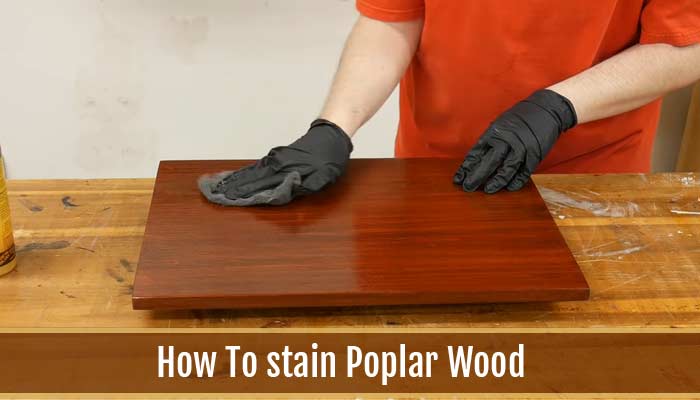
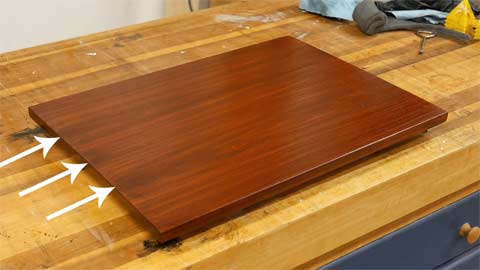
Poplar is a type of wood that has been used as a building material for centuries because it is cheap, fast-growing, and easy to work with. It is easy to get started staining your wood.
In this article, you will learn about how to prepare your wood for staining effectively and easily so you can create an aesthetically pleasing piece of furniture such as a coffee table or dresser in no time.
Step By Step Guide on How to Stain Poplar Wood
These are the step-by-step instructions for smearing wood
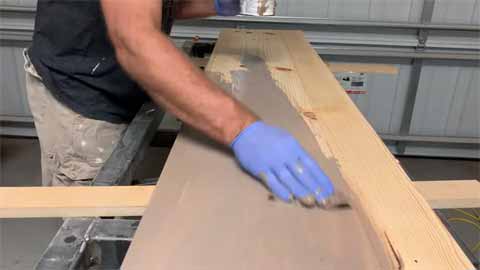
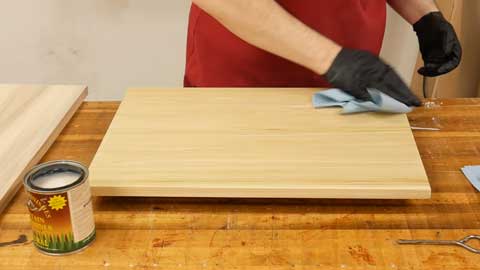
Step 01: Sand off Any Rough Spots or Imperfections
You can use grit sandpaper. The rough spots or imperfections on the surface of the wood can impact the overall appearance of the finished product. Sanding off any rough spots or imperfections will allow for better absorption of the wood stain.
This will help with a better, cleaner coloring and may also help to avoid any imperfections from being left behind after completion of the project.
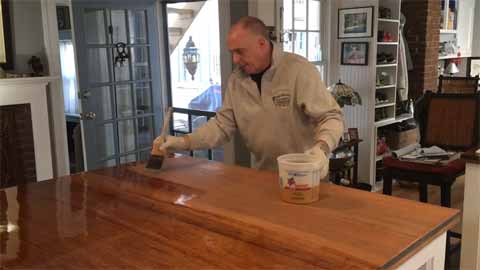
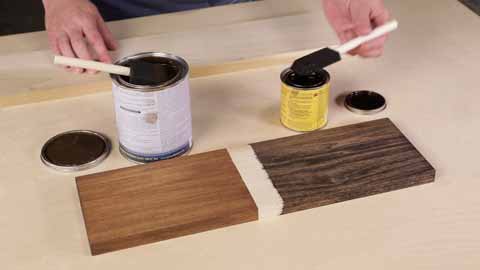
Step 02: Apply the Stain with a Rag or Paintbrush
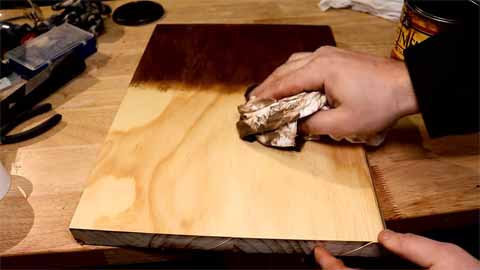
If you’re using a paintbrush, you will need to apply the wood stain in a back-and-forth motion. This is because the bristles are too stiff to allow for staining poplar in one pass. If you are using a rag.
It is recommended that you use a small rag or cloth and work on one section of the wood at a time. You can work on an entire side of the wood or whatever area you wish to stain first.
Step 03: Apply a Polyurethane Sealer
This step is optional, but it will help keep the wood from getting dirty or wet before it smears it.
Polyurethane also helps to protect any bare wood if your project involves other building materials such as glass or metal. Some people may prefer stain alone and skip this step, but it is not recommended.
If you choose to use a polyurethane sealer, make sure that the sealer has been applied to any bare wood areas first and allow enough time for this coat of finish to dry before you begin applying your stain.
Step 04: Apply Additional Layers of Stain
The more layers of stains that are applied to your wood, the deeper and richer the color will become. There is no limit to how many layers of stain you can apply. However, too much may make it harder for the wood to absorb and dry properly.
Each layer should be allowed to dry before applying another coat, or you risk smearing or wiping away the previous layer. The pattern you will need to follow with each layer is the same, whether using a brush or a rag.
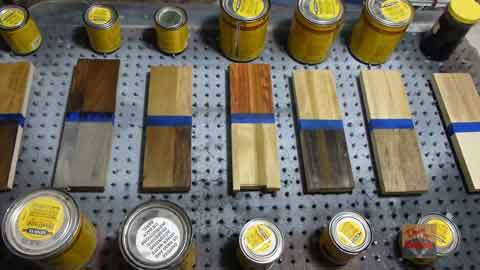
If you are looking to choose a specific color, there are many different types of smears that can provide the coloring you want. However, it may require more than one coat to achieve your desired results.
Some people prefer using water-based smears because they will find that it is easier to clean up. Others may prefer oil-based because they find the odor of water-based too strong and the application process more difficult.
A Related Topic: Simple Tips on Staining Trim Already Installed
Step 04: Wiping off Excess After Each Application
This is a pretty straightforward task, but sometimes people can be tempted to apply the stain before it is fully dry.
Make sure that you allow enough time for each layer of the wood to dry before applying another coat. The more layers of stain you apply to your wood, the deeper and richer the coloring will become.
Step 05: Dry Overnight Before Using it
It would be best if you allowed your project to dry overnight before using it for its intended purpose. This will ensure the stain has had enough time to dry, and it won’t peel or scrape off. It may also help avoid any risk of permanent smearing on other surfaces.
Keep in mind. Some smears may contain chemicals that can be harmful to children. When using a rag or paintbrush, make sure it is not being used by more than one person at a time to avoid passing along any germs from previous users.
Apply stain in a well-ventilated outdoor area for better results.
Step 06: Clean Up Your Tools When Finished
After you’ve finished smearing your wood, it’s important to clean up any tools that were used.
It may be tempting to leave the stain or sealant on the tools and continue using them for other projects, but this can cause smears to become permanent and ruin future projects.
Harsh chemicals are typically found in the smears and sealants, which could not only damage the other pieces of wood but could also damage you.
Additional Tips and Warnings
There are Also Spray-on Wood Stains for a Quick and Easy Application
If you plan on staining poplar for a large project. It is best to use a floor sprayer rather than apply the stain with a brush or rag.
An alternative to using water-based smears would be sanding your wood down first, then applying your desired oil-based stain. There are many differences between the two types of smears, and the results can vary when applied, so it may be best to do a test first to see which one works better for you.
Stain Can be Applied to all Types of Wood, not Just Poplar
Smears can also be applied to hardwood, not just poplar. You should be aware of the type of wood that you are using and what best suits it.
You Might Also Like: Full Guide To Staining Maple Dark
Apply Stain in a Well-Ventilated Outdoor Area
Outdoor smearing is best, but it also depends on the type of stain you want. If you’re looking for deep and rich color, then outdoor smearing is best because the sunlight helps in this process.
One downside to this is that the longer it takes for your stain to dry, the more likely it will be ruined if there are rain or other weather conditions.
Most outdoor smearing is completed with a brush or rag, but you are more likely to see spray-on wood smears for larger projects.
Spray on smears will allow the process to be completed much quicker than applying it with just a paintbrush. Using these types of sprays can also reduce your risk of messes and spills compared to using a brush.
Wear a Mask If Applying Indoors
If you apply wood stain indoors, make sure that you wear a mask to avoid toxic fumes that can lead to nausea, headaches, and dizziness.
If the fumes are particularly bad, you could also have difficulty breathing. This is especially true if you have respiratory problems such as asthma or allergies.
Common Use of Poplar Wood
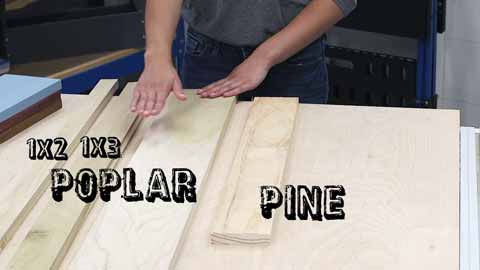
Many furniture frames and molding trim are made of poplar wood.
Because the lumber is straight-grained, it is easy to work with and takes varnish or paint well. The wood is also very cheap and easy to find in a lumber yard.
Poplar is typically used for doors and window frames but can also be used for furniture such as chairs and tables.
Rinse any Spills or Dirt off of the Wood Immediately
Water-based stains, water-based sealants, and lacquer are all harmful to wood.
To avoid this, it’s important to make sure the wood has dried before continuing to the varnish or paint. If you have large spills or a lot of dirt on your wood, use a damp rag to wash the area off before it dries on.
If you notice that there is stain or sealant left on your tools, clean them with water and soap as soon as possible to prevent any stains from becoming permanent.
Some Common FAQs About About Staining Wood
What are the Benefits of Staining Wood?
Staining wood is a great way to make it more unique, elegant and improve its aesthetic qualities.
How do you Care for Stained Poplar Wood?
Since wood stains act like color, they do not need to be primed. However, if some of the organic exteriors, such as color, have been removed by conditions such as decay, then it may be necessary.
Other instances where a light sanding or removal of contaminants may be appropriate is when painting poplar with glossy paints, which could lead to added layers over time with inconsistent paint.
Since there is less possibility for chemical stain reactions, wood can be treated without primer and finish coatings and with a smearing agent that relies on oil. This doesn’t mean that you should neglect. Remember to seal all exposed surfaces after staining.
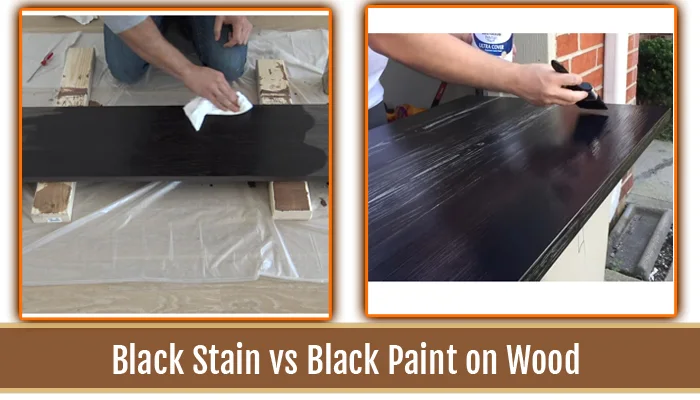
Is it Possible to Paint Stained Poplar with any Paint?
It is possible to paint a stained poplar, but you need to use the appropriate paint. The most suitable paints for stained poplar are the ones that aren’t glossy or that rely on oil or a water-based acrylic finish.
These paints stick well to the wood without bubbling, peeling, or cracking. Using a primer and finish coat is advisable because it creates a good surface for the paint to adhere to.
What are the Types of Oil-Based Products that can be Used with Poplar?
You can use linseed oil, tung oil, or Danish oil. These oils are easy to use and will give your poplar a natural look.
Can I Use a Gel Stain on the Wood?
You can use gel stain. If your poplar wood is stained, then it may be possible to use gel stain on it. Using gel stain will differ for each piece of wood and can only really be determined after testing different types of smears on a small section of the furniture or door frame.
How to Choose a Stain for Poplar Wood?
It’s difficult to say what a particular person will like best since it depends on what they’re going for, but some colors poplar is commonly stained are natural maple, light oak, honey, or yellow.
There’s no right or wrong answer when it comes to smears for wood. Each one offers its own attributes that could enhance the look of your project in different ways.
Conclusion
I hope this blog was helpful in giving you some ideas of how to stain poplar wood. This is a great way to make your project look more unique and elegant and improve its aesthetic qualities.
Remember, while there’s no ‘right answer when it comes to stains for poplar wood, There are many types and colors of stains that can be used on poplar, so you’ll be able to find one that suits your needs.
Make sure you take care of stained poplar by sealing all exposed surfaces after staining. Just remember to use the right kind of paint.
Relevant Article: