WoodenuKnow.com is a participant in the Amazon Services LLC Associates Program, an affiliate advertising program designed to provide a means for sites to earn advertising fees by advertising and linking to Amazon.com and may earn from qualifying purchases.
When it comes to floor installation, using a nailer can be a dangerous endeavor. That’s because when the tool hits the floor, it creates sparks and flying debris that can cause serious injuries to both you and your workers.
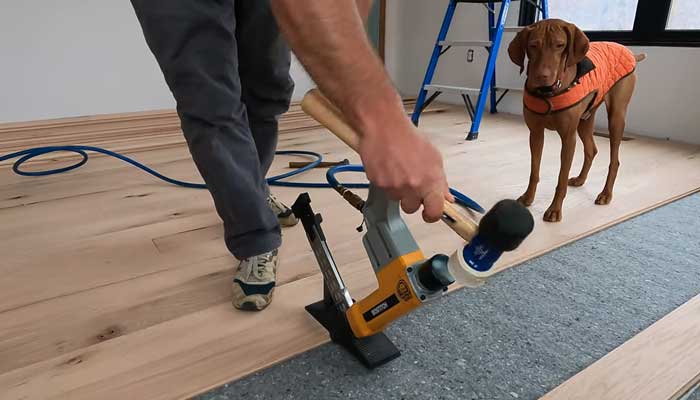
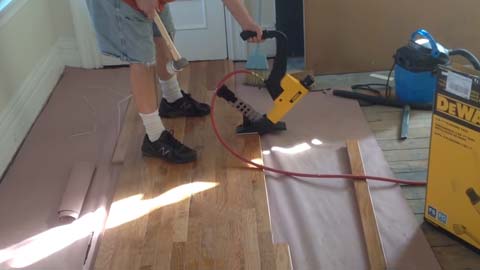
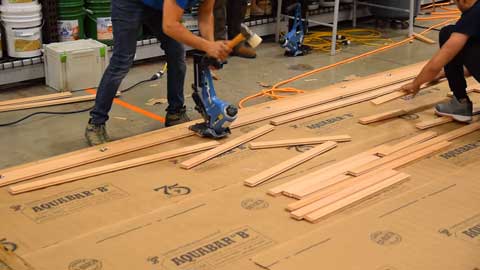
I’m going to show you how to use a flooring nailer to add nails to the flooring that you’re installing. When you start using a hardwood flooring nailer, you may think that you’re going to spend an hour or two putting in your nails.
Instead, you will be surprised at how easy it is and the fast results you get. You can make holes right next to your door or in a different room. It’s quick and very effective!
In this guide, you’ll find everything you need to know to make this floor nailer tool work for you.
How to Use a Flooring Nailer : Easy Guide
There is a purpose for each piece of flooring nailers and equipment. Install hardwood flooring nail guns are no different from other types of power tools.
As with any floor nailer tool, learning how to use it properly is the secret behind its success. We will learn how to install hardwood flooring using a flooring nailer.
Tip #1: Identify Your Customers’ Needs
There are many types of hardwood floors nails. Each type has specific functions and purposes. The most common types of hardwood floor nails include: screw, drop, and spike nails.
Floor nailing can also be used for wood framing, metal framing, roofing, and roof construction. Choosing the type of hardwood floors nail that will work best for you will depend on the needs of your customers as well as the purpose of your floor nailing project.
Tip #2: Choose the Right Flooring Nailer
When it comes to choosing a floor nailer for your project, there are four common types: pneumatic, cordless, impact, and manual.
Each one has their advantages and disadvantages, and choosing one that works best for you and your business depends on the type of floor you’re working on and the style of nails you’re using.
Tip #3: Determine the Length of Each Nail
The length of each nail for flooring is determined by the surface type you are installing your hardwood flooring on and the size of the fasteners used.
In general, a hardwood flooring installation requires a nail spacing of 16mm for most hardwood flooring and 15-18mm for most carpets. If you are installing flooring on a cement or concrete floor, you should use 18mm or 20mm.
The size of the fasteners also depends on the type of wood you are installing it on. If you are using oak/maple wood, you should use a 16mm nail.
Tip #4: Measure the Floor
Before you start nailing on your floor, you have to make sure that your measurements are correct. This will ensure that your hardwood floor is level and even from one side to another.
You also need to measure where you’re going to place the nails so they don’t hit any obstacles such as electrical cords or studs in the wall.
Tip #5: Nails Dry before Hardwood Flooring
Each time you use your hardwood flooring nailer, always make sure that it is functional and dry. This will remove any dirt or debris from the mechanism of the floor nailer tool.
To clean the nails after you’re done using them, blow them with compressed air to remove any dust or other materials.
Tip #6: Properly Grip the Nails
As a flooring nailer, you’ve likely noticed the difference between a good grip and a bad grip on a nail. But if you’re like most people, you might not really understand what makes a great grip on a nail, and that can lead to problems.
The first thing to look for when choosing a grip is the angle of the nail. As a general rule, the longer the nail, the more parallel the nail should be with the floor. The second thing to look for is the size of the nail.
A larger, rounder nail will have a better grip than a smaller, more pointed nail. And finally, it’s important to choose the right material to use when gripping the nail. Using a softer material, like rubber, will create a better grip than using a hard material, like steel.
Tip #7: Pre-Drill the Nails
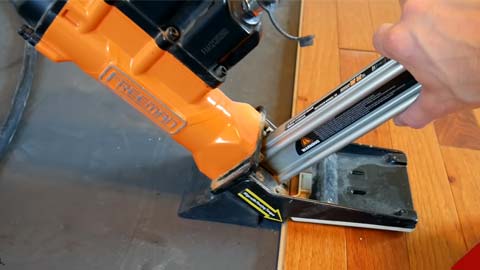
One of the most important things to remember when using a flooring nailer firmly is to drill a nail at the proper angle. Drill or rubber mallet the nail to make sure it’s perpendicular to the surface you’re nailing on.
If it isn’t perpendicular, the nail will get stuck in the floor joists wood and the flooring won’t get a strong hold. This is important because you’re putting your floorboards on top of a previously-existing floor, and it’s easy to see when they’re not lined up correctly.
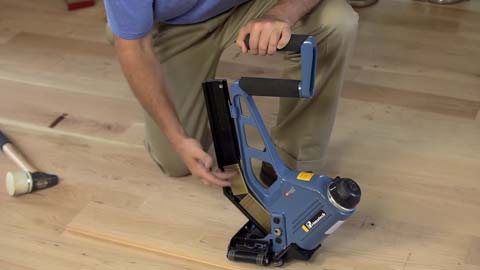
Tip #8: Properly set the depth
One of the most common mistakes that can occur when using a floor nailer is the misplacement of the flooring nailer. This mistake is easily prevented by setting the depth of the flooring nailer.
Before firing the nailer, make sure that you position the flooring nailer at the desired depth for your project. If this step is skipped, it will result in inaccurate measurements and a wasted product.
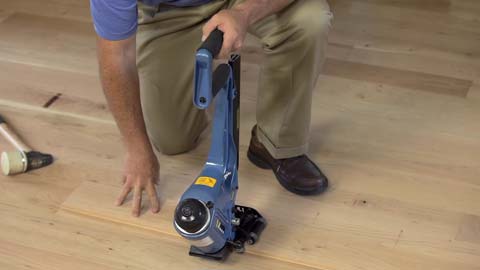
Tip #9: Apply the Right Amount of Pressure
For the best results, use a pneumatic nailer air hose with a trigger that allows you to adjust pressure from a light touch to a firmer grip. Trigger-powered nail gun handles usually have a pressure adjustment, while strap-style models typically do not.
The more pressure you put on the fasteners, the faster the nails will go in. And if the fasteners are too firm, they will push through the surface and make holes where they shouldn’t be.
Tip #10: Keep the floor nailer clean
Before you put your feet on the flooring nailer, take a few minutes to wash your hands and clean any metal parts that might be in contact with the flooring nailer.
You don’t want to contaminate the flooring nailer and then go home and drive over it with a nail. This can result in a bent and a broken nail gun.
Tip #11: Keep Your Work Area Clean
Here are some tips to help you get started. First, make sure the surface is clean and free from dust and debris. Next, use a broom to sweep the area.
Be sure to sweep under furniture, as well as behind it, because dirt can collect there and build up over time. Sweep the hardwood floors, starting in the middle and working outwards. Finally, use a mop to wet-mop and then vacuum the area.
Tip #12: Prevent injuryfloor
The best way to prevent an injury is to work with the correct equipment. The only way to be safe is to use safety gear during using a manual nailer or finish nailer. You need to wear it all the time and keep your body protected.
When using a pneumatic air compressor, you need to wear safety clothing to protect you from possible injuries.
You need to wear coveralls, long sleeves, and a hard hat. If you don’t, you could hurt yourself. You should wear safety goggles, ear plugs, and a mouth guard when using a pneumatic hammer.
You should also wear protective footwear. This includes work boots, gloves, and safety shoes. You should also wear work gloves to prevent your hands from being injured.
Conclusion
In conclusion, you can be sure that you have a quality floor and are proud of it when you apply floor nailers to hardwood flooring, concrete, vinyl, laminate, tiles and more.
Now, the tips on how to use flooring nailers are now clear, but you should always look for a quality and reasonably priced unit with great reviews. Thanks for reading.