WoodenuKnow.com is a participant in the Amazon Services LLC Associates Program, an affiliate advertising program designed to provide a means for sites to earn advertising fees by advertising and linking to Amazon.com and may earn from qualifying purchases.
The process of CNC milling wood can be complicated if you’re new to it. You might not know what type of wood to use or how to prepare it. Even experienced woodworkers can struggle with CNC milling. This isn’t like traditional woodworking, so it takes a while to get used to.
A few helpful tips for CNC milling wood can make the process easier and ensure a great result. Basically, a CNC machine is a computer-controlled machine that is used to cut wood, metal, or other materials. Using a spinning router bit, the machine cuts the material based on a design.
Let’s look at some five tips for CNC wood milling according to our expert computer numerical control professionals.
Here Are 5 Helpful Tips for CNC Milling Wood
CNC milling wood is a great way to add accuracy and efficiency to your woodworking projects. If you’re new to CNC milling, or even if you’re an experienced machinist, there are a few things you can do to ensure that your projects turn out just the way you want them to. Here are five tips to help you CNC mill wood:
Tip No: 1. Design in Adobe Illustrator or Inkscape and Export it as SVG
Before you can export your design as an SVG file, you’ll need to create it in a vector drawing program like Adobe Illustrator or Inkscape. Once you’ve got your design ready, follow these steps to export it as an SVG file:
i. In Adobe Illustrator, go to File > Export > Export As.
ii. In the Export Settings dialog box, choose “SVG” from the Format drop-down menu.
iii. Click the “More Options” button to open the SVG Options dialog box.
iv. Make sure the “Use Illustrator Objects” checkbox is selected, then click “OK.”
v. In the Export Settings dialog box, click “Export.”
vi. In Inkscape, go to File > Save As.
vii. In the Save As dialog box, choose “Plain SVG” under the Format section.
viii. Click “Save.”
Once you’ve exported an SVG version of your design, you’re ready to load it into your CAM software and start milling wood.
Tip No: 2. Set up Your CNC Machine Properly and Upload the SVG File
In order to start milling wood, you will need to properly configure your CNC machine before you can start milling wood. Follow these steps to upload your SVG file:
- Unpack your CNC machine and assemble it according to the instructions. Ensure all the connections are secure and the machine is level.
- Install the appropriate software on your computer. This will typically be a CAD or CAM program that can generate the necessary G-code for milling.
- Connect your computer to the CNC machine using a USB cable. Once connected, you should be able to control the machine from your computer.
- Load the SVG file of your design into the CAD/CAM program. Adjust the settings as necessary to ensure that the file is properly converted into G-code.
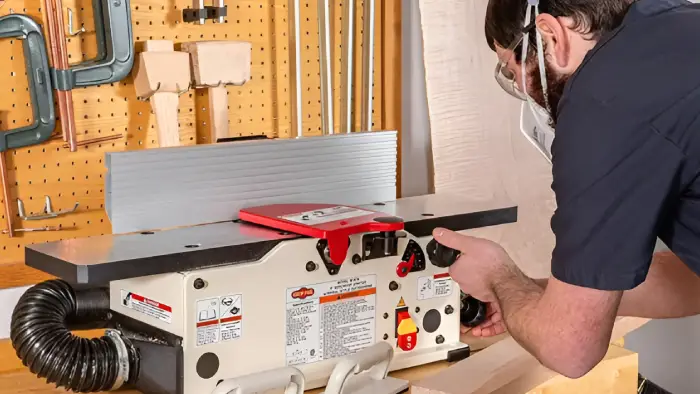
Tip No: 3. Choose the Right Type of Wood and Secure It
There are a variety of woods available, each with its strengths and weaknesses. For example, hardwoods are strong and durable but can be challenging to work with. While softwoods are easier to mill, they may not be as strong or durable.
The next step is to secure the wood. This can be done by clamping it down or using a vise. You can also use double-sided tape to keep the wood in place. And finally, make sure the wood is flat and level before you start milling.
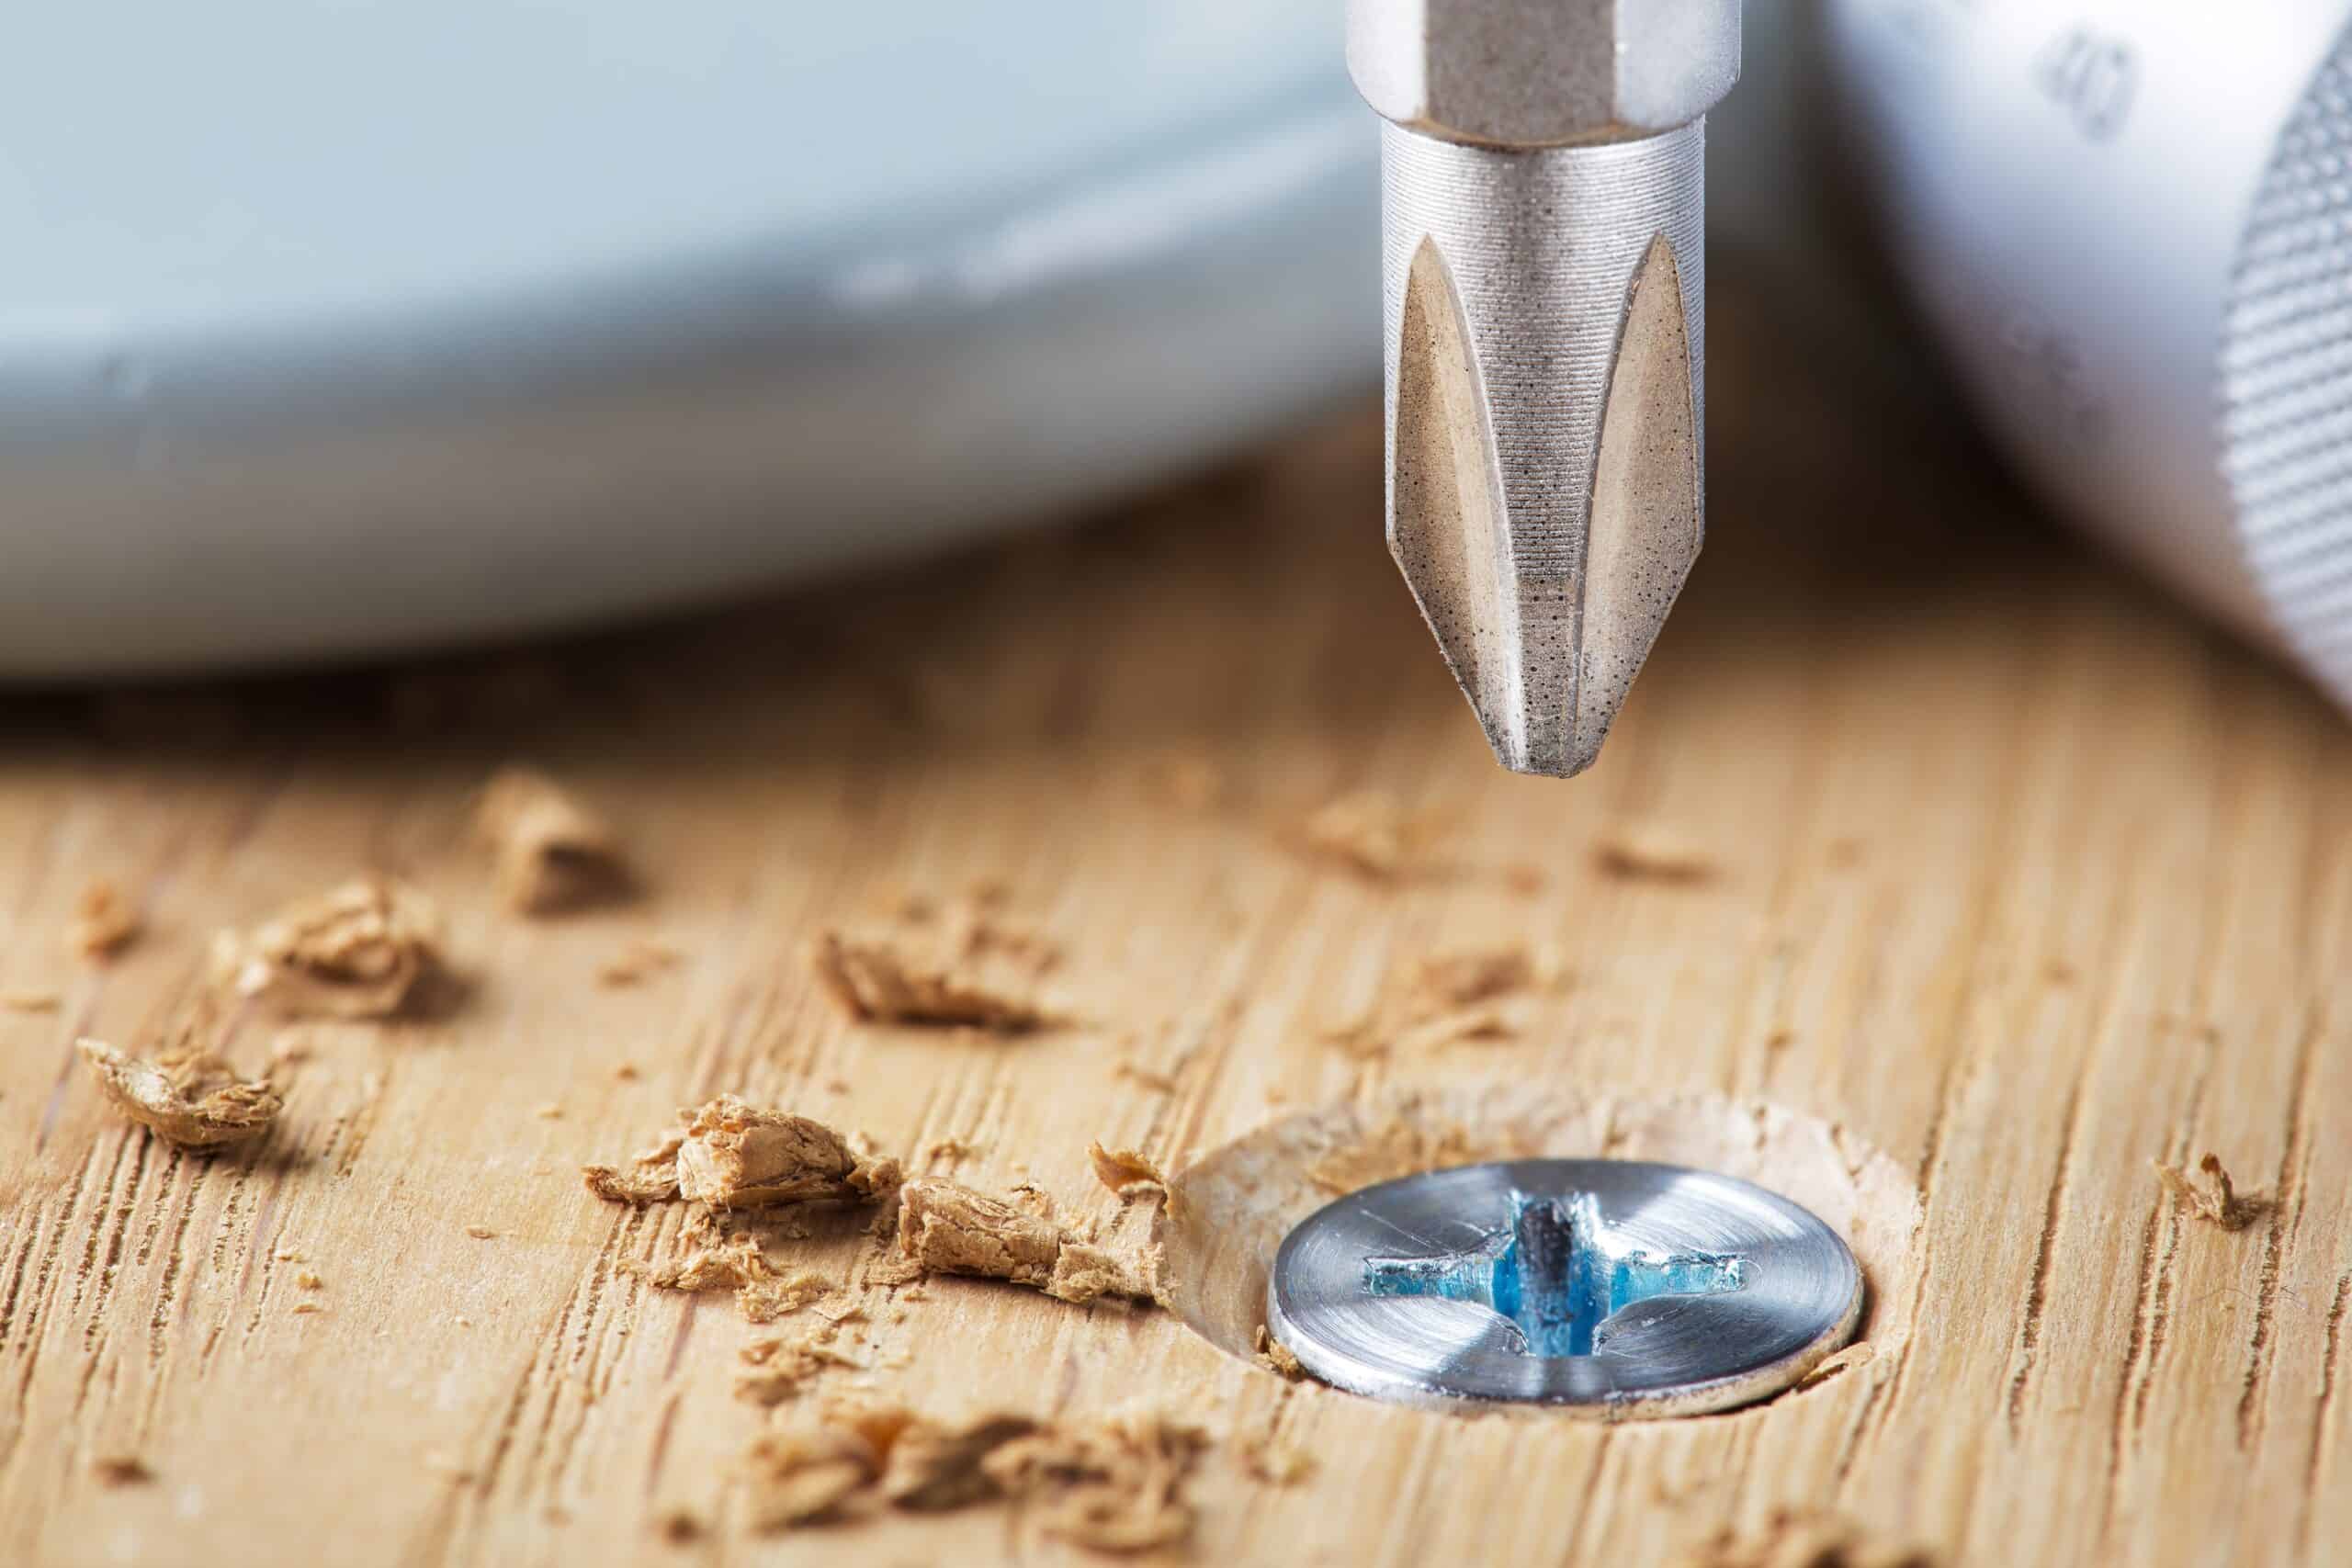
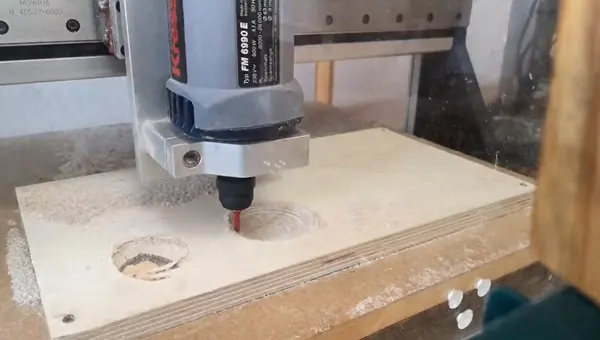
Tip No: 4. Use the Right Router Bit
While many different types of router bits are available on the market, only a few are designed specifically for use with a CNC machine. Here are four steps to choosing the right one:
i) Select a router bit with a carbide tip. Carbide is significantly more durable than steel and will stay sharp longer, making it ideal for CNC machines.
ii) Choose a router bit with the appropriate flute size. The flute is the spiral groove that runs down the length of the router bit and allows chips to be removed from the workpiece. A larger flute is typically better when using a CNC machine, as it can remove chips more effectively.
iii) Consider the overall shape of the router bit. The shape of the router bit will determine the type of cuts that can be made. For example, Straight bits are best suited for making straight cuts, while Edge form bits are designed for cutting profiles and shaping edges.
iv) Finally, ensure that the router bit has a compatible shank size. The shank is the part of the router bit that fits into the collet, so it’s essential to ensure that the shank size is compatible with your CNC machine.
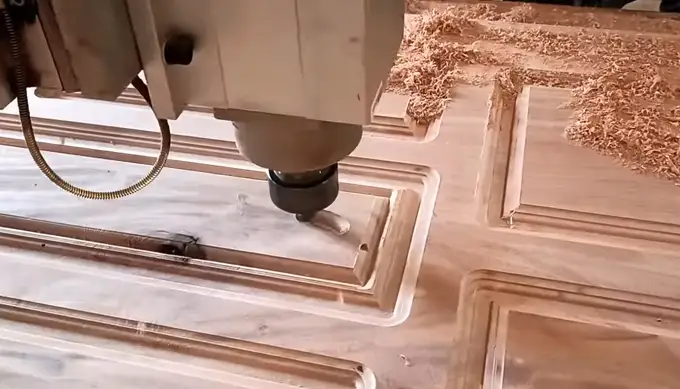
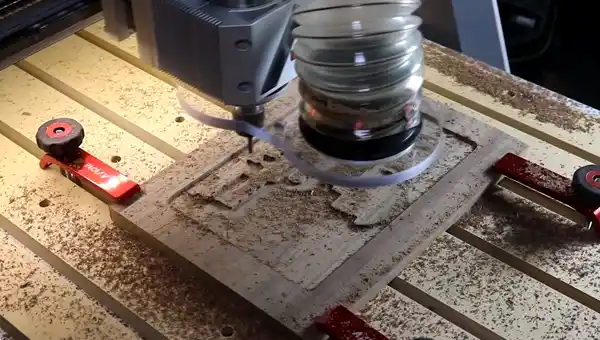
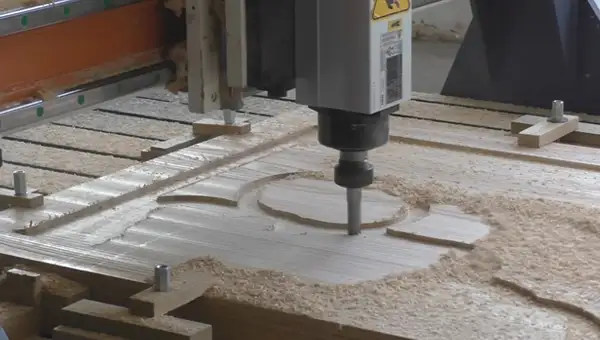
Tip No: 5. Follow the Toolpaths Carefully
Now that you may start milling, it’s essential to follow the toolpaths carefully. The toolpath is the path that the router bit will take as it cuts through the wood. You can usually see the toolpath on your computer screen, so you know where the router bit will go.
As you follow the toolpath, keep a few things in mind. First, the router bit will cut in a counterclockwise direction, so ensure you follow the toolpath in the same direction. Second, keep the router bit level at all times to ensure an even cut. And finally, don’t forget to use safety equipment, such as ear protection and safety glasses.
Frequently Asked Questions
While the tips mentioned above will help you get started with CNC milling wood, here are a few frequently asked questions that you may have:
1. What wood is best for CNC?
Regarding CNC routing, not all wood types are created equal. For the best results, you’ll want to work with hardwoods like Maple, Walnut, Cherry, and Ash. If you’re looking for a softer option, Cedar and Cypress is your best bet. Keep in mind that the type of wood you use will affect the kind of bit you need, as well as your feeds and speeds.
2. Is laser cutting cheaper than CNC?
Laser wood cutting is often seen as the more expensive option when compared to CNC wood cutting. This is because laser cutting machines can be pretty pricey to purchase. Furthermore, laser cutting also requires more power so the operating costs can be higher.
3. Is Basswood good for CNC?
Basswood is ideally suited for milling with a CNC router. The wood is soft yet solid and stable, making it easy to work with. As well as being straight and even, it makes laser cutting and engraving easy. Basswood is also very popular for signs and trays.
Conclusion
As you can see, there are a few things to keep in mind when milling wood with a CNC machine. By following the tips outlined in this article, you can ensure that your project turns out just how you want it to.
Each type of creative work has its tricks and tips, so remember to research as much as possible before you start your project. With a little knowledge and practice, you’ll be able to create stunning woodwork with your CNC machine.
We hope you found this article helpful. If you have any other questions about CNC wood milling, feel free to contact us. We’re always happy to help.