WoodenuKnow.com is a participant in the Amazon Services LLC Associates Program, an affiliate advertising program designed to provide a means for sites to earn advertising fees by advertising and linking to Amazon.com and may earn from qualifying purchases.
Have you ever tried to hammer a nail with your hand? It doesn’t work very well. That’s because it takes time and effort to get the nail in place, and if you don’t use enough force, the nail will bend or break. A finish nail gun can do this job much more quickly and efficiently than hammering.
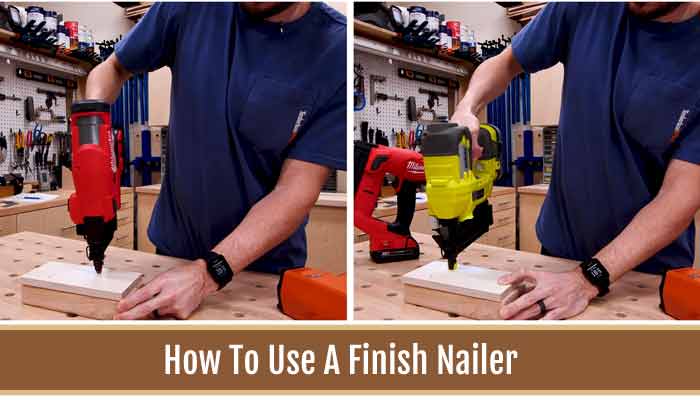
Whether you’ve never used a finish nailer before, or you’ve attempted to use it, but have been unable to figure out how it worked, then this article is for you. A finish nailer is very easy to use if you know the right technique. This article will discuss how to use a finishing nailer properly so that you can get back to your project as quickly and efficiently as possible.
Why Should You Learn to Use a Finish Nailer?
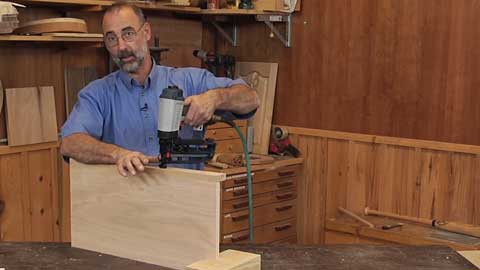
It is important to know how to use a finishing nail gun because it can make your work easier. It’s also safer to use than some other methods of nailing something in place. What is a finish nailer good for? Finish nailers used for finishing new construction, such as installing baseboards, crown molding, chair rails, and other kinds of trims. It will allow you to complete your work in less time than it would take if you were using other methods.
How to Use a Finish Nailer : Easy Guide
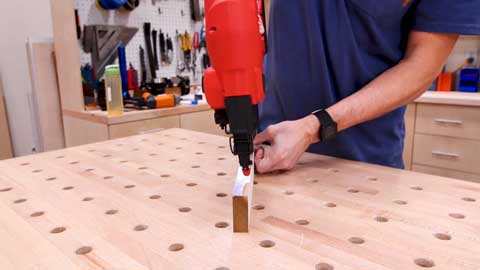
A finish nailer is a power tool used for installing small thicker nails or staples to woodworking projects. The nailhead should be below the material’s surface, which you can do by adjusting your aim upwards. Finish nailers are often battery-powered and use compressed air as their source of energy. Below is a step-by-step procedure for using a finish nailer:
Step 01: Load Your Finish Nailer
Your finish nail guns should have a magazine that holds a certain number of nails. First, you need to load the thin finish nails into the magazine and then push them until they click into place. Ensure that the nail length and gauge are compatible with your finishing nail gun, and then load them into the magazine.
Step 02: Set The Depth of Your Nail
The tip or nose of the nail guns can be adjusted so that it goes below the surface of the material you are working with. This means that no nail will emerge unless you press down on the trigger unless pushed into something else.
First, decide how far below the surface you want your nails or staples to go to set this properly. Once you are satisfied with the depth, use a marker to mark where the tip of the nailer will be when it’s in this position.
Step 03: Line Up Your Tool
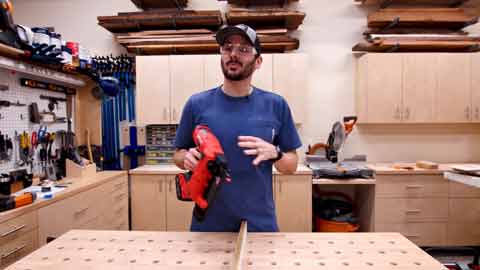
Next, you have to decide where you want to start nailing. Line up the cordless finish nailer so that it is just a bit above where you want the nails placed. This will give the nails some room to enter into the wood without going through from the backside of your material. You can always make it longer if you need to.
Step 04: Squeeze the Trigger
Now, aim and align the end of your material with the edge of the nailing surface. Press the trigger and pull the handle back to shoot nails. The power should come from your arm rather than your wrist. This is best done by framing a few nails first before working on large projects.
Once you have completed this, you can progress to more advanced projects. Remember that the proper way of using a finish nailgun is always crucial for your safety and success when completing any project on time. Now, get out there and nail something.
Step 05: Unload Your Finish Nailer
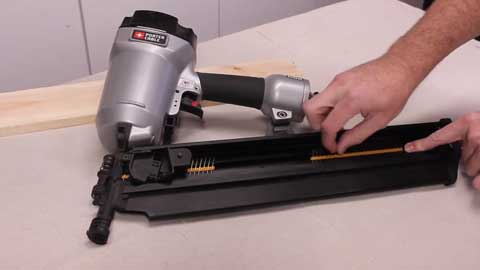
When you are done with the project, it is time to stop using your pin nailers. First, squeeze the trigger and push back on the handle so that all nails come out.
Next, if any finish nails are left in the magazine, use a flat head screwdriver or another small device to push them out. If you don’t do this, they could pierce or puncture whatever you are working on next.
Step 06: Clean Your Finish Nailer
At the end of every project, especially if you haven’t used it in a long time, it is important to clean your pneumatic nailers so that they can continue to work efficiently. The finish nails need to be removed so that the magazine can be properly cleaned.
Any dust leftover in your nail gun can cause it not to work as well, which could lead to a serious injury for you. After removing all the nails and dust from your finish nail gun, you can re-assemble any parts taken apart during your cleaning.
Safety Precautions for Using a Finish Nailer
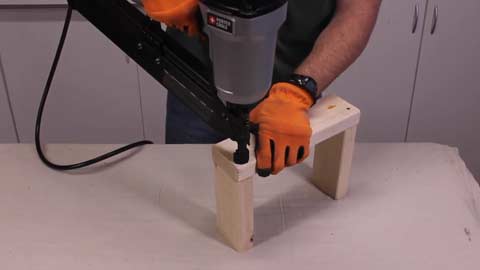
A finish nailer can be used for both big and small projects. However, there are ways to prevent accidents while using them that you should always keep in mind.
1. Wear Safety Goggles: Always remember to wear safety goggles. This protects your eyes from any debris or particles that could come off of whatever you are nailing and hit your face or eyes.
2. Wear Gloves: When using finish nailer or brad nail gun, you should always wear gloves to protect your hands from any injuries or problems. Following this safety tip will also prevent you from slipping and injuring yourself.
3. Stand Out Of The Way: You should always stand out of the way when you are using nearly all finish nailers. This means that whatever material you are nailing should be pulled back or pushed to one side so that if any mistakes happen, it won’t hurt you.
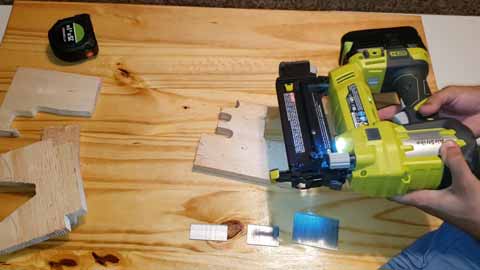
4. Use Both Hands: Always remember to use both hands while using a finish nailer or pneumatic nailer. This ensures that you fully control the tools’ movements and power, preventing any possible injuries.
5. Secure Your Material: Make sure to secure your material while it is nailed, especially if others use it. This prevents accidents while others may need to use it or while it is being transported or moved around.
6. Use the Right Type of Nails and Gauge Nails: Don’t use any nails that are too small for your pin nailer, and don’t use any that are too big either. If you do this, then the tip of your nail could get stuck in the wood or material.
Along the same lines, if you use a too short nail, then it won’t be effective and might even break off. You can also have major problems if the gauge of your nails isn’t compatible with your nail gun.
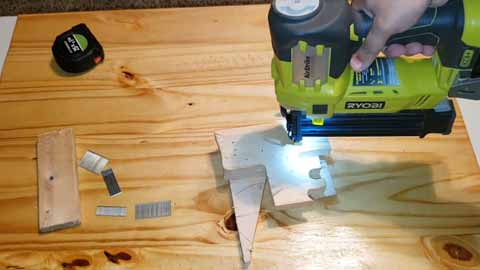
7. Store Your Finish Nailer Correctly: Store it in a safe place where no one will trip or fall over it. Make sure that all the parts are there and put in an organized way where they won’t get damaged or lost. If you do not store your finish nail gun properly, it can become damaged, making using it very difficult.
8. Keep a First Aid Kit Nearby: Keep a first aid kit nearby at all times in case anything goes wrong. Always know what to do in case of an emergency and how to treat any injuries you might get while using your finish nailer.
9. Stay Focused: Stay focused on what you are doing and always control the situation. If you aren’t, then it can cause some serious problems which could lead to an injury. Always remember your surroundings when using pneumatic nail guns.
10. Keep Children Away: Keep children away from where you are working when using a cordless nailer. This should be done even if supervised because there is always the chance of an injury or accident happening, no matter how small.
11. Don’t Use Your Nailer If You Are Tired: Don’t use a finish nail gun or pneumatic nail gun if you are tired. Fatigue can cause some major issues and problems while using power tools, so make sure that you don’t make any stupid mistakes from being sleepy or worn out.
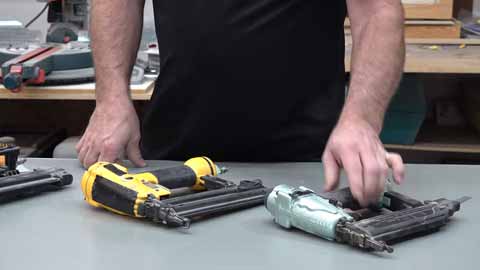
12. Disconnect Your Nailer: Always remember to disconnect your finish nailer before performing any maintenance, cleaning, or repairing. If you don’t do this, then the tool could suddenly get turned on while being worked on, which can cause some major issues or injuries.
13. Inspect Your Nailer: Inspect your finish or brad nailers before using them. Look for any worn or broken parts that need to be replaced and remember always staying safe. Check your jammed nail as well.
14. Keep Nails in a Dry Place: Keep the finish nails in a dry place or container to prevent them from rusting or corroding, which can cause some major issues with your thin nail.
How to Maintain Your Finish Nailer?
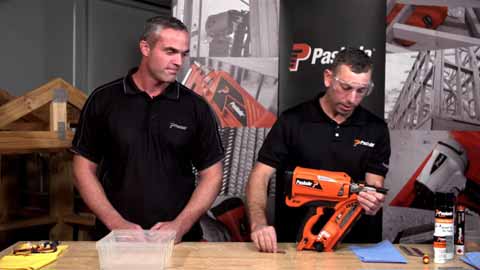
Maintenance of your nail gun is important to maintain its effectiveness for many years. To maintain the efficiency of the nail gun, you should first clean up any nails that have fallen off after nailing them into place. It is recommended that you perform this maintenance if you have a jammed nail.
Second, you need to use a compressed air nozzle to blow out any debris or dirt that might have accumulated in the gun after using it. Finally, you should oil any pivot points with a lubricant to keep them working freely.
FAQs
The following are some commonly asked questions about finish nailers that will be helpful for you.
Which Gauge Finish Nailer is Best?
A good recommendation for those who are shopping for finish nail guns is to select the larger 15-gauge guns due to the weightier nails that provide more holding power.
In What Circumstances Would You Use a 15 Gauge Nailer?
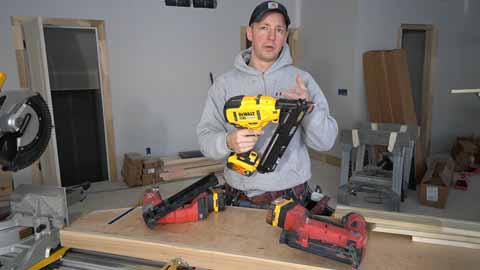
Generally speaking, the 15 gauge nail gun comes in handy for projects such as the construction of cabinets and furniture, the assembly of picture frames, trimming and molding applications, and upholstery trim work.
What Degree Nail Gun Should I Use for Framing?
Framing nails are typically smaller gauge nails. The degree of the nail gun is based on the size of nail you need for your task. 15 degrees can be used for framing.
What’s Better, 15 Gauge or 16 Gauge Finish Nailers?
For heavy duty projects, the 15 gauge finish nailer uses is ideal. It is recommended that a 16 gauge finish nailer uses on thinner or more delicate trims.
What Nail Gun Should I Use for Baseboards?
It’s better to use finish nailers for attaching baseboard to walls because 15g and 16g nails are stronger than 18g brad nailer.
How Does a Brad Nailer Differ From a Finish Nailer?
Brad nailer and finish nailer use different gauges of nails for their respective purposes. Brad nailers use 18-gauge nails, whereas finish nail guns use 16-gauge or 15-gauge nails.
Can You Use a Finish Nailer for Hardwood Floors?
Of course, you can easily nailing hardwood floors with finish nailer. You want to make sure that the nails are compatible with the nailer.
Conclusion
If you work in construction, carpentry, or any other field that requires nailing trim and nail moldings, finish nailers are the perfect tool to have around. They offer quality, reliability, and ease of use. By understanding how to use finishing nails, you can start saving time and effort and enjoying better, precise results on your projects. We hope this article has helped you to get started with your own finish nailing projects.

