WoodenuKnow.com is a participant in the Amazon Services LLC Associates Program, an affiliate advertising program designed to provide a means for sites to earn advertising fees by advertising and linking to Amazon.com and may earn from qualifying purchases.
Nailing is a key aspect of carpentry, but it isn’t always straightforward to get the angle and power just right. With a regular hammer, you have to guess at the angle and hope for the best. You also have to use a lot of arm strength to drive the nail in.
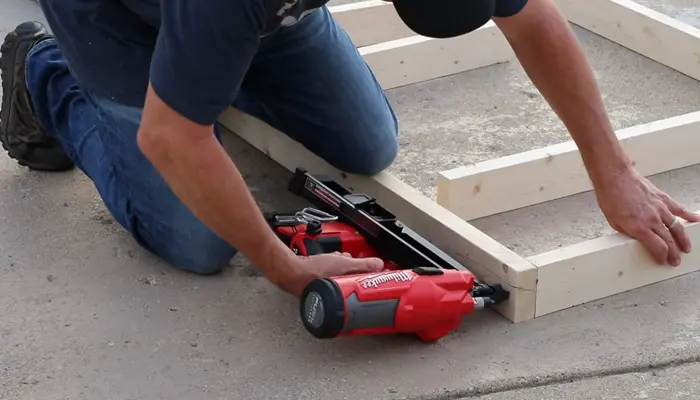
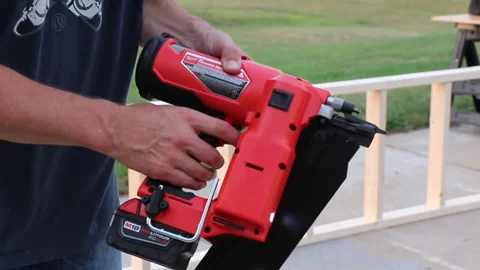
A framing nailer is a handheld device that is powered by compressed air or electricity. It can drive nails into the wood much faster than someone could do with a hammer, and it makes the process of assembling framing much easier and quicker.
If you’re a beginner, you may wish to learn how to use a 21 degree framing nailer first. Let us help you.
The purpose of this article is to demonstrate when to effectively use a 21-degree framing nailer. We’ll also touch on the different types of nails you can use, as well as some safety tips to keep in mind.
How to Use a 21 Degree Framing Nailer As a Beginner?
A framing nailer is a powerful tool that can save you a lot of time and energy when nailing pieces of wood together. If you’re new to using this type of nailer, there are a few things you should know before getting started:
Wear the Appropriate Safety Gear
Whenever you’re using any type of power tool, it’s important to wear the appropriate personal protective equipment (PPE). This includes safety glasses or goggles, ear protection, and a dust mask.
Compressed air is used to power most framing nailers, so there will be some noise. The ear protection will help to protect your hearing.
Double-Check Your Framing Nailer
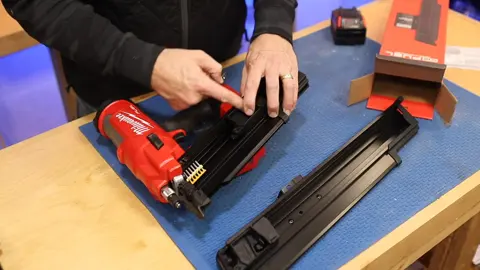
Before you start using your nailer, it’s a good idea to do a quick check of the device. Make sure that there are no loose screws or nails jammed in the barrel.
Make sure the air pressure is correct if you use a pneumatic one. If the pressure is too low, the nails may not be driven in properly. If the pressure is too high, the nails could be driven in too deeply or they may even split the wood.
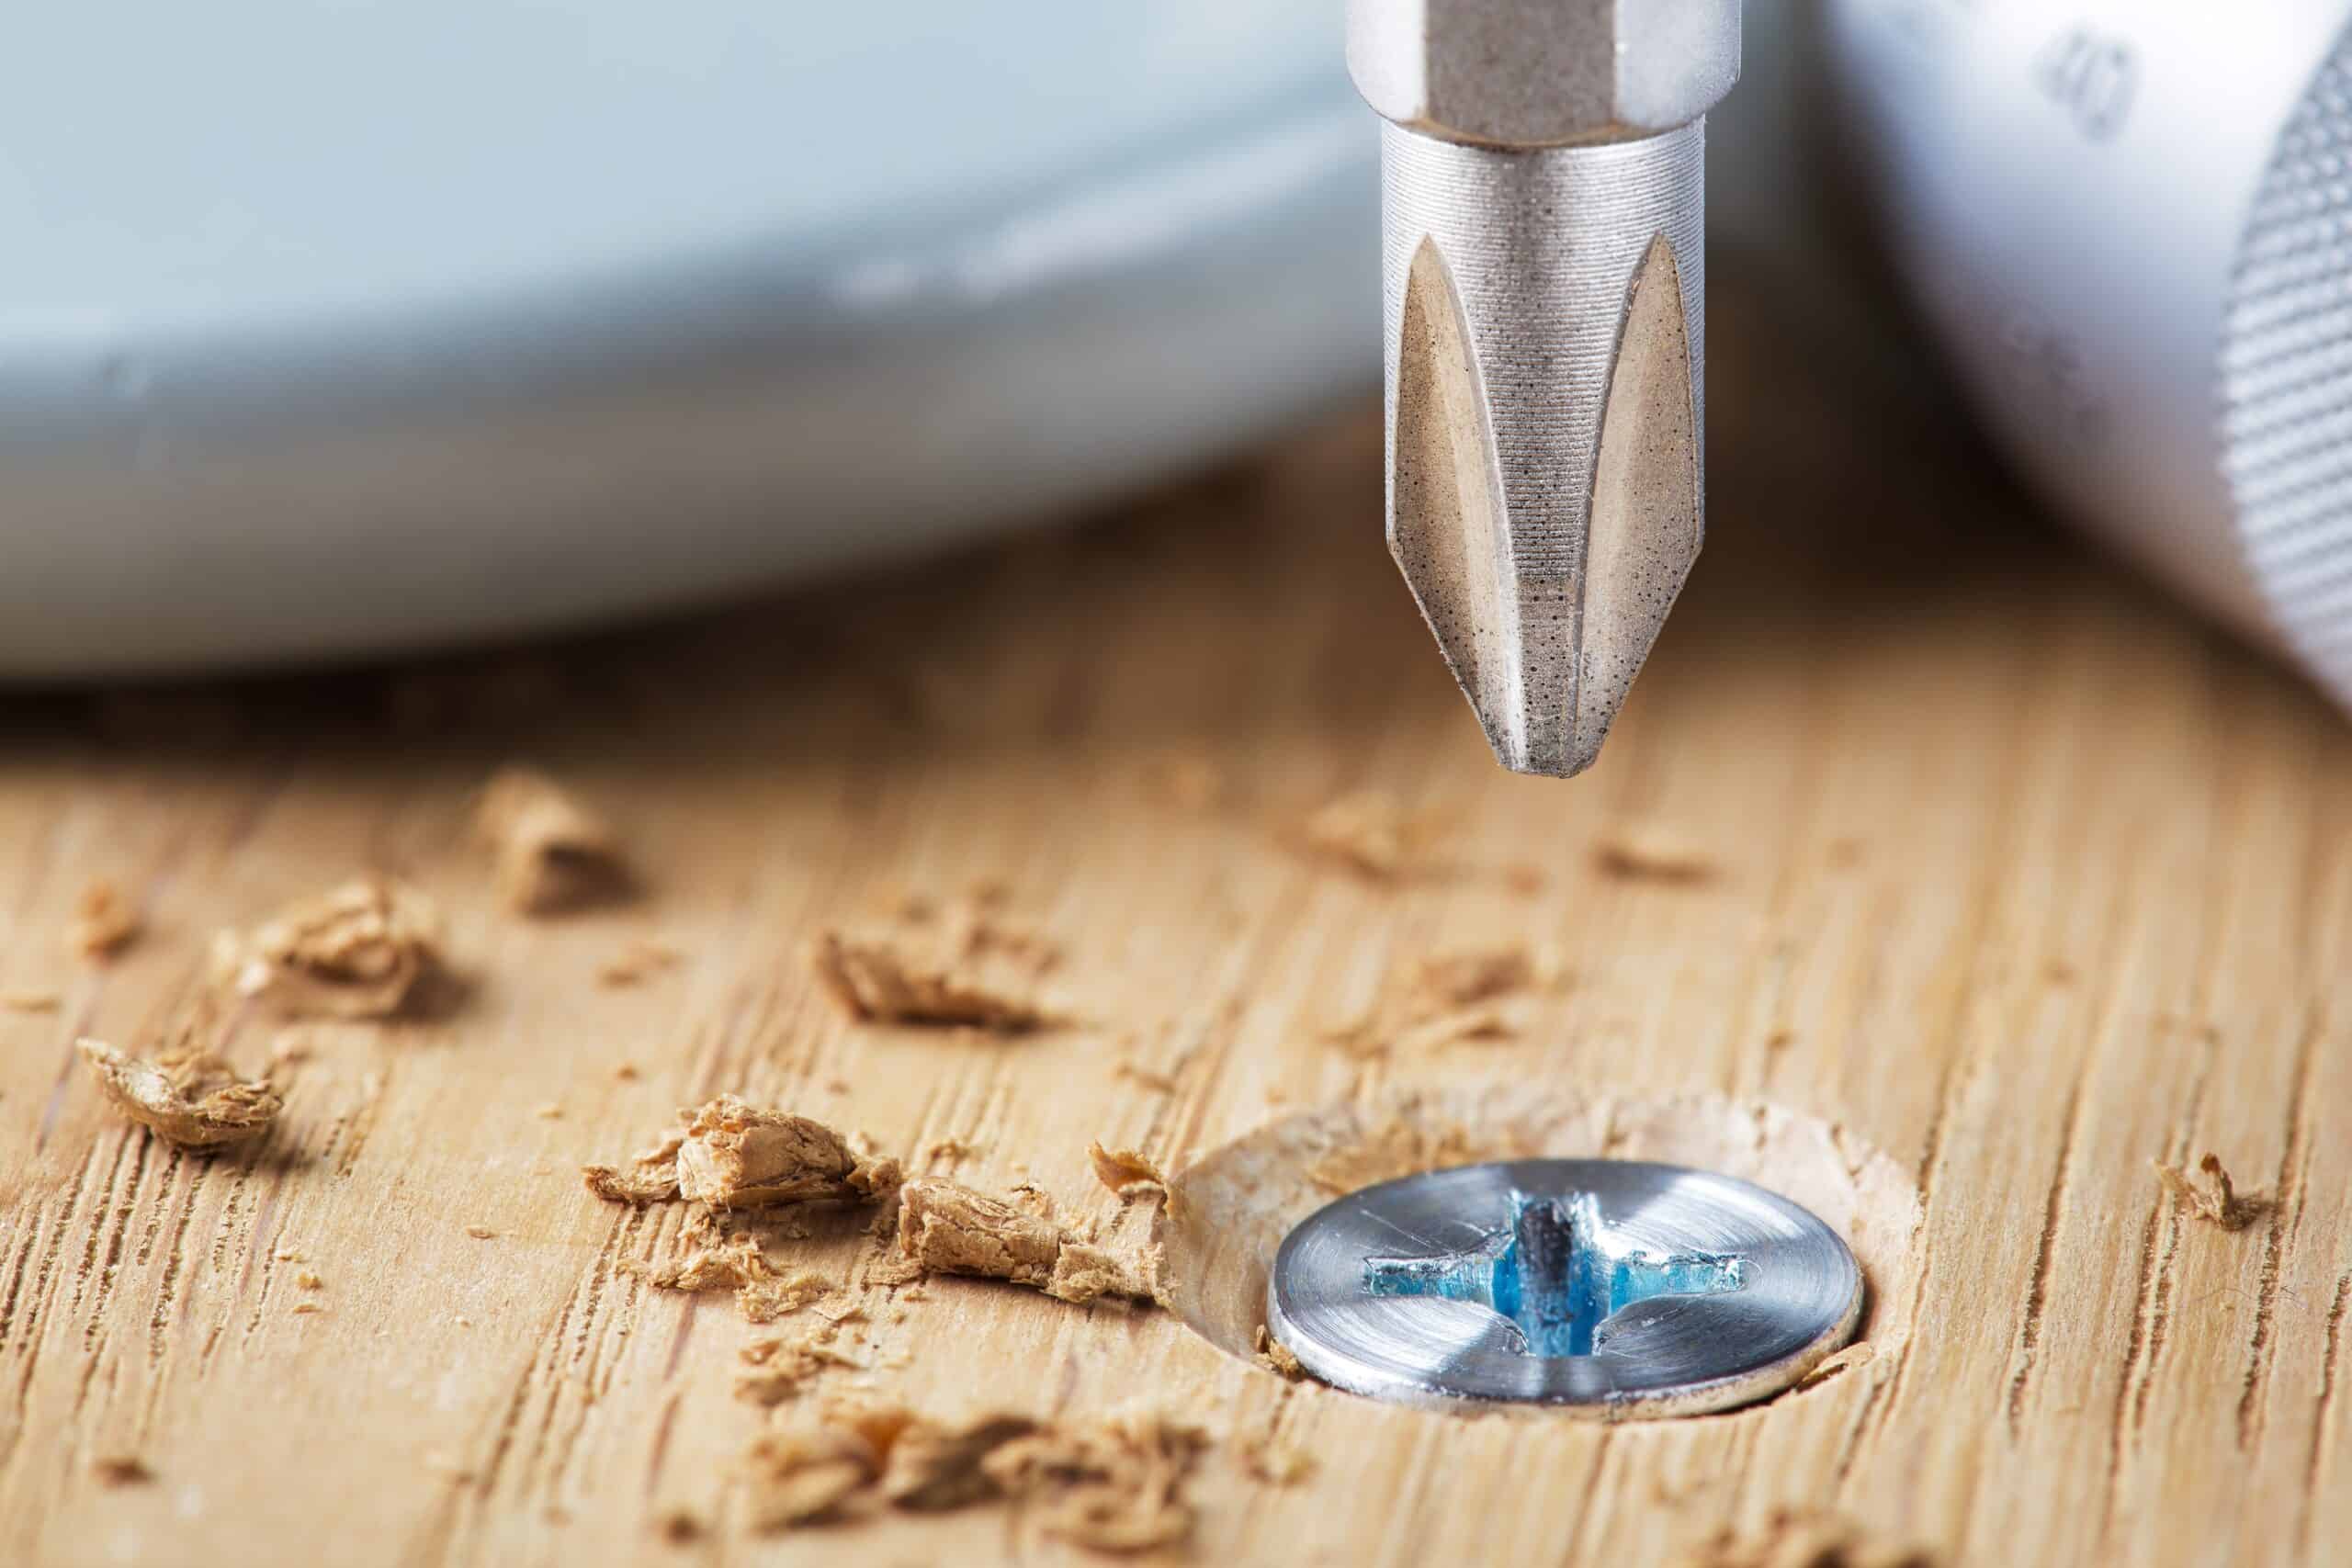
Types of Nails
There are different types of nails you can use with a framing nailer. The most common type is the clipped head nail, which has a small head and an offset collar. These nails are available in a variety of lengths, from 2 to 3 1/2 inches.
Another type of nail is the full round head framing nailer. These nails have a larger head and no offset collar. They’re available in lengths from 2 to 3 1/2 inches as well.
Full round head framing nails are less likely to split the wood, but they’re also more expensive. Clipped head nails are less expensive, but they’re more likely to split the wood.
Insert the Nail Strip
Once you’ve selected the type of nail you want to use, it’s time to load the nail strip into the device. Most 21-degree framing nailers have a 21.5″ to 22.5″ magazine that can hold up to 60 nails.
To insert the nail strip, open the magazine and insert the pointed end of the strip into the loading slot. Then, close the magazine until you hear it click into place.
Turn On Trigger Mode
Most framing nailers have a trigger mode that needs to be turned on before the device will work. To turn on the trigger mode, find the switch near the handle of the device.
The switch will usually have two positions: “single” and “contact.” The “single” position means that the device will fire one nail at a time when you pull the trigger. The “contact” position means that the device will continue to fire nails as long as you keep the trigger pulled.
Perform a Trial Run
Now that the nail gun is loaded and ready to go, it’s a good idea to do a trial run. This will help you get a feel for how the device works and how much pressure you need to apply.
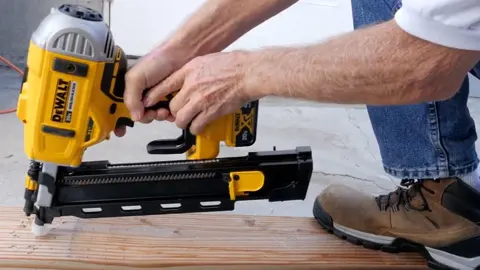
To do a trial run, position the tip of the nailer against a piece of scrap wood. Make sure the nail is lined up with where you want it to go.
Then, pull the trigger and hold it down. The nail should start to drive into the wood. If it doesn’t, check the air pressure and try again.
Set the Nailer in Place
Once you’ve successfully driven a nail into the scrap wood, it’s time to start working on your project. Position the nailer against the piece of wood you’re working with.
Then, line up the nail with where you want it to go. You may need to use one hand to hold the wood in place while you work.
Use Face or Toe Nailing
There are two ways you can use a 21-degree nail gun: face nailing and toe nailing.
Face nailing is when you drive the nails into the face of the wood. This is the most common way to use a framing nailer.
Toe nailing is when you drive the nails into the end of the wood. This method is used when you’re attaching two pieces of wood together at a 90-degree angle.
Make Sure the Flush is Good
Once you’ve driven the nail into the wood, take a step back and check to see if the flush is good. The flush is the part of the nail that’s sticking out of the wood.
You want the flush to be as close to the surface of the wood as possible. If it’s not, use a hammer to tap it flush.
Disconnect the Framing Nailer
When you’re finished using the framing nailer, it’s important to disconnect it from the air source. Then, release any remaining pressure in the device by pulling the trigger until no air is released. Once you’ve done that, store the nailer in a safe place until you’re ready to use it again.
That’s all there is to it. Using a 21-degree framing nailer is easy once you get the hang of it. Just be sure to follow all safety precautions and always wear protective gear when using this type of device.
Frequently Asked Questions
While a 21-degree framing nail gun is a relatively simple tool, there are still some things that can trip people up. Here are answers to some of the most frequently asked questions about these devices.
1. Can I Use a 21-Degree Framing Nailer for Roofing?
Yes, you can use a 21-degree framing nailer for roofing projects. However, it’s important to note that this type of device is not designed for use with shingles. If you’re going to be working with shingles, you’ll need to use a different type of nailer.
2. What Is the Difference between a Pneumatic and Electric Framing Nailer?
Pneumatic framing nailers are powered by air compressors, while cordless electric framing nailers are powered by batteries. Pneumatic nailers are more powerful than electric nailers and can be used for larger projects. Electric nailers are more convenient to use and are ideal for smaller projects.
3. What Size Air Compressor Do I Need To Use a 21-Degree Framing Nailer?
For most 21-degree framing nailers, you’ll need an air compressor that delivers at least 2.2 CFM of air. However, it’s always a good idea to check the manufacturer’s recommendations to be sure.
Conclusion
A 21-degree framing nailer is a versatile and powerful tool that can be used for a variety of projects. If you’re new to using this type of device, be sure to read the instruction manual carefully and always follow safety precautions.
With a little practice, you’ll be nailing like a pro in short order. Just be sure to take your time and make sure you use the proper type of nailer for your project. We hope this guide has been helpful.
You Might be Interested: