WoodenuKnow.com is a participant in the Amazon Services LLC Associates Program, an affiliate advertising program designed to provide a means for sites to earn advertising fees by advertising and linking to Amazon.com and may earn from qualifying purchases.
A deck is a wonderful place for many homeowners to relax and enjoy the outdoors. Cedar decks are especially popular, as they offer a natural beauty that many other materials simply can’t match.
Due to the cedar deck remaining outdoors, rain, the sun’s ultraviolet rays, as well as dust and dirt can damage the wood. This also might affect the wood fibers as well.
Applying a new coat of stain can help to protect the deck and keep it looking its best. In order to stain your deck, it is necessary to clean it first.
When you clean a cedar deck before staining, you’ll minimize the chance of the new stain not adhering properly or peeling in the future. We will demonstrate the proper steps on how to clean a cedar deck Before staining.
How to Clean a Cedar Deck Before Staining? Step By Step Process
A beautiful cedar deck can provide years of enjoyment, but only if it is properly cared for. Even though cedar wood is a durable and rot-resistant wood, it still needs to be properly cleaned and prepped before staining.
If you don’t clean your existing deck before applying stain, the finish won’t adhere as well and will be more likely to chip and peel.
Also, dirt and grime build-up can cause mold and mildew to grow, which will eventually lead to discoloration and premature aging of the wood.
In short, taking the time to thoroughly clean your deck prior to staining ensures that your finish lasts longer and looks better.
You should clean the deck properly to avoid causing any damage to it. It is easy to do so. Simply follow these steps:
Step 01: Collect the Necessary Tools and Supplies
Before starting any project, it is important to make sure that you have all of the required supplies and tools on hand.
Otherwise, you may find yourself having to stop in the middle of the project to run to the store for something that you need.
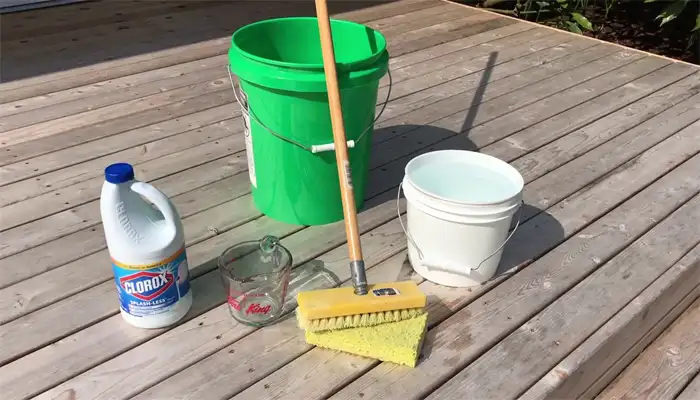
This can not only be annoying, but it can also end up costing you more time and money in the long run. Furthermore, in order to clean your cedar wood deck, you will need the following items:
- oil-based stains or water-based stains
- Pressure washer
- Long handle stiff bristle brush
- Broom
- Bucket
- Garden hose
- Sponge
- Mild dish soap/ powdered oxygen bleach or any deck cleaners
- Water
- Work gloves
- Sander or sandpaper
Step 02: Remove All Furniture, Rugs, and Debris from the Deck
Before starting the cleaning process, you must remove any furniture, rugs, or debris that might be in the way.
Not only will this simplify the process, but it will also prevent any damage from occurring to your belongings. Make sure to put everything in a safe place where it won’t get in the way or get damaged.
Step 03: Sweep the Deck
Once you have cleared the deck, it’s time to start cleaning. The first step is to sweep the entire surface with a broom to remove any loose dirt and debris. A leaf blower may be helpful if you have a large cedar wood deck.
Step 04: Mix the Cleaner
Now that the deck has been swept, it is time to mix the cleaning solution. If you are using powdered oxygen bleach, combine it with water according to the directions on the package. Or, when using dish soap, it should be mixed in with water.
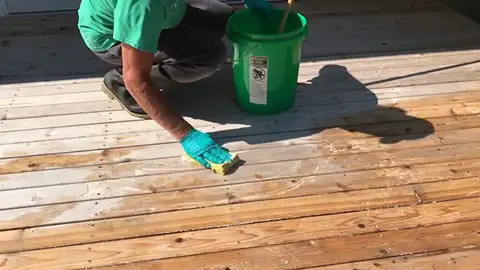
Step 05: Apply the Deck Cleaner

The main role of the cleaner is to eliminate any dirt, grime, mold, or mildew that has built upon the surface of the wood.
For cleaning your cedar wood deck, take the long-handled deck brush and dip it into the bucket of soapy water. Then, scrub the deck boards into small sections, working from one end to the other.
When you need to clean side rails or posts, use the sponge. Scrub the whole surface of the deck until it is clean.
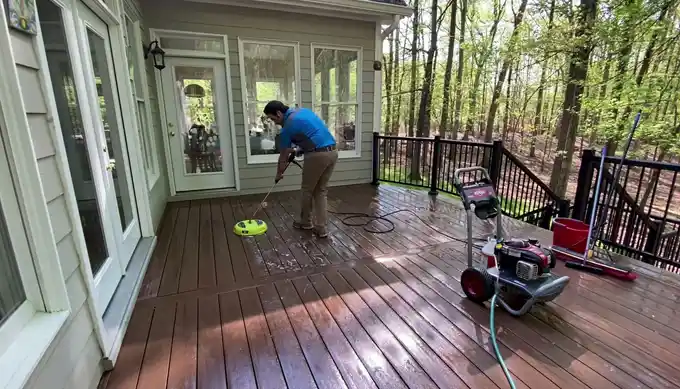
Step 06: Rinse the Deck
Having successfully scrubbed the deck, the next step shall be to rinse it. Attach the garden hose to the pressure washer and turn on the water to accomplish this task.
In order to properly clean a deck, it is recommended that you begin at one end and work towards the opposite end, ensuring to rinse off all areas that you have just cleaned.
If you don’t have a pressure washing tool, you can use a garden hose without one. There is one important thing to note when using a pressure washer: do not make the pressure too high, as this may damage the cedar wood.
Make sure the PSI (pounds per square inch) is set at 500 or 600. This will be sufficient to clean the cedar decking without damaging it.
Step 07: Let the Deck Dry
After you have rinsed the cedar wood deck, it is imperative to let it dry completely before proceeding to the next step.
This is important because you don’t want to apply the deck stain while it is still wet. If possible, try to do this on a warm, sunny day so that the drying process will go faster.
Step 08: Sand Rough Spots
Upon drying the deck, you may observe that some fibers have been raised. When a deck is scumbled with a brush, this is common to occur. In order to get rid of these fibers, you will need to sand them down.
Use either a hand sander or sandpaper to complete this task. Be sure to use medium-grit sandpaper so that you don’t damage the wood grain.
Step 09: Clean the Deck Again
You should now sweep the entire wood decking with a dry long-handled brush in order to remove any dirt or dust that may have accumulated during the light sanding process.
Don’t forget to explore every nook and cranny. Once you have done this, the cedar wood deck should be ready for staining.
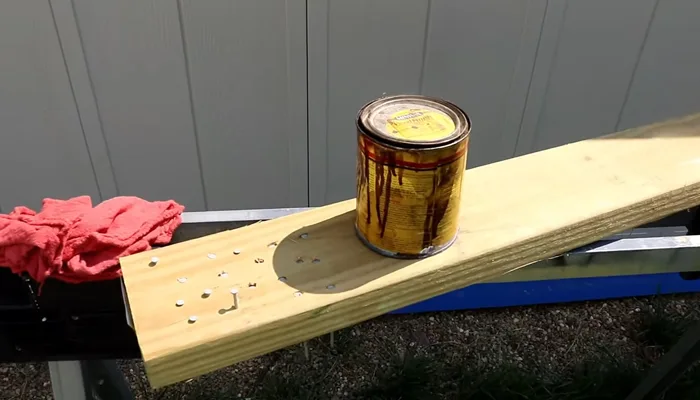
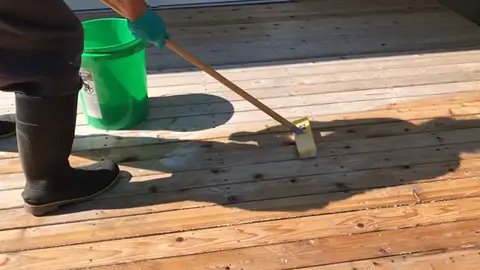
Step 10: Stain the Deck
The last step is to stain the new cedar wood deck. This will protect the wood surface from weathering, give it color, and make it look beautiful.
Choose a stain that is designed specifically for outdoor use and follow the instructions on the container. You will either use a brush or a roller to apply the stain. Start at one end of the deck and work your way to the other.
Be sure to apply an even coat, and don’t forget the sides of the deck. Be careful not to apply too much stain.
Once you have finished staining, you should allow the deck to dry completely, and then you should apply a second coat.
Doing so will ensure that your cedar decking is properly protected. You must wait until the stain is completely dry before walking on the deck or placing furniture on it. The same procedure applies to pressure-treated wood.
As you can see, cleaning and staining a cedar wood deck is not a difficult task. Just be sure to follow the instructions carefully and take your time. As a result, you will have a deck that will last for a very long time and provides a mill glaze effect.
Frequently Asked Questions:
A few questions are often asked when it comes to staining and cleaning cedar wood decks. Here are some of the most frequently asked questions, along with their answers:
1. How Long Does It Take to Dry After Cleaning With Water?
It depends on the weather conditions. If it is sunny and warm outside, the deck should dry relatively quickly. However, if it is cloudy or cooler, it will take longer for the deck surface to dry entirely. In general, 48 hours is a good amount of time to allow for drying.
2. What Color Should I Stain My Cedar Deck?
It is completely up to you what color you wish to stain your deck surface. There are a variety of colors available, so you can choose the one that best suits your taste. The semi-transparent stains can be a good choice because they will allow the grain of the wood to show through.
3. Should I Apply a Sealer After Staining My Cedar Deck?
After staining cedar decks, it is not necessary to apply a sealant. The wood stain itself will provide sufficient protection for the wood. As such, the use of a sealer is not recommended.
4. How Often Should You Re-Stain Your Cedar Deck?
It is generally recommended that you stain your deck every two to three years. However, this may vary depending on the climate in which you live. If you live in an area with a lot of sun and rain, you may need to stain it more often.
Conclusion
We hope that you have a clear understanding of how to clean a cedar deck before staining. By following the steps that we have outlined, you can be confident that your deck will be properly protected from the elements and will look attractive for a long time.
Next time you’re ready to tackle this project, remember these key points, and you’ll be sure to succeed.
A Related Topic: