WoodenuKnow.com is a participant in the Amazon Services LLC Associates Program, an affiliate advertising program designed to provide a means for sites to earn advertising fees by advertising and linking to Amazon.com and may earn from qualifying purchases.
Staining trim can be a daunting task, especially if you have never done it before. But it is possible to get a professional-looking finish. Trim can be stained in the same way as any other wood surface such as floors, doors, and windows. The only difference is that trim needs to be sanded first in order to create a rough surface so the stain will grip better with a smoother finish.
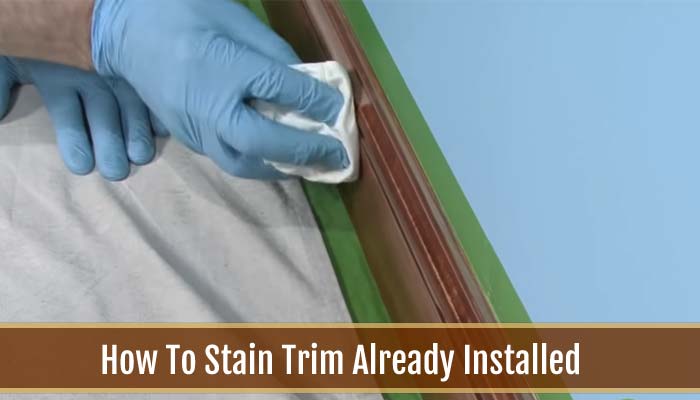
Staining trim is a great way to add color and character to your home, especially if the wood trim has already been installed. In this article, we will cover how to stain trim that is already installed.
Steps on How to Stain Trim Already Installed
Staining your trim can bring new life to your home, even if it is already installed. Follow the steps below to ensure that your trim looks great for years to come.
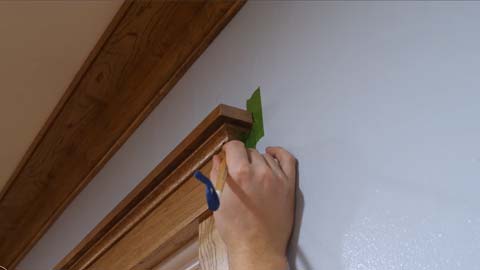
Step 01: Prepare the Surface
Staining trim is pretty simple. But first, you need to properly prepare your work area and remove everything from the area so it is easier to move around. Once everything has been removed, sweep or vacuum up any dust that may be on the floor where you will be working.
Step 02: Sanding the Trim
Before you can begin staining the trim, it has to be properly sanded. This will help create a rougher surface that the stain can grip onto when applied.
Step 03: Wipe Off Excess Wood Filler
After you have finished sanding the entire piece of trim, all of the nail holes and cracks should be filled and sanded smooth. After doing so, wipe off the excess wood filler with a damp cloth.
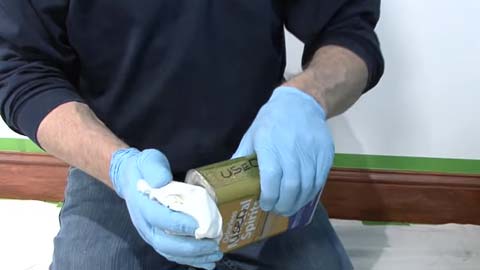
Step 04: Apply the Stain
After you have wiped down the wood trim, it is time to apply your stain. You can use a natural brush or a clean rag to apply it in straight lines. If using a rag, don’t rub it back and forth because this creates streaks in the finish.
If you want to add more color after applying your base coat of stain, the process is exactly the same as before just make sure to wait at least three hours before adding any more coats of stain if applying two coats in one session. Wait 24 hours for it to completely dry before oiling or protecting your newly-stained trim.
Whichever type of wood you are staining, always follow the manufacturer’s instructions for whatever products you use to ensure the best results. Once you have stained your baseboard trim, take pride in knowing that it looks great and no one would ever know that the process was so simple!
Step 05: Protect Your Newly Stained Trim
After waiting 24 hours to allow the stain to set into the wood, protect your newly finished piece of wood trim with any exterior-rated varnish or other water-repellant product. This will help prevent any future damage done by moisture or humidity. If applying two coats of gel stain in one day, wait three days before oiling or protecting the newly finished product.
The only difference is making sure you sand the surface to make it rough enough for the stain to grip onto. After that, it is the same as staining any other surface. Once you finish, protect your newly-stained trim with an exterior clear coat to prevent future damage.
Trim can be stained in the same way as any other wood surface such as floors, doors, and windows. The only difference is that shiplap trim needs to be sanded first in order to create a rough surface so the stain will grip better with a smoother finish.
What to Consider When Staining Trim?
01. Look for crown molding trim that has been correctly primed and painted. If you’re working with trim that hasn’t been finished, be sure to add a coat of primer and paint before staining. This will protect the stained wood and ensure the stain applies evenly.
02. When sanding, take care to avoid any form of metal or wire showing through.
03. Seal your edge with a clear sealer after it dries in order to extend the life and protect the wood from water and dirt.
04. Staining is the least involved method of finishing wood, but it does require a little more attention to detail. Take your time and be thorough if you want good results.
05. Replace any hardware before staining to protect it from damage.
06. Stir the stain slowly and do not shake. Shaking can cause bubbles to form, ruining the even application of the product.
07. Apply a generous coat of stain with a foam brush or lint-free cloth. A thicker layer is better than too thin so pay attention to detail here.
08. Wipe off any excess stain with a clean lint-free cloth. Again, use a clean cloth for this rather than simply reusing the one that’s already stained.
09. If you’re staining more than one piece of trim at a time, work on each with the same amount of care to avoid any color discrepancies.
10. Plan out exactly where you want to position your hardware before staining to avoid touching it up later.
11. It’s always a good idea to try out your stain on an inconspicuous area before doing the entire project. This way, you’ll get a feel for the color and how easily the product applies.
FAQs
Which Type of Stain Should I Use?
Many factors affect which type of stain you should use. The size and complexity of your project, the species of wood, the amount of time you have to complete the project, and whether or not you want a transparent or translucent finish can all affect what type of paint you need. Experiment with different types until you find the one that suits your needs. Experiment with different types until you find the one that suits your needs. Some stains are also available in various sheens such as matte, satin and semi-gloss to allow even more flexibility.
Depending on the type of project you have for your trim it may be worth the time adjusting the color of your paint with a tinted wood conditioner.
Also Check: Quick Way to Strip Paint From Wood
How Do I Clean Up After Staining Trim?
Clean up with mineral spirits or paint thinner if necessary. Always keep a wet/dry vacuum on hand to clean up after sanding dust and paint chips. Soapy water works well too, but be careful if the wood is sealed because soapy water can cause more problems than it fixes.
Be careful to avoid over-saturating the wood when cleaning up, as this can cause watermarks or warp and swell the wood. You may also try using a damp cloth to remove excess stains and then wiping dry with a rag before allowing it to air dry completely.
Can I Use Stain on Bare Wood?
It is possible to protect the bare wood’s color by using transparent wood stains. These are often added over a sealer coat or primer so it will not raise the grain of the wood.
Once applied, allow this coat to dry completely before adding additional coats if needed. Depending on the manufacturer’s instructions, you may need to wipe down the surface with a rag or let it fully dry before starting your project.
Can I Use Stain Over Paint?
It is appropriate to protect exterior wood surfaces during inclement weather. This is especially useful in areas exposed to moisture, where the paint might become damaged by water. But make sure the paint is not peeling or chipping before using this type of stain.
Which Kind Of Brush Should I Use?
When staining trim, you may wish to use a natural brush for better control of your project. You can also choose to use specially designed brushes made for this task depending on the type of stain you are using. You should also consider having different brushes for paint and stain so the stains don’t mix or blend improperly.
Conclusion
Staining trim is a relatively simple process that requires little more than some time and patience. With the right tools, you can have beautiful wood without spending hours refinishing it from scratch. After reading this article, we hope you have gained a better understanding of how to stain trim.